Introduction
Use this guide to replace the plastic button covers and the rubber button contacts on any DualShock 3 controller.
What you need
-
-
Remove the five 7.2 mm Phillips screws securing the rear cover to the controller.
-
-
-
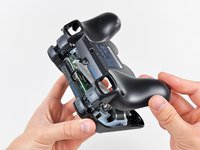
Lift the battery off the motherboard for enough clearance to access the battery connector.
-
-
-
-
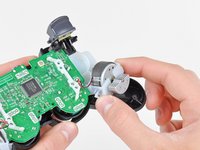
Remove the single 7.2 mm Phillips screw securing the motherboard to the front cover.
-
-
-
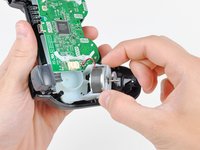
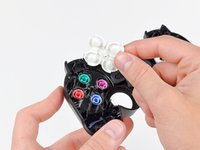
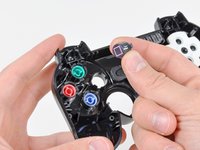
Lift the rubber button contacts off the front controller cover to access the plastic button covers.
-
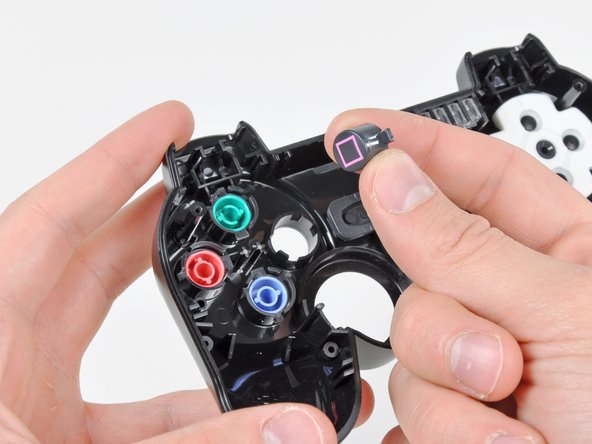
Lift any damaged plastic button covers out of the controller cover.
-


To reassemble your device, follow these instructions in reverse order.
To reassemble your device, follow these instructions in reverse order.
Cancel: I did not complete this guide.
101 other people completed this guide.

6 Comments
My Dualshock 3 didn't have the three armed plastic piece on the D-pad. Mine's a red one, relatively recent. My controller also had the problem where it would randomly send button press events when using the L-stick. I traced the problem to the ribbon connector between the board and the contacts, which was very dirty. I cleaned the contacts and put the controller back together with an additional rubber shim between the back cover and the battery, which got rid of the creakiness of the somewhat loose-fitting case. Works great now.
How do you clean the contacts? Is there a special way?
Are these instructions the same for the dual-shock 2?
TNX-could not really figure out where the 3-armed plastic should fit in but tnx to step 11 i know-now im going to dismantle my controller again.