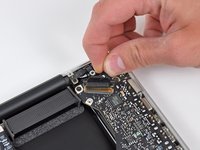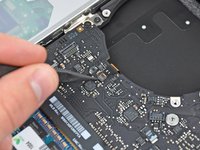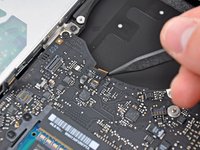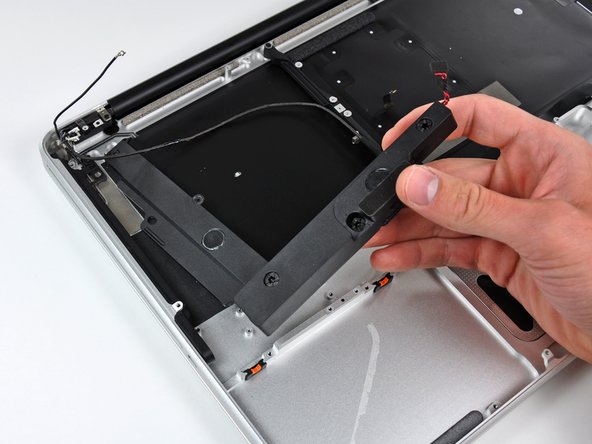
MacBook Pro 15" Unibody Mid 2010 Upper Case Replacement
Introduction
Go to step 1Replacing the upper case requires removal of nearly every component inside your MacBook Pro 15" Unibody Mid 2010.
-
-
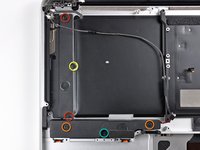
Remove the following ten screws securing the lower case to the upper case:
-
Three 13.5 mm (14.1 mm) Phillips screws.
-
Seven 3 mm Phillips screws.
-
-
-
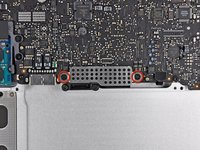
Remove the two 7.4 mm Tri-point screws securing the battery to the upper case.
-
Note: For certain repairs (e.g. hard drive), removing the battery is not necessary but it prevents any accidental shorting of electronics on the motherboard. If you do not remove the battery, please be careful as parts of the motherboard might be electrified.
-
-
-
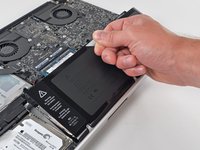
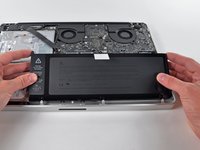
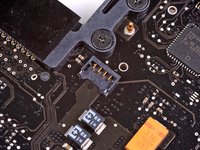
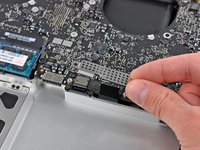
Tilt the battery away from the logic board enough to access the battery cable connector.
-
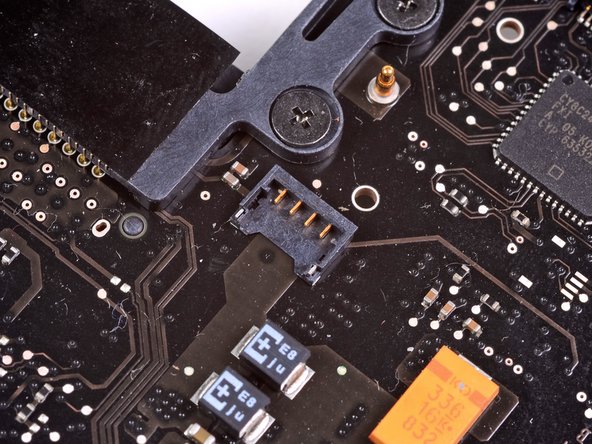
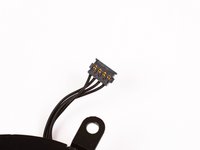
Pull the battery cable connector away from its socket on the logic board and remove the battery from the upper case.
-
Charge it to 100%, and then keep charging it for at least 2 more hours. Next, unplug and use it normally to drain the battery. When you see the low battery warning, save your work, and keep your laptop on until it goes to sleep due to low battery. Wait at least 5 hours, then charge your laptop uninterrupted to 100%.
-
If you notice any unusual behavior or problems after installing your new battery, you may need to reset your MacBook's SMC.
-
-
-
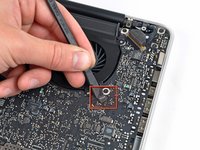
Remove the three 3.4 mm T6 Torx screws securing the left fan to the logic board.
-
-
-
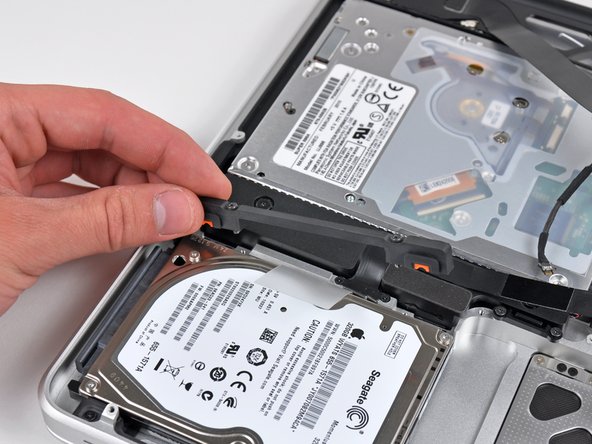
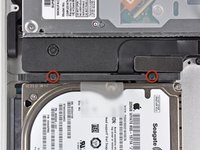
Remove the two Phillips screws securing the hard drive bracket to the upper case.
-
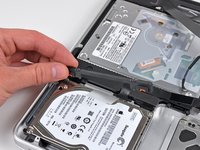
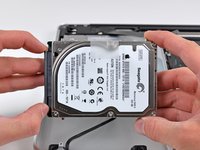
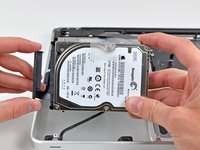
Remove the hard drive bracket from the upper case.
-
-
-
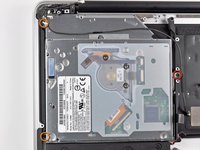
Remove the following three Phillips screws securing the optical drive to the upper case:
-
One 4.5 mm Phillips screw securing the optical drive bracket to the upper case near the fan.
-
Two 2.5 mm Phillips screws securing the optical drive to the upper case near the optical drive opening.
-
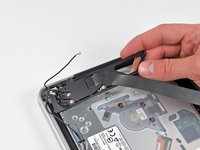
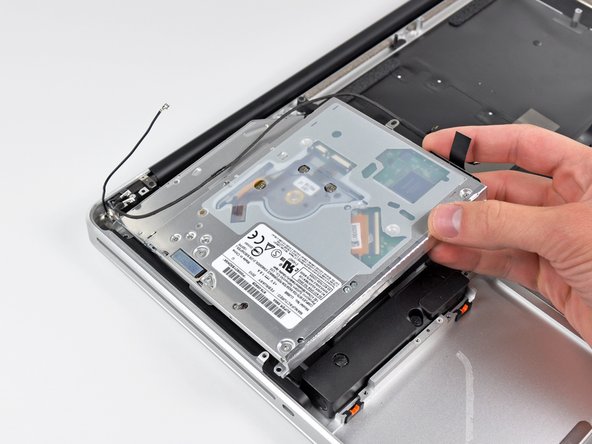
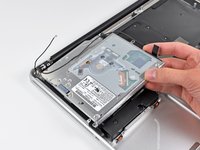
Remove the optical drive from the upper case.
-
-
-
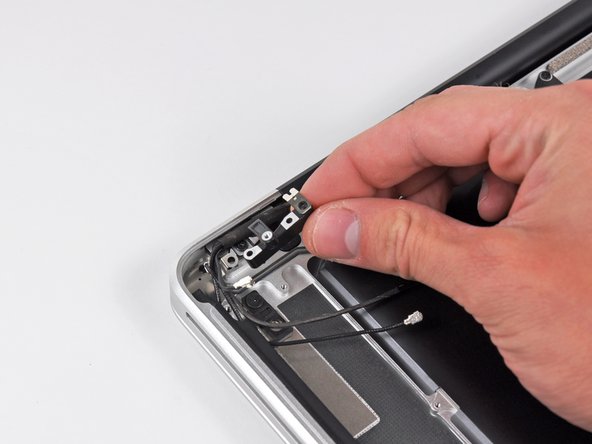
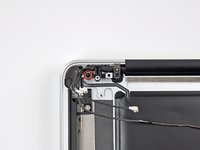
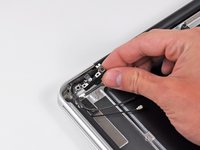
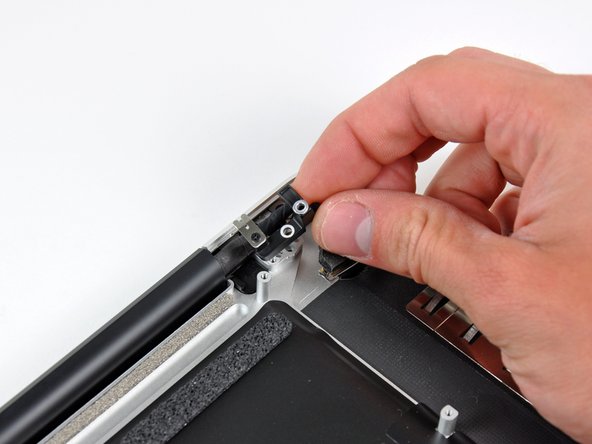
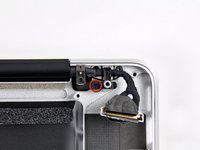
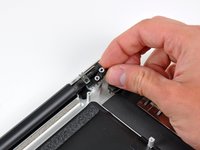
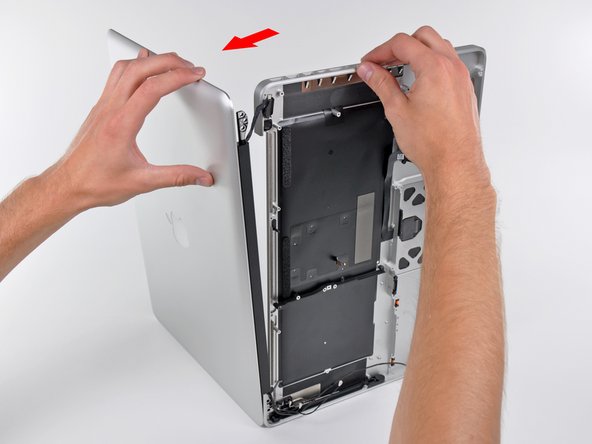
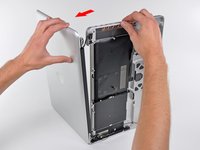
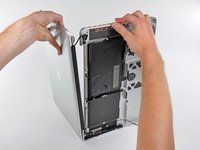
Grab the upper case with your right hand and rotate it slightly toward the top of the display so the upper display bracket clears the edge of the upper case.
-
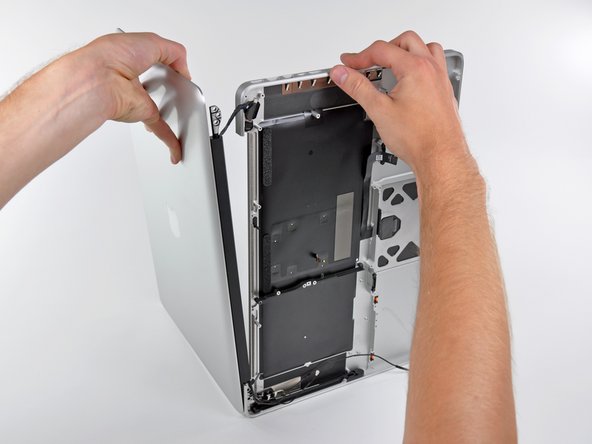
Rotate the display slightly away from the upper case.
-
Lift the display up and away from the upper case, minding any brackets or cables that may get caught.
-
To reassemble your device, follow these instructions in reverse order.
To reassemble your device, follow these instructions in reverse order.
Cancel: I did not complete this guide.
64 other people completed this guide.
8 Comments
Great, easy repair (at least for me).
I only had problems with a 2.5 mm phillips screw, the one holding the right speaker assembly from the side. I needed to use a drill to drill it from the center away.
So 100% success, 1 screw less.
I am having a heck of a time reinserting this keyboard ribbon cable. The first time I powered up, only the left side of the keyboard worked. I tried reinserting, and all further attempts have resulted in no keyboard response at all. The ribbon is starting to "dogear" a tiny bit in the corners, so I am hesitant to try my current technique too many more times. I'd really like to do this correctly. Has anyone had luck slightly removing the logic board to aid in getting a better angle on inserting the cable? Any help would be appreciated!!!
A number of these steps are unnecessary to replace the upper case. For example, there is no reason why the hard drive needs to be removed. After getting to the steps where the upper display hinges are removed, I couldn't see any reason why the logic board needed removal. My advice would be to disconnect the battery. Then perform Step 21 (disconnecting the display cable). Then perform Step 32 (disconnect Airport/Bluetooth antenna cables). Then proceed to Step 37 and complete the guide from there. If you encounter any part that's in your way (perhaps the edge of the logic board might prevent the upper display case from being pulled away from the lower case), just go back through this guide and follow the directions to remove only that particular part. But just be aware that quite a few steps in this guide are not necessary, and it is certainly not true that "Replacing the upper case requires removal of nearly every component inside your MacBook Pro 15" Unibody Mid 2010."
The hard drive and logic board are installed in the upper case. How could you not remove them? You'd be rebuilding your computer with the new upper case, without a logic board or keyboard. You aren't confusing the upper case for the display, are you? This guide is about replacing the top case, which is the part where the keyboard is, not the display.
John M -


