Introduction
The hard drive, responsible for storing all your important files. Without a hard drive, your computer would have nothing to operate off of. It would be a machine without code. Therefore, issues with it tend to be very serious. Things such as corruption can cause important files to be lost or damaged. That’s why this guide will be very helpful, in the event that you need to replace the hard drive of your ASUS Q405U.
What you need
-
-
Using the Phillips #1 screwdriver, remove eleven (11) 1.5 mm screws from the back cover.
-
-
-
-
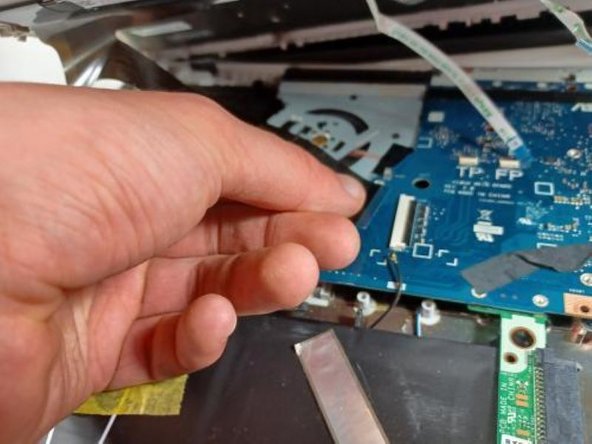
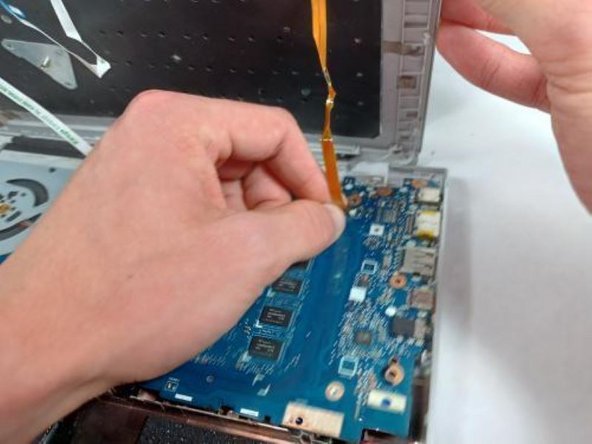
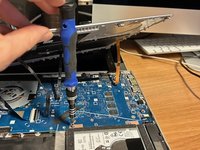
OPTIONAL: Additional pictures to demonstrate moving keyboard out of the way without detaching connections.
-
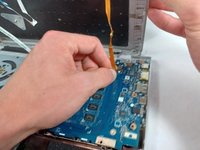
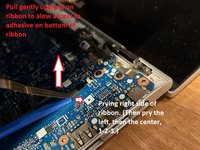
Lift the ribbon cable with gentle pressure, pry the ribbon away from the motherboard on the right side, then the left, then the center, prying away only a little triangle of tape at a time, applying gentle upward pressure to the tape while you loosen and pry.
-
Once you have enough slack in the three ribbons that hold the keyboard down too tightly, lift the front of the keyboard and twist counterclockwise to produce enough room to reach the screws securing the hard drive with your screwdriver.
-
-
-
Remove the narrow strip of tape to the left of the hard drive.
-
Remove the five screws holding the caddy in.
-
Lift the hard drive slight;y and slide it to the right to remove it from its socket.
-
To reassemble your device, follow these instructions in reverse order.
Cancel: I did not complete this guide.
One other person completed this guide.


