
ASUS ZenPad S 8.0 Daughter Board Replacement

Introduction
Go to step 1This is a guide outlining how to remove and replace the daughter board (also known secondary board). Make sure the battery is completely removed before working on the daughter board as to prevent shorts in the circuitry As a precautions ground yourself to prevent frying the internal components. Also make sure to keep track of screws and label them.
What you need


-
-
Use the plastic tool to pry between the silver bezel and the back case
-
Work the tool around the device to free the back case
-
-
-
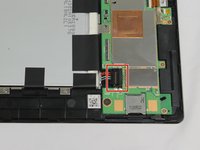
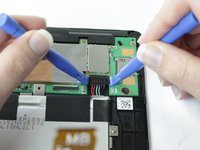
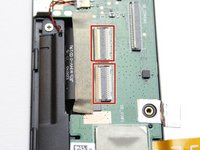
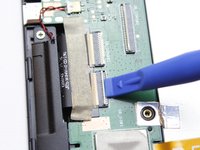
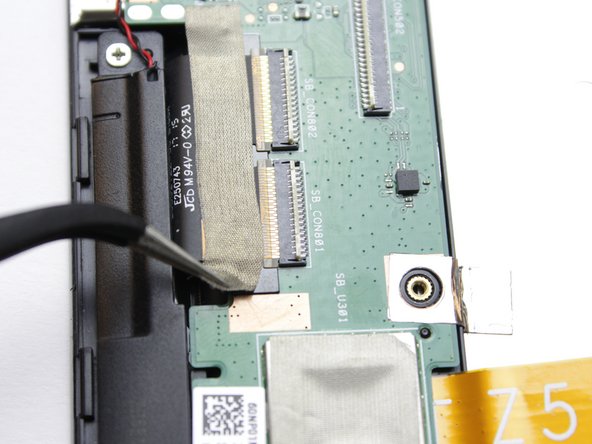
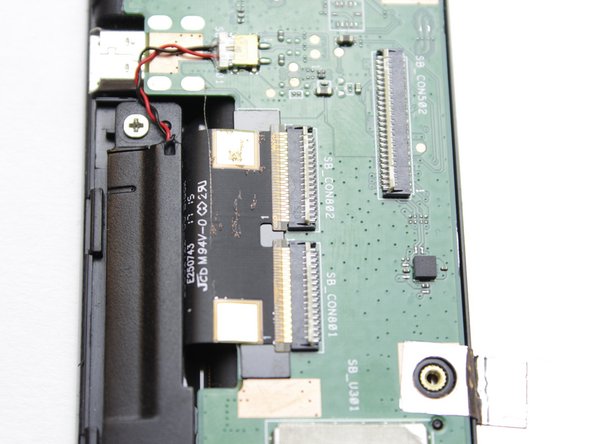
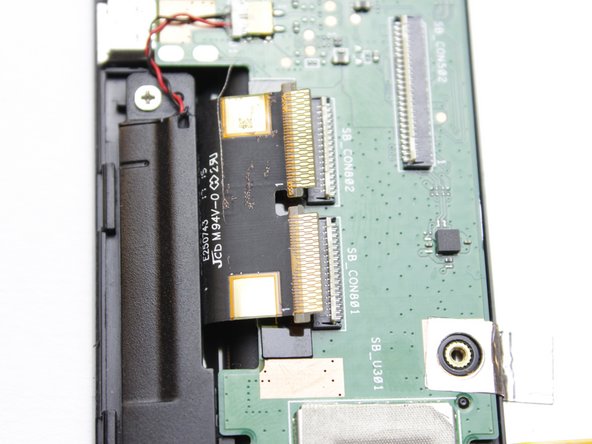
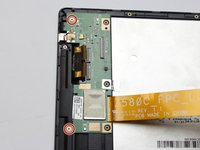
To remove the ribbon cables, lift up the white retaining flap on the ZIF Connectors with a plastic pry tool
-


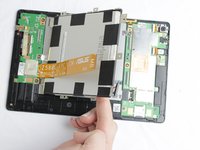


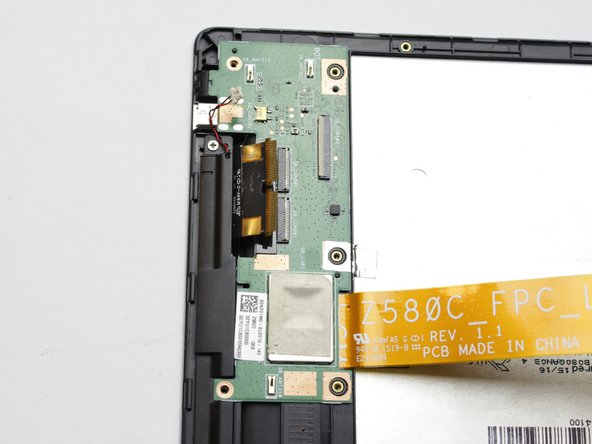


To reassemble your device, follow these instructions in reverse order.
To reassemble your device, follow these instructions in reverse order.
Cancel: I did not complete this guide.
5 other people completed this guide.

Team

USF Tampa, Team 2-2, Cagle Fall 2016 Member of USF Tampa, Team 2-2, Cagle Fall 2016
USFT-CAGLE-F16S2G2
4 Members
5 Guides authored
4 Comments
Thanks for helping me fix my beloved Zenpad!
Karen, where did you get the replacement daughter board? I can’t find one anywhere! - Christine
Bought it here:
https://www.asusparts.eu/en/Asus-90NP01M...
This is Part Number: 32YU1CB0000,
“ASUSparts” internal part number: 90NP01M0-R10010
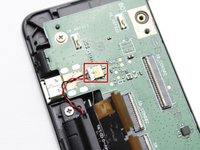
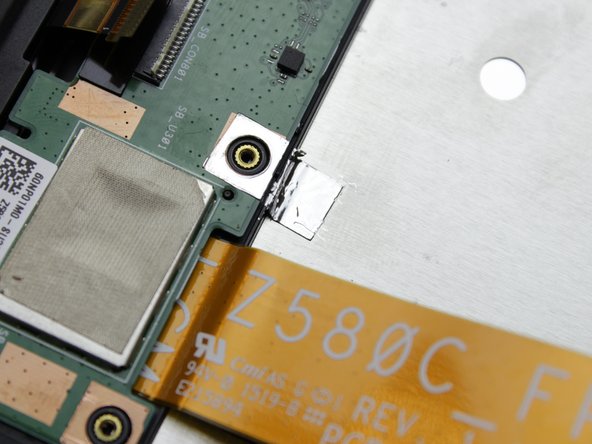
Please clarify Step 9 - where exactly is the warranty tape that needs to be cut?
I have this unit and it stopped charging and stopped holding charge- I do not want to buy another unit as I invested a LOT of time in setting this one up…
Thanks
vshulyaker@gmail.com