Introduction
The original AirPods were released in 2016, almost a decade ago. Thus, it is almost certain that no AirPods of that generation can still hold a good charge. This guide aims to solve that, but replacing AirPods batteries is extremely challenging. You must cut them open and work in very tight spaces. To help you complete this grueling process, many contributors at iFixit compiled this repair guide. Good luck, and let's begin!
Note: This is a very difficult procedure. It requires numerous tools and soldering skills. Please understand this... realize too, that it may not be possible to repair your AirPods. The procedure can cause other internal components to be damaged.
ALSO NOTE: the order of steps and the instructions are not (yet) in perfect synchronicity. Read through the instructions and view all the photos before you begin.
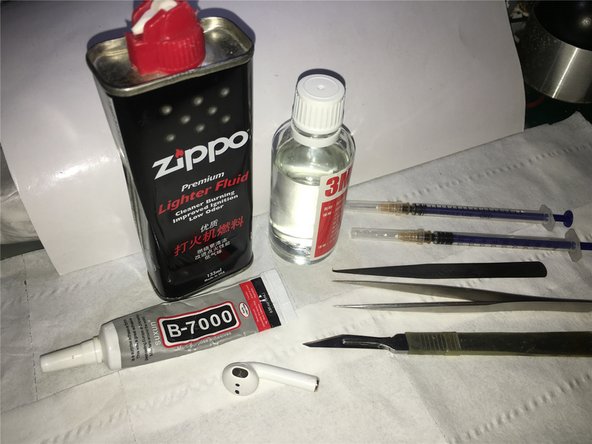
What you need
Video Overview
-
-
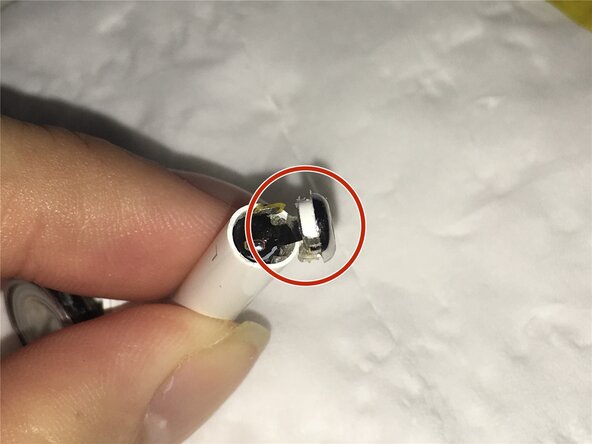
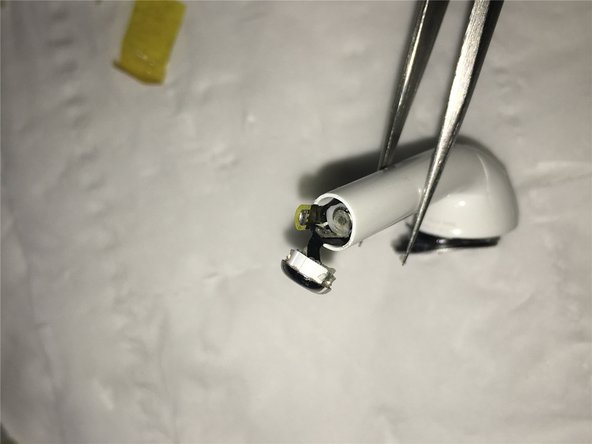
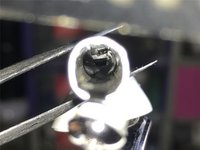
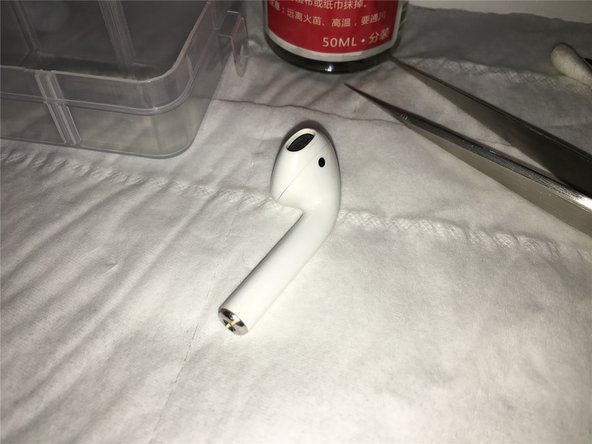
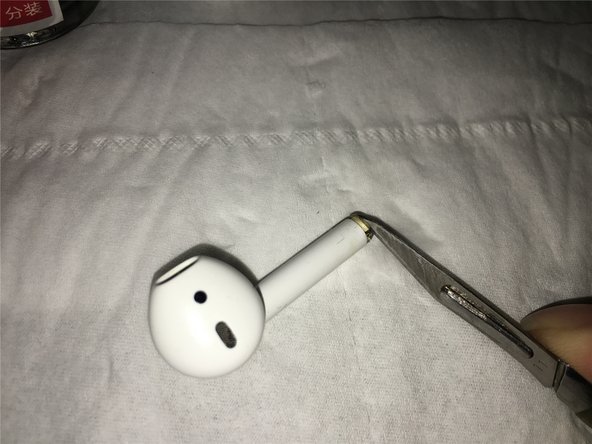
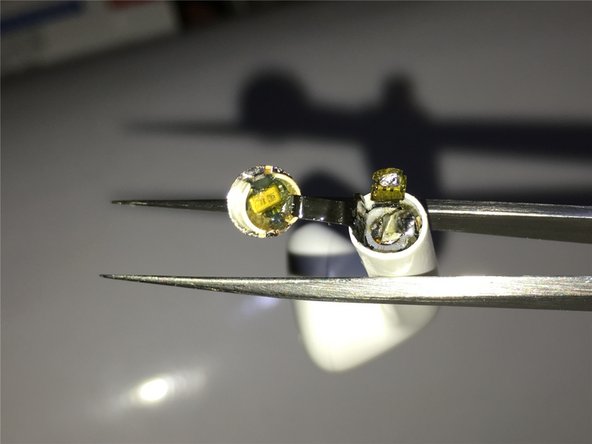
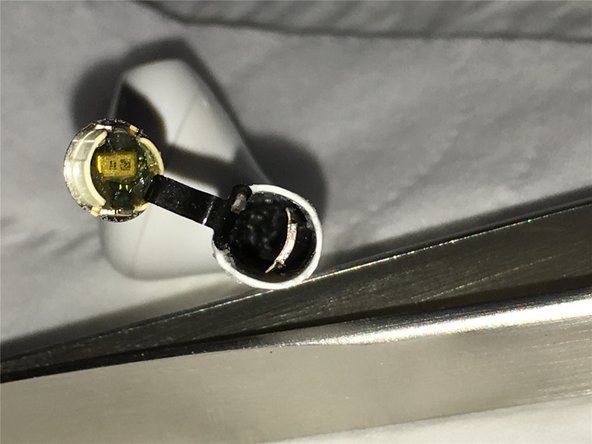
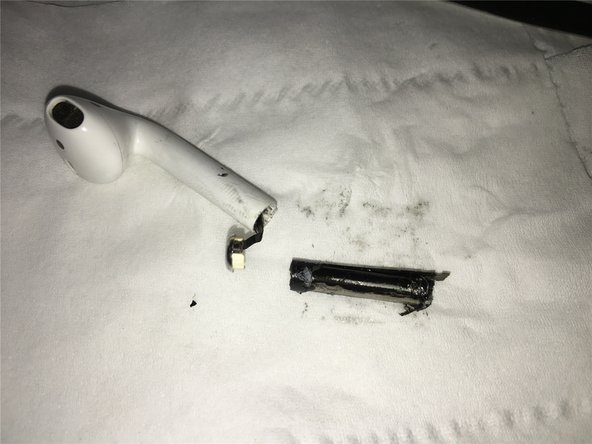
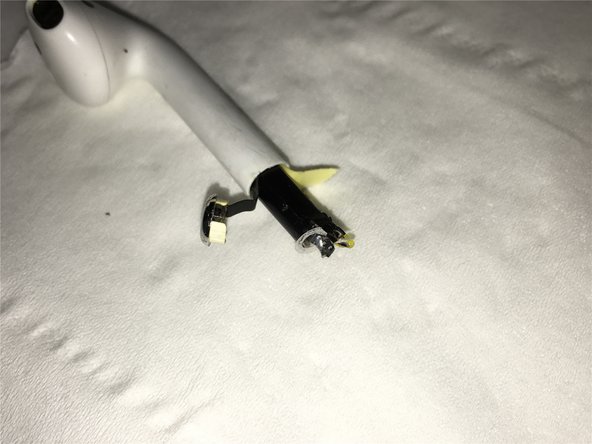
Using our tools, we pried open the bottom (silver tip) of our AirPod.
-
-
-
Tool used on this step:Tweezers$4.99
-
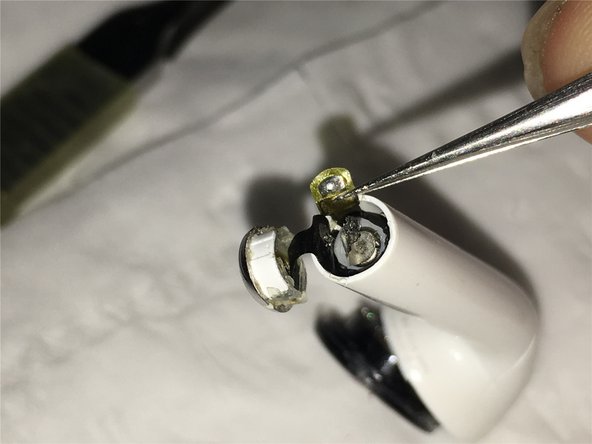
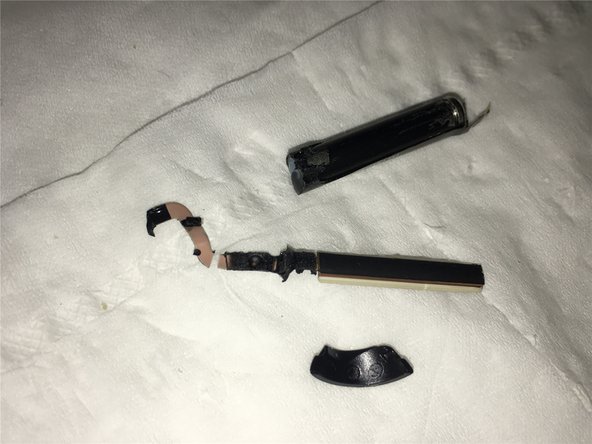
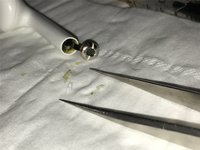
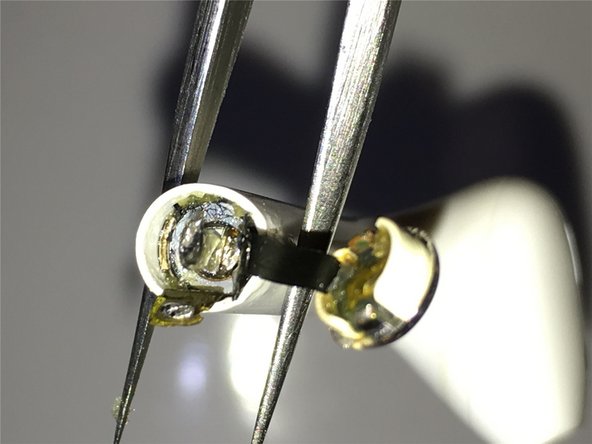
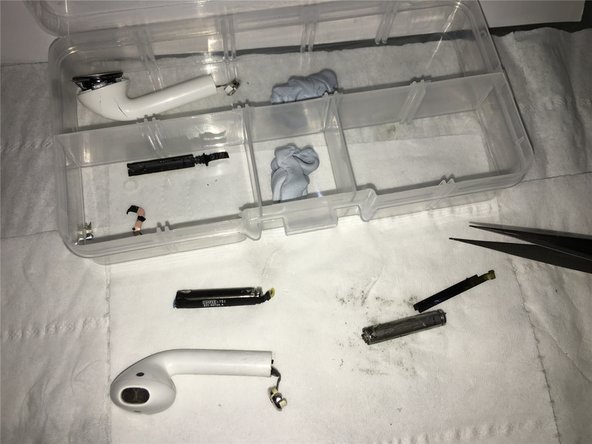
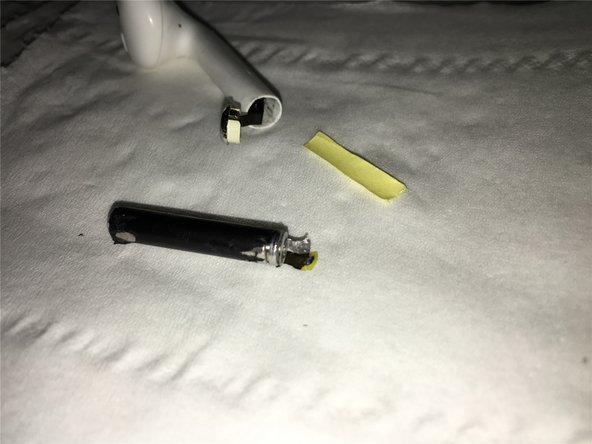
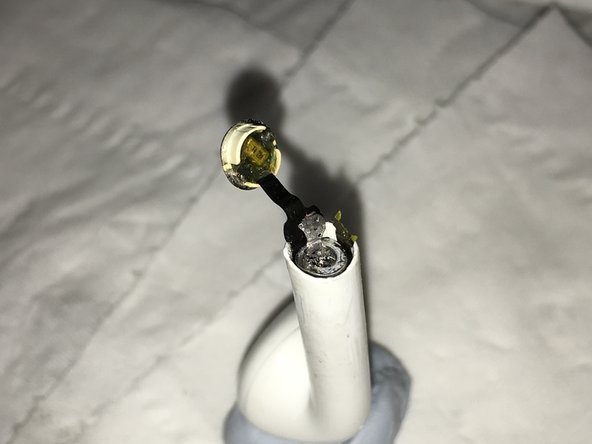
Use a pair of tweezers to wiggle the antenna glued on the outside of the battery left and right, then reapply the solvent.
-
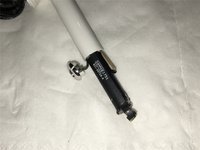
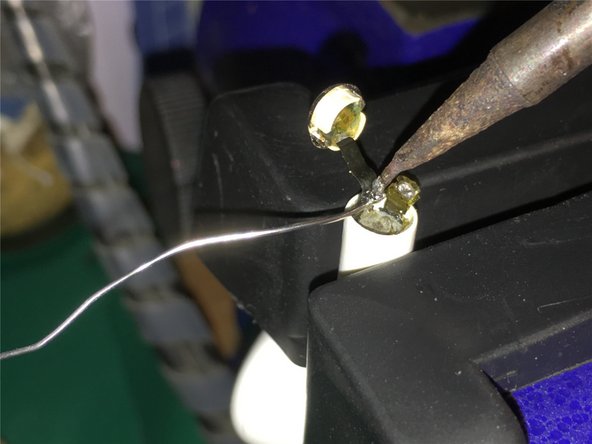
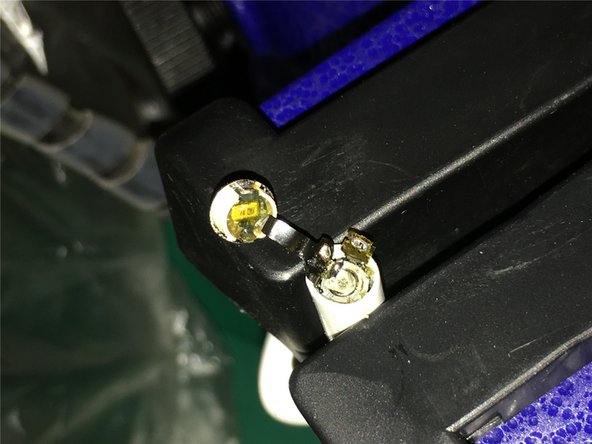
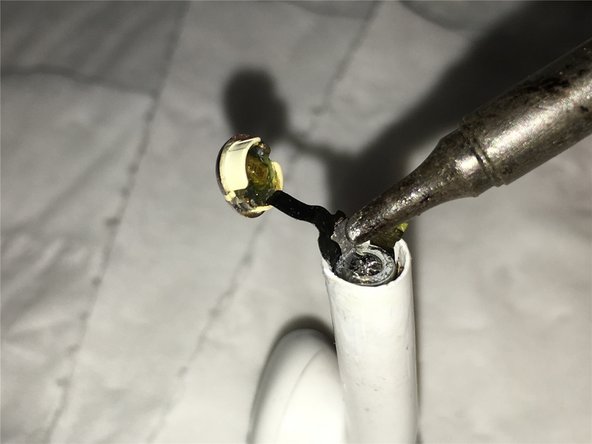
Next we will insert a thin, piece of plastic between the battery and the inner surface of the antenna, vertically, to loosen and separate the battery and antenna.
-


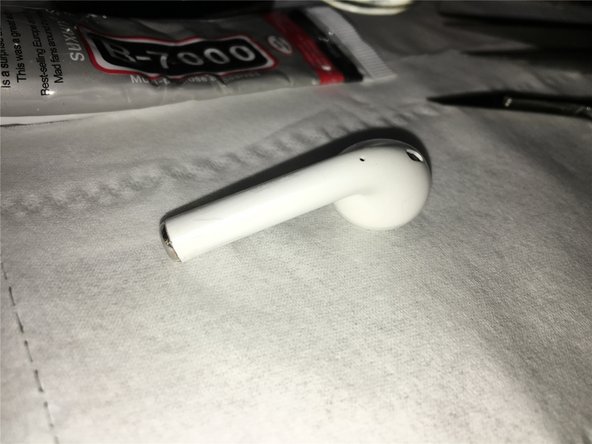


Since the first-generation AirPods have been used for a long time, the left earbud now only lasts for less than 30 minutes. The right earbud was replaced after it was lost, so the battery performance between the two is very different. This imbalance has shortened overall usage time and affected normal use.
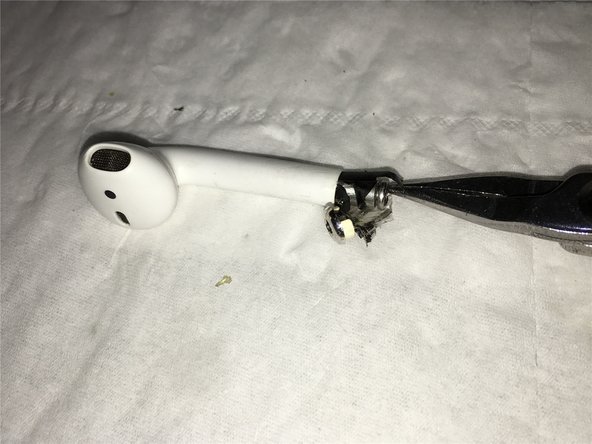
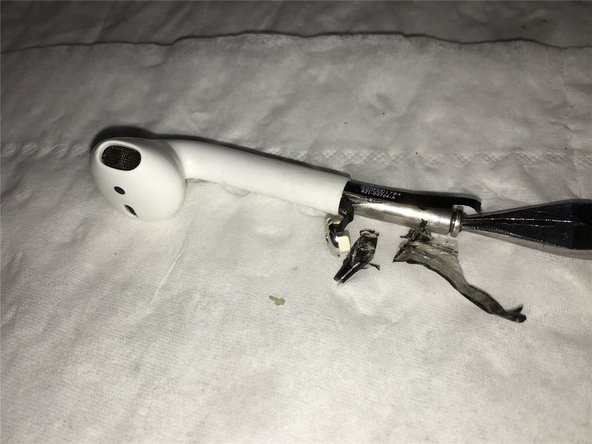
I recently found a broken left AirPod and, after testing, discovered that its battery and battery life were still intact. This led me to try swapping the battery by disassembling the old AirPods. After some trial and error, I successfully completed the battery replacement.
I’m sharing this tutorial so others can try it too. Hopefully, it will help anyone on iFixit or elsewhere who is dealing with similar issues.
Cancel: I did not complete this guide.
18 other people completed this guide.

10 Guide Comments
Where I buy the battery for replacement, and how under what name?
I'm using a damaged headset, but the battery is good, and I took it out for repair. If you want a brand new original, it is only available in certain channels in China.
Deng lei -
Where can i buy an airpods battery…???
My location is Bangladesh,Asia.
Can i buy airpods battery in online???
You can try AliExpress:
Hola amigo, excelente el tutorial, sabes donde puedo comprar la batería? he buscado en canales de china pero no encuentro… mil gracias, espero tu respuesta.