Alienware M14xR2 Hard Drive Replacement

Alienware M14xR2 Hard Drive Replacement

Connor Bovee

Connor Bovee and 7 other contributors

Last updated on May 13, 2021

5 - 10 minutes
Easy

Introduction

Go to step 1

This guide will show you how to safely access and replace the hard drive for the Alienware M14xR2 laptop. Before replacing the hard drive you will need to remove the battery and the CD drive.

What you need

Fix Kit

This kit contains all the parts and tools needed to complete this guide.

Parts

Tools

Show more…

  1. Alienware M14xR2 Hard Drive Replacement, Battery: step 1, image 1 of 1
    • Turn the computer off.

    • Disconnect the charging cable from the computer.

    • Failure to unplug the charging cable could result in electric shock and serious injury.

    • Flip the computer upside down.

  2. Alienware M14xR2 Hard Drive Replacement: step 2, image 1 of 3 Alienware M14xR2 Hard Drive Replacement: step 2, image 2 of 3 Alienware M14xR2 Hard Drive Replacement: step 2, image 3 of 3
    • Loosen the two 6.35 mm size 1 Phillips screws on the back cover.

    • The two screws are spring loaded and will not separate from the cover.

    • Slide the back cover towards you and then lift upwards to remove.

  3. Alienware M14xR2 Hard Drive Replacement: step 3, image 1 of 1
    • Loosen the two 6.35 mm size 1 Philips screws attaching the battery to the laptop.

    • The two screws are clipped into the battery and will not detach.

  4. Alienware M14xR2 Hard Drive Replacement: step 4, image 1 of 3 Alienware M14xR2 Hard Drive Replacement: step 4, image 2 of 3 Alienware M14xR2 Hard Drive Replacement: step 4, image 3 of 3
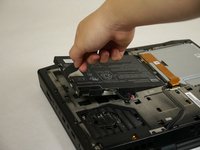
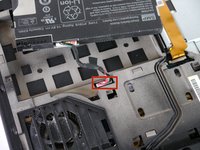
    • Pull up on the black tab on the battery to reveal the connection between the battery and laptop.

    • Pull up on the white connector to disconnect it from the laptop.

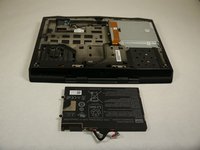
    • The battery is now free to remove from the laptop and can be set aside.

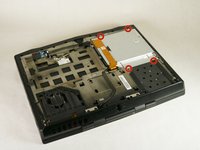
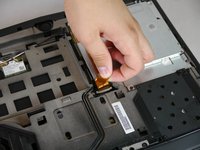
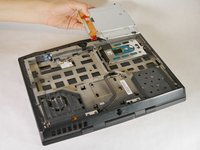
  5. Alienware M14xR2 Hard Drive Replacement, Optical Drive: step 5, image 1 of 3 Alienware M14xR2 Hard Drive Replacement, Optical Drive: step 5, image 2 of 3 Alienware M14xR2 Hard Drive Replacement, Optical Drive: step 5, image 3 of 3
    • Unscrew the four 6.35 mm size 1 screws.

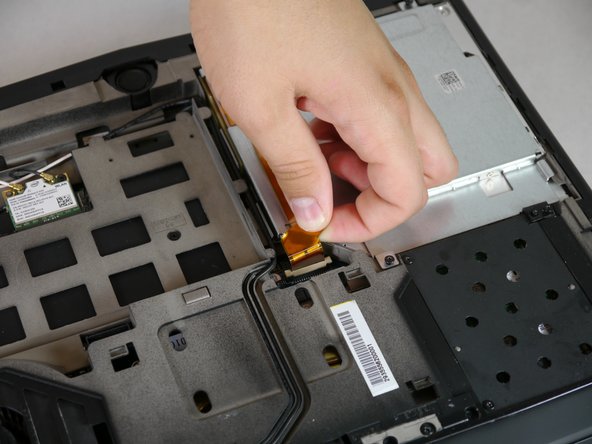
    • Pull up on the end of the orange tab to detach it from the white connector.

    • Lift the optical drive up and out of the laptop and set it aside.

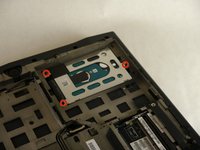
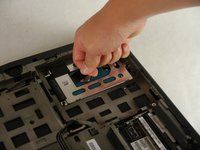
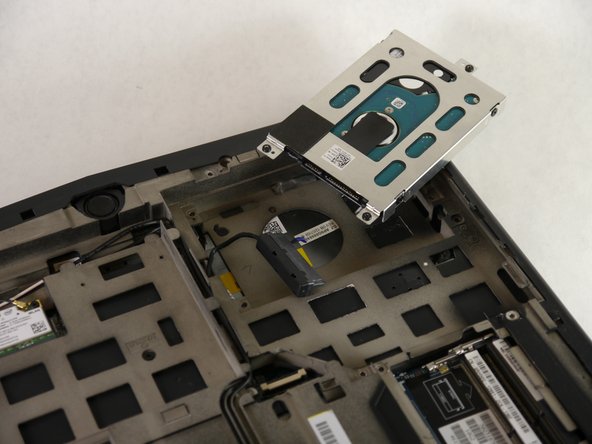
  6. Alienware M14xR2 Hard Drive Replacement, Hard Drive: step 6, image 1 of 2 Alienware M14xR2 Hard Drive Replacement, Hard Drive: step 6, image 2 of 2
    • Loosen the three 6.35 mm size 1 screws to release the hard drive from the rest of the laptop.

    • The screws are spring loaded and will not come loose from the hard drive assembly.

    • Pull up on the black tab gently as there is still a cable attaching the hard drive to the computer.

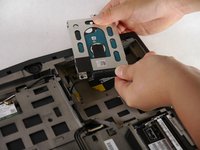
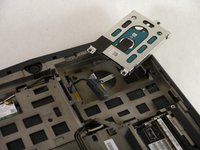
  7. Alienware M14xR2 Hard Drive Replacement: step 7, image 1 of 2 Alienware M14xR2 Hard Drive Replacement: step 7, image 2 of 2
    • Pull the connector that is attached to the cable at the end of the hard drive out and away from the hard drive to detach it.

    • Set aside the now disconnected hard drive.

Conclusion

To reassemble your device, follow these instructions in reverse order.

5 other people completed this guide.

Connor Bovee

Member since: 09/30/13

569 Reputation

2 Guides authored

Team

Cal Poly, Team 13-4, Forte Fall 2013 Member of Cal Poly, Team 13-4, Forte Fall 2013

CPSU-FORTE-F13S13G4

5 Members

6 Guides authored

0 Comments

Add Comment

View Statistics:

Past 24 Hours: 3

Past 7 Days: 7

Past 30 Days: 36

All Time: 11,212