
Apple Magic Keyboard Disassembly

Archived Guide
This guide is retained solely for historical purposes. Use the updated version of the guide to perform your repair.
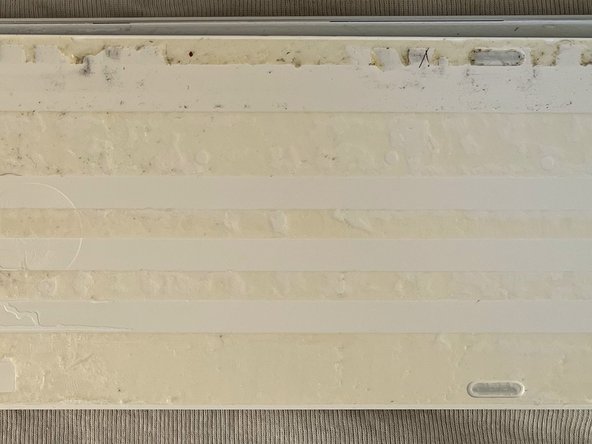
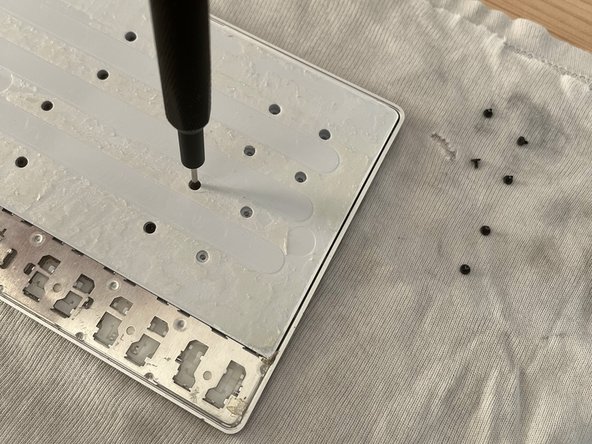
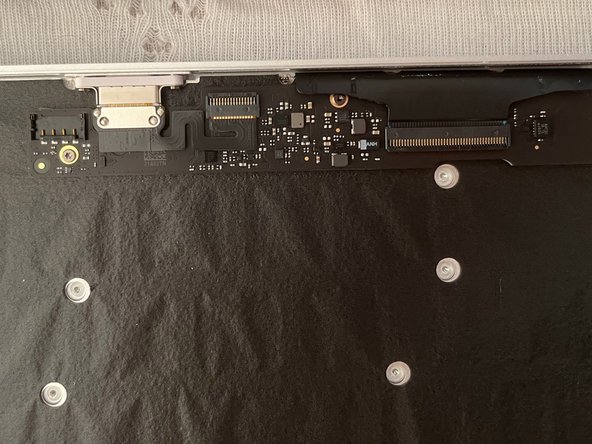
    • For opening the Magic Keyboard with with Numeric Keypad you need to remove the back..

  1. Apple Magic Keyboard Disassembly: step 2, image 1 of 2 Apple Magic Keyboard Disassembly: step 2, image 2 of 2
    • For opening I recommend to use a sharp knife to cut the glue. I could cut less than a mm at once, so you have to do it many times and be careful!

    • Please note that the plastic is not acid resistant.. so don't try to have a good idea like me to use Aceton... :/

  2. Apple Magic Keyboard Disassembly: step 3, image 1 of 3 Apple Magic Keyboard Disassembly: step 3, image 2 of 3 Apple Magic Keyboard Disassembly: step 3, image 3 of 3
    • After that you will find some screws.. 33 :)

    • They are all identical, so do not worry about mixing them up.

  3. Apple Magic Keyboard Disassembly: step 4, image 1 of 2 Apple Magic Keyboard Disassembly: step 4, image 2 of 2
    • Finally you can solvate it

    • But do not remove it, because the battery is still connected!

  4. Apple Magic Keyboard Disassembly: step 5, image 1 of 2 Apple Magic Keyboard Disassembly: step 5, image 2 of 2
    • Oh what for a sweet battery..

    • 793mAh.. 3.76V Model: A1645

    • So.. Apple makes it very easy to swap the battery buuut.. it's honestly not such a great deal :D

  5. Apple Magic Keyboard Disassembly: step 6, image 1 of 2 Apple Magic Keyboard Disassembly: step 6, image 2 of 2
    • Nice lightning connector.. but it's not that spectacular..

  6. Apple Magic Keyboard Disassembly: step 7, image 1 of 2 Apple Magic Keyboard Disassembly: step 7, image 2 of 2
    • This plastic film has not really a function.. probably Apple engineers found it funny to ad it..

  7. Apple Magic Keyboard Disassembly: step 8, image 1 of 1
    • Here we are at the end..

    • I do understand now why this keyboard has a high price.. I never saw in a keyboard 42 screws!! (Update: I found one more: 43 in total)

    • Honestly.. I was only curious to see what's inside.. I mean that's so Apple...

Conclusion

Per rimontare il dispositivo, segui queste istruzioni in ordine inverso.

Nils

Member since: 12/26/16

340 Reputation

2 Guides authored

0 Guide Comments

Add Comment

View Statistics:

Past 24 Hours: 0

Past 7 Days: 0

Past 30 Days: 3

All Time: 63