
Asus K50IJ Fan Replacement

Introduction
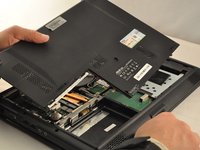
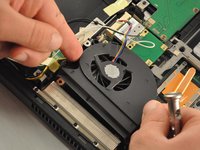
Go to step 1Fans can overheat and stop working. This guide will help you be able to remove and replace the fan inside the ASUS K50IJ.
What you need

-
-
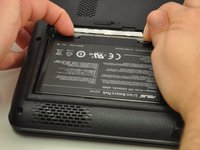
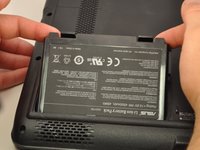
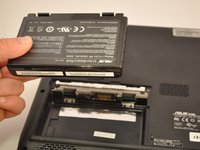
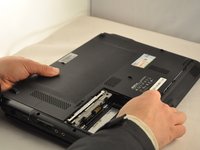
Slide the tab over to unlock the battery cover located on the bottom-left corner of the laptop.
-
-
-
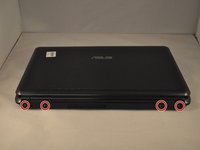
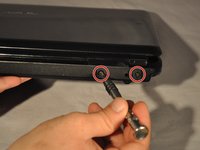
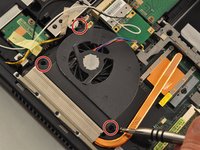
Using the PH1 screwdriver, remove the four 4 .75 mm screws that are located on the vent panel.
-


To reassemble your device, follow these instructions in reverse order.
To reassemble your device, follow these instructions in reverse order.
Cancel: I did not complete this guide.
One other person completed this guide.

Team

Eastern Washington University, Team S1-G3, Carnegie Fall 2017 Member of Eastern Washington University, Team S1-G3, Carnegie Fall 2017
EWU-CARNEGIE-F17S1G3
4 Members
5 Guides authored