
Asus Zenfone 4 Max Screen Replacement
Introduction
Go to step 1Replace your screen to restore your Asus Zenfone 4 Max phone screen's capabilities or appearance


-
-
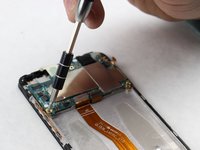
Using a removable head screwdriver and a T3 bit, begin by removing the two screws located on either side of the charging port.
-
-
-
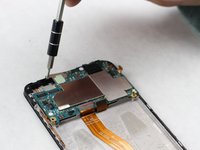
Using a removable head screwdriver and a T4 bit, remove the screws on the base of the phone on either side of the charging port.
-
-
-
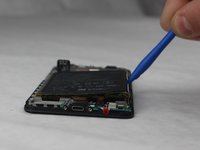
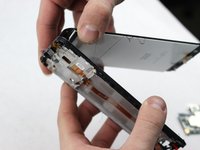
Starting near either of the 4 corners of the device notice the seam of the case around the front of the device.
-
Begin using the opening tool with a moderate amount of force to wedge between the back case and the phone.
-
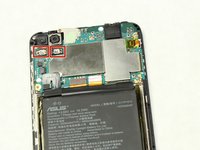
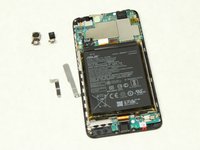
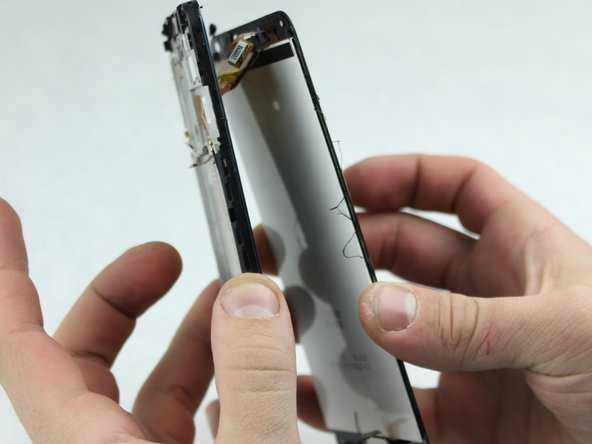
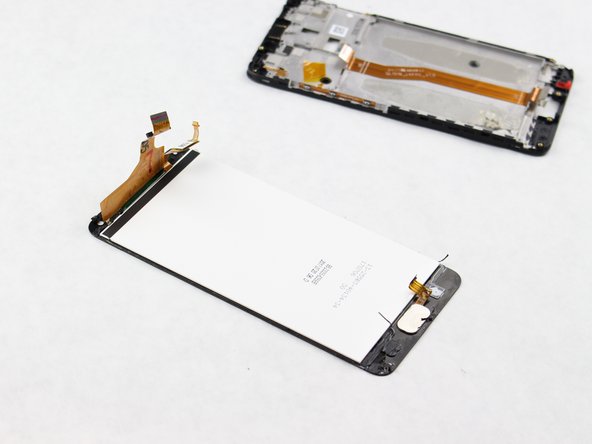
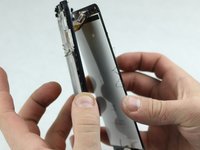
Gently move the tool around the edges towards each corner until the back is removed.
-
-
-
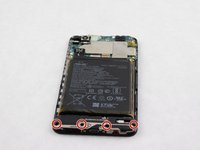
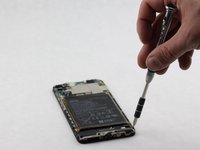
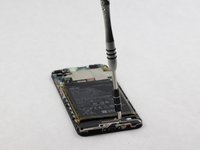
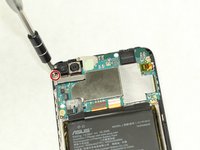
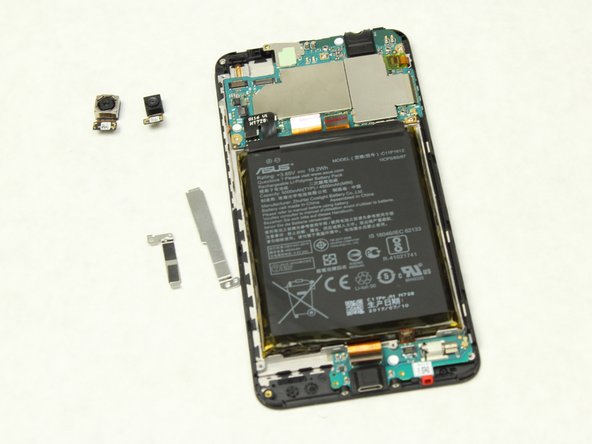
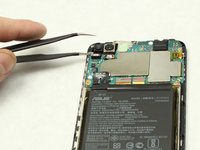
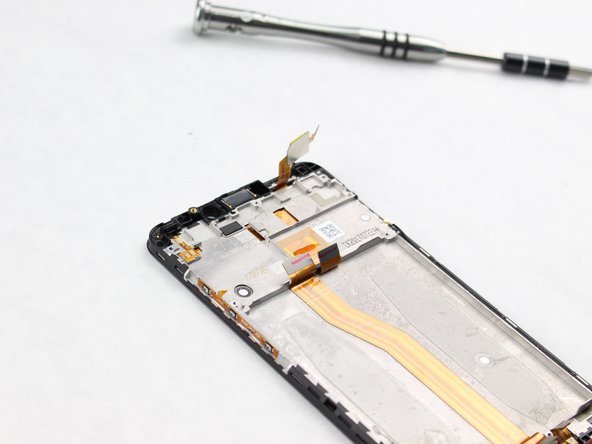
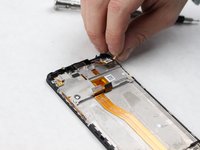
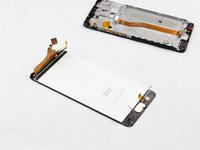
Using the screwdriver with the PH0 bit, unscrew all screws found on the circuit board.
-


To reassemble your device, follow these instructions in reverse order.
To reassemble your device, follow these instructions in reverse order.
Cancel: I did not complete this guide.
4 other people completed this guide.
Team

Sam Houston State, Team S11-G6, Blackburne Fall 2018 Member of Sam Houston State, Team S11-G6, Blackburne Fall 2018
SHSU-BLACKBURNE-F18S11G6
4 Members
10 Guides authored
2 Comments
in one step it says use a T3 for to the left and right of the charging port, later it says T4. also, the guide has what i believe to be a typo, as it mentions an “AT3” bit for removal of the internal bottom panel. just wanted to alert you to these inconsistencies. overall seems to be a good guide, i shall be replacing my screen soon as i have cracked the corner and find it unsightly. thank you, have a nice evening.
This was a fun fix, usually I fix iPad or iPhone, so this was my first time fixing an Asus and was easier than I thought it was gonna be. Just take your time as I didn't now I'm fixing something else .