Introduction
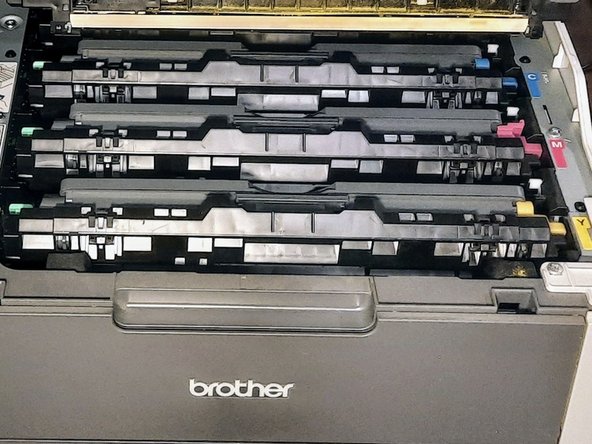
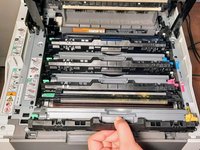
This step-by-step guide will walk you through the process of replacing the printer ink cartridges in your Brother MFC-9130CW printer. Over time, printers will run out of ink, affecting their performance. By following this guide, you can navigate through the steps of efficient ink cartridge replacement, ensuring a smooth printing experience.
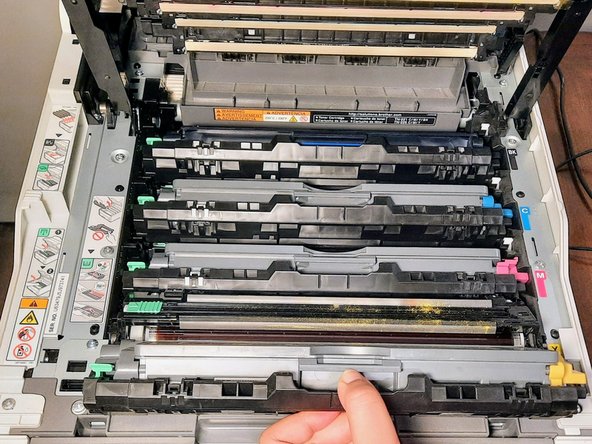
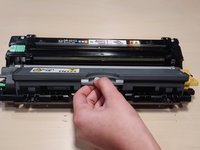
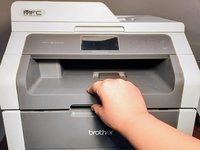
Before starting the process, remember to press the power button to turn off the printer. It's essential to handle the printer components with care.
What you need
-
-
Press the power button on the printer for a couple of seconds to turn it off.
-
-


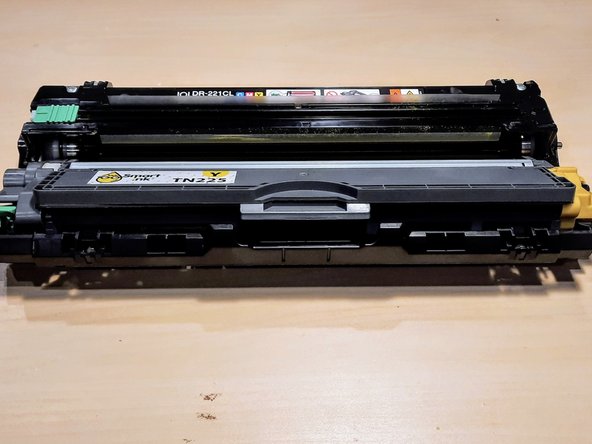


To reassemble your device, follow these instructions in the given order.
To reassemble your device, follow these instructions in the given order.
Cancel: I did not complete this guide.
One other person completed this guide.

Team

York University, Team 2-28, O'Regan Winter 2024 Member of York University, Team 2-28, O'Regan Winter 2024
YORK-O'REGAN-W24S2G28
1 Member
2 Guides authored