Cuisinart DGB-650 Motherboard Replacement

What you need

  1. Cuisinart DGB-650 Motherboard Replacement, Motherboard: step 1, image 1 of 3 Cuisinart DGB-650 Motherboard Replacement, Motherboard: step 1, image 2 of 3 Cuisinart DGB-650 Motherboard Replacement, Motherboard: step 1, image 3 of 3
    • Turn the coffee maker upside down.

    • Remove the four 1.2 mm screws using a Phillips #0 screwdriver.

    • Remove the bottom cover to expose the heating element and pipes.

  2. Cuisinart DGB-650 Motherboard Replacement: step 2, image 1 of 3 Cuisinart DGB-650 Motherboard Replacement: step 2, image 2 of 3 Cuisinart DGB-650 Motherboard Replacement: step 2, image 3 of 3
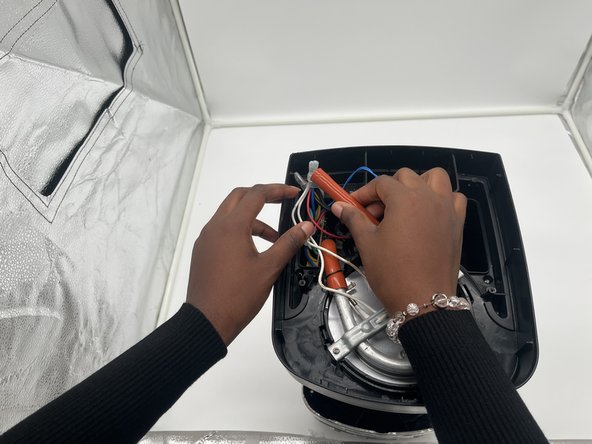
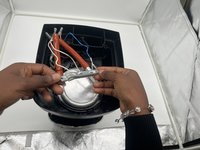
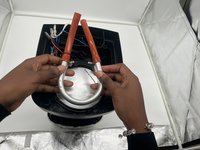
    • Firmly grasp both pipe endings next to the motherboard and gently pull both ends out.

  3. Cuisinart DGB-650 Motherboard Replacement: step 3, image 1 of 3 Cuisinart DGB-650 Motherboard Replacement: step 3, image 2 of 3 Cuisinart DGB-650 Motherboard Replacement: step 3, image 3 of 3
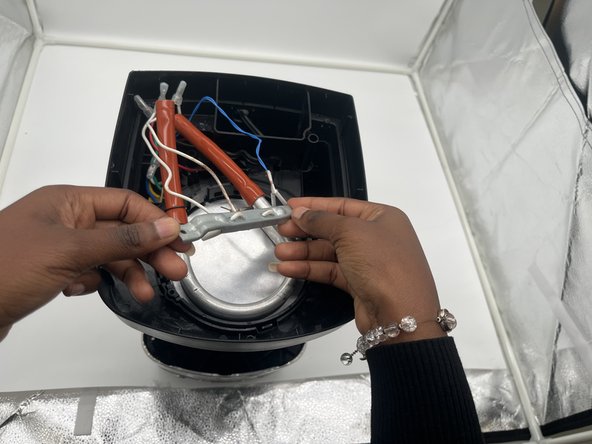
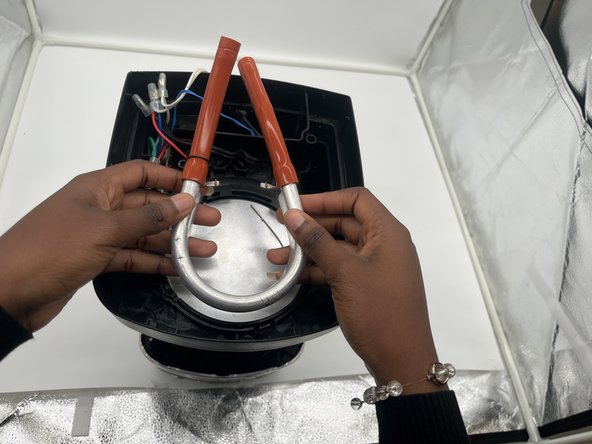
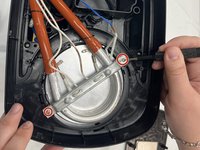
    • Remove the two 1.2 mm screws keeping the pipe clamp attached using a Phillips #0 screwdriver.

    • Lift the pipe clamp up and set it aside.

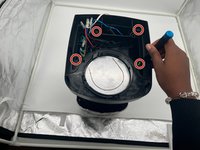
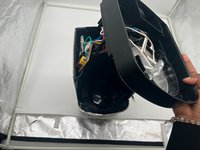
  4. Cuisinart DGB-650 Motherboard Replacement: step 4, image 1 of 3 Cuisinart DGB-650 Motherboard Replacement: step 4, image 2 of 3 Cuisinart DGB-650 Motherboard Replacement: step 4, image 3 of 3
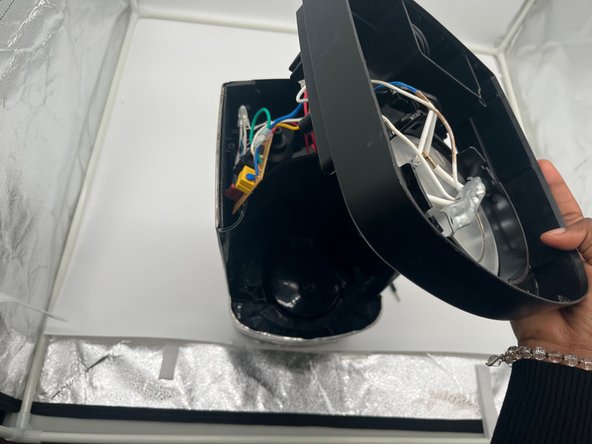
    • Remove the four 1.2 mm screws using a Phillips #0 screwdriver.

    • Remove the lid to get access to the motherboard.

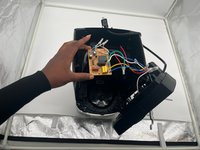
  5. Cuisinart DGB-650 Motherboard Replacement: step 5, image 1 of 2 Cuisinart DGB-650 Motherboard Replacement: step 5, image 2 of 2
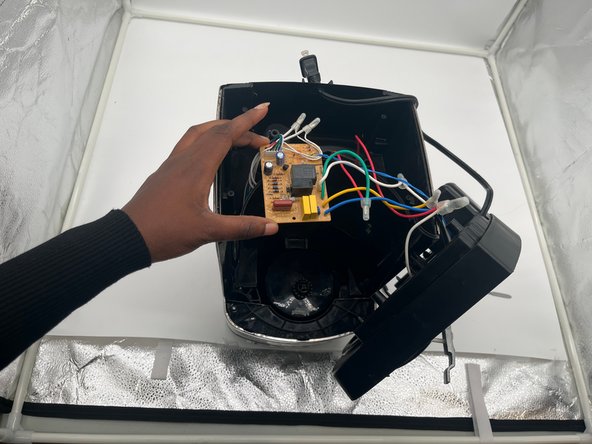
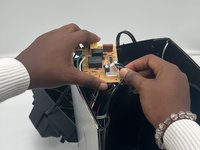
    • Gently grasp and remove the expansion slot on the motherboard with the six colorful wires intertwined together.

    • Gently grasp and remove the expansion slot.

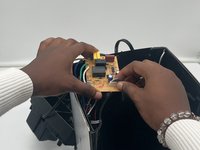
  6. Cuisinart DGB-650 Motherboard Replacement: step 6, image 1 of 3 Cuisinart DGB-650 Motherboard Replacement: step 6, image 2 of 3 Cuisinart DGB-650 Motherboard Replacement: step 6, image 3 of 3
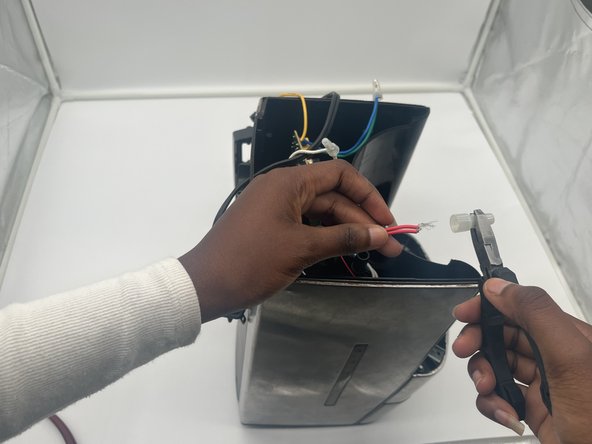
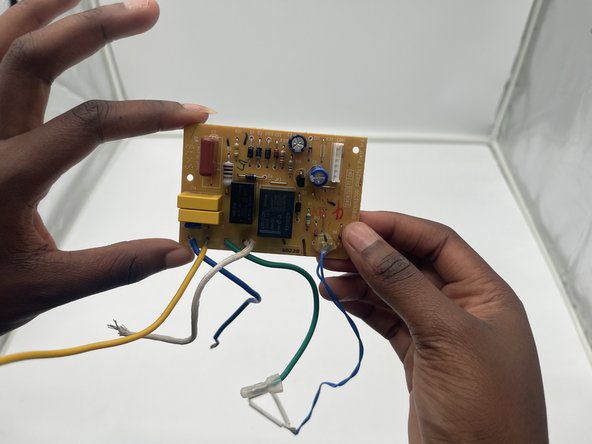
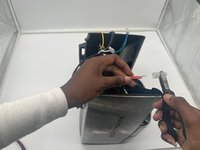
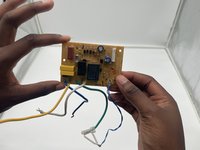
    • Use pliers to remove the plastic clamps from each of the six wires connected to the motherboard.

    • The motherboard should now be completely separated from the coffee maker.

Conclusion

To reassemble your device, follow these instructions in reverse order.

0 Comments

Add Comment

View Statistics:

Past 24 Hours: 0

Past 7 Days: 0

Past 30 Days: 11

All Time: 67