
DeWALT Hammer Drill DW511 Chuck Replacement

What you need

  1. DeWALT Hammer Drill DW511 Chuck Replacement, Lever Assembly: step 1, image 1 of 3 DeWALT Hammer Drill DW511 Chuck Replacement, Lever Assembly: step 1, image 2 of 3 DeWALT Hammer Drill DW511 Chuck Replacement, Lever Assembly: step 1, image 3 of 3
    • Remove two 45 mm T20 Torx screws.

    • Remove one 30 mm T20 Torx screw.

  2. DeWALT Hammer Drill DW511 Chuck Replacement: step 2, image 1 of 1
    • Pull off the top case and set it aside.

  3. DeWALT Hammer Drill DW511 Chuck Replacement: step 3, image 1 of 3 DeWALT Hammer Drill DW511 Chuck Replacement: step 3, image 2 of 3 DeWALT Hammer Drill DW511 Chuck Replacement: step 3, image 3 of 3
    • Grab the gear case cover and gently pull it out just enough to where it exposes the lever assembly.

    • It is important that the brushes are removed before you do this step or you may damage your brushes.

    • The lever assembly can now be lifted out.

  4. DeWALT Hammer Drill DW511 Chuck Replacement: step 4, image 1 of 1
    • With the old lever assembly removed you can now replace it with a new one.

  5. DeWALT Hammer Drill DW511 Chuck Replacement, Chuck: step 5, image 1 of 3 DeWALT Hammer Drill DW511 Chuck Replacement, Chuck: step 5, image 2 of 3 DeWALT Hammer Drill DW511 Chuck Replacement, Chuck: step 5, image 3 of 3
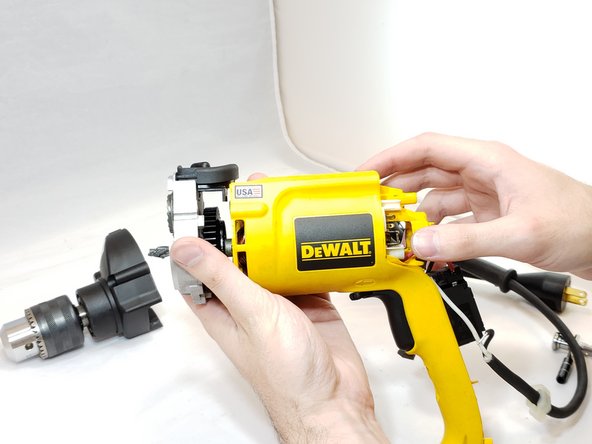
    • Gently separate the chuck and plastic housing from the hammer drill body.

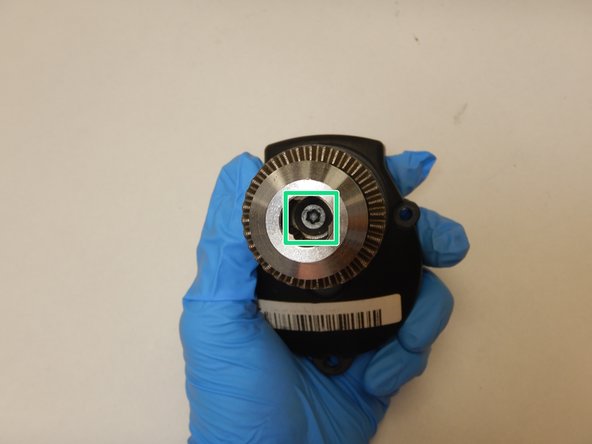
    • The removal of the screw from the chuck to separate the plastic housing requires hand strength and specialized tools.

    • The plastic housing is prone to damage if excessive force is applied during the replacement.

Conclusion

To reassemble your device, follow these instructions in reverse order.

0 Comments

Add Comment

View Statistics:

Past 24 Hours: 0

Past 7 Days: 0

Past 30 Days: 3

All Time: 600