
Dell Inspiron 17R-N7110 DC Power Jack Replacement
Introduction
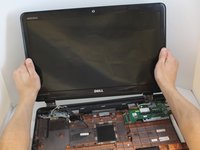
Go to step 1This guide will walk you through removing and replacing your Dell Inspiron 17R-N7110 DC power jack. You will be handling delicate electronic components during this process, so be sure to wear the anti-static wrist strap for the entirety of the replacement. You should also be aware that the screen is very heavy on this device, so you need to be careful to support it in order to keep the laptop from falling over.
What you need


-
Tool used on this step:Anti-Static Wrist Strap$7.95
-
Place the laptop on a flat surface with the Dell logo upside down.
-
Flip the laptop over. The battery will be in the top center.
-
-
-
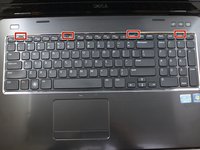
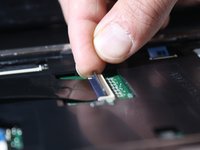
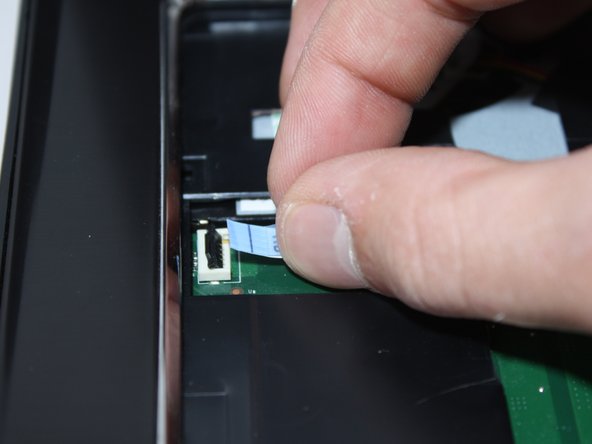
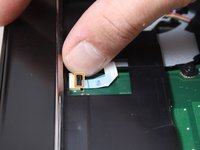
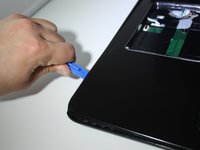
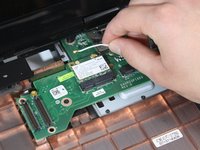
Flip over and open your device. Gently wedge the metal Jimmy into the rightmost hole at a 45-degree angle. Make sure that the Jimmy is between the silver metal portion of the keyboard and the silver plastic edge around the keyboard.
-
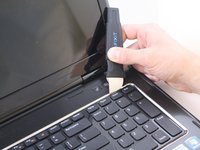
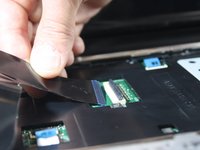
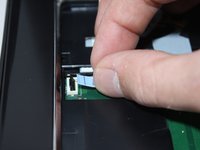
Tilt the metal jimmy away from you to pry up the edge of the keyboard.
-
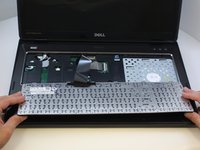
Repeat the previous actions on each of the other three holes to release the keyboard.
-
-
-
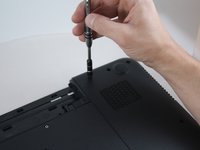
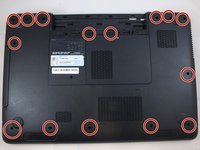
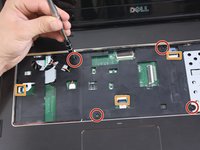
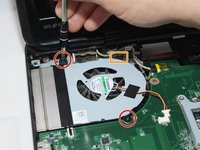
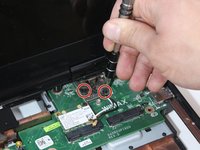
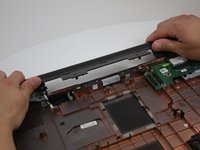
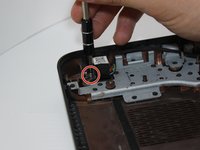
Use a Phillips #0 screwdriver to unscrew the 5mm screws from the bottom. There are a total of 15 screws.
-
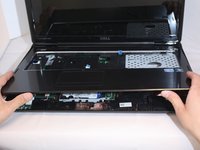
Flip the laptop over.
-


To reassemble your device, follow these instructions in reverse order.
To reassemble your device, follow these instructions in reverse order.
Cancel: I did not complete this guide.
4 other people completed this guide.
Team

Eastern Washington University, Team S1-G4, Carnegie Spring 2018 Member of Eastern Washington University, Team S1-G4, Carnegie Spring 2018
EWU-CARNEGIE-S18S1G4
4 Members
7 Guides authored