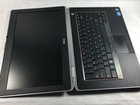
Dell Latitude E6420 Screen Replacement
Introduction
Go to step 1Laptop screens can crack or stop displaying picture. This guide will show users how to replace the screen.
What you need


-
-
Push the tabs on the left and right of the battery out towards the edge of the case.
-
-
-
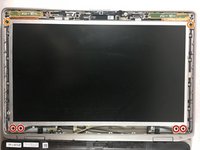
Open the laptop and lay it flat on your work surface.
-
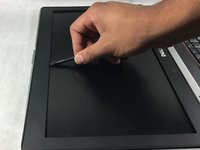
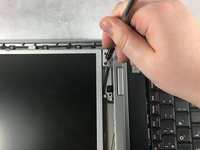
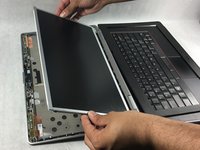
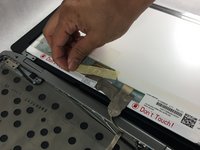
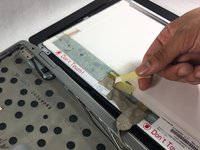
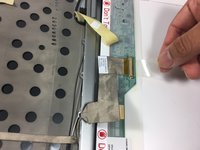
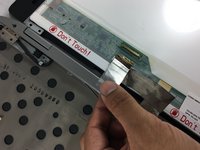
Using the spudger, lift the bezel up from around the laptop screen.
-


To reassemble your device, follow these instructions in reverse order.
To reassemble your device, follow these instructions in reverse order.
Cancel: I did not complete this guide.
9 other people completed this guide.
Team

UMass Dartmouth, Team S2-G3, Simcock Spring 2018 Member of UMass Dartmouth, Team S2-G3, Simcock Spring 2018
UMASSD-SIMCOCK-S18S2G3
3 Members
7 Guides authored