
Dell Precision M3800 USB Port Replacement

Introduction
Go to step 1If the Dell Precision M3800 USB port(s) is/are faulty, use this guide to replace the nonfunctional USB ports.
The USB port allows different devices, such as printers, scanners, phones, mp3 players and others, to be connected to laptop without using a specific port or large connector. If the USB port is faulty, you will not be able to connect a device to the laptop, so a replacement is required.
Before using this guide, ensure that there is not any debris blocking the USB port, because this could disrupt connections. If there is something blocking the USB port, use an ESD-safe brush or small dust blower to clean it out. If this does not work, be sure to power down the laptop, and unplug from the external power source(s) before proceeding with the steps in this guide. To fully replace the USB ports in your device, you’ll need to know how to solder and desolder connections. Use the How to Solder and Desolder Connections guide for more information on how to properly use a soldering iron/station.
What you need


-
-
Use a T5 Torx screwdriver to unscrew the ten 3mm screws on the laptop back cover.
-
Lift up the silver cover from the back panel to reveal two screws.
-
Use a Phillips screwdriver to remove the two screws underneath the silver cover.
-
-
-
Disconnect the battery cable from the system board [1].
-
Use a Phillips screwdriver to remove the four screws securing the battery to the laptop.
-
Lift the battery off the computer [2].
-
-
-
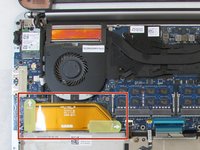
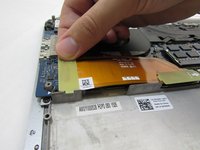
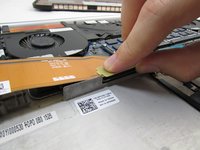
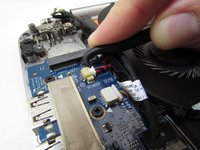
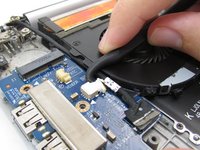
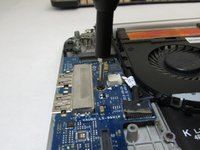
Disconnect the orange wire with the two pull tabs by pulling upwards on the pull tabs.
-
-
-
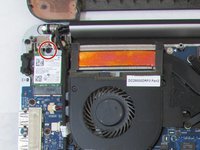
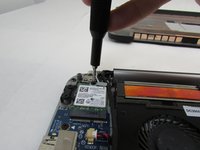
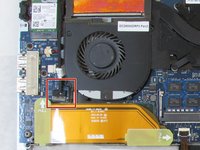
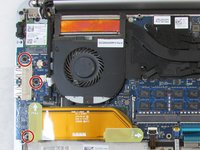
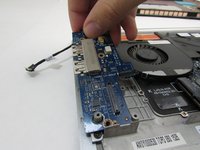
Unscrew the three 3.5 mm screws that secure the circuit board using a Phillips #00 screwdriver.
-
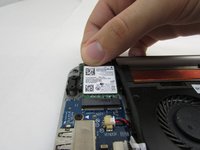
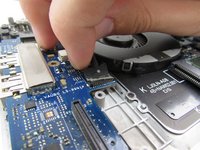
Remove the circuit board by lifting upward.
-
To fully remove the USB ports from the circuit board, you'll need to desolder the points. Use the How to Solder and Desolder Connections guide for more information on soldering and desoldering connections.
-


To reassemble your device, follow these instructions in reverse order.
To reassemble your device, follow these instructions in reverse order.
Cancel: I did not complete this guide.
3 other people completed this guide.

Team

Embry-Riddle Aeronautical University, Team S12-G2, Lamothe Fall 2019 Member of Embry-Riddle Aeronautical University, Team S12-G2, Lamothe Fall 2019
ERAU-LAMOTHE-F19S12G2
4 Members
7 Guides authored