Introduction
If your Nokia E61i isn't recognizing headphones, creates a distorted sound or has a loose connection when headset is plugged in, the headset may need a replacement. This guide will walk you through how to open the phone and remove the faulty headset jack. Make sure you have a clean workspace and the correct tools before you begin.
What you need
-
-
First, gather all necessary tools.
-
Remove the back cover to access the battery by pushing the tab on the bottom of the cover.
-
Slide the back cover downwards off of the phone while pressing down on the tab.
-
-
-
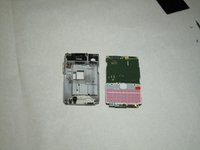
To remove the top of the back cover, pry the sides and pop it off.
-
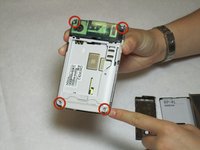
Remove the four screws that secure the front cover to the rest of the phone using a T7 screwdriver.
-
-
-
-
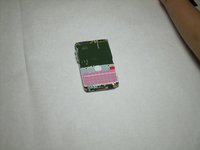
Take off the casing and keyboard.
-
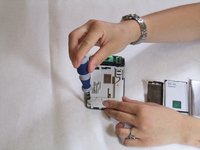
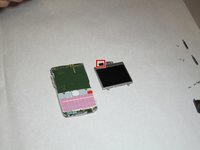
Remove the screws while holding the screen in place using a Torx T6 screwdriver.
-
Remove the single screw while holding the screen in place using a Torx T5 screwdriver.
-
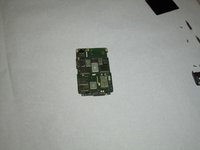
Lift the ribbon, disconnecting contact with the motherboard.
-
-
-
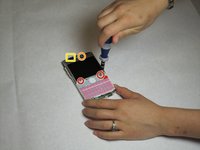
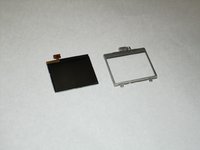
Remove the connector housing by pushing and sliding it off the back panel.
-
-
-
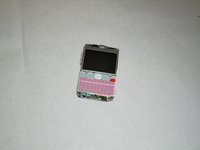
After the connector housing has been removed, there is nothing else holding the microphone in place. Simply remove it from the housing by pulling up.
-


To reassemble your device, follow these instructions in reverse order. Take your e-waste to an R2 or e-Stewards certified recycler.
Cancel: I did not complete this guide.
One other person completed this guide.
Team

Cal Poly, Team 9-63, Walters Spring 2011 Member of Cal Poly, Team 9-63, Walters Spring 2011
CPSU-WALTERS-S11S9G63
5 Members
12 Guides authored