Disconnecting Nintendo DS Lite Logic Board
Introduction
Go to step 1This guide has been updated by iFixit staff! Read the new, official guide here.
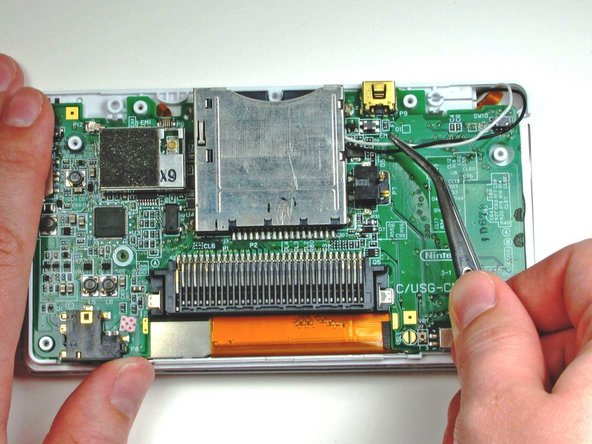
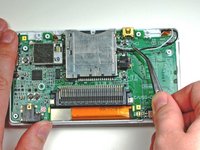
In this guide, we will carefully disconnect all the connections from the logic board to assorted peripherals.
What you need
-
-
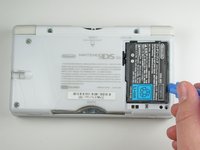
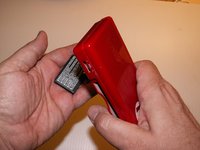
Place your device upside down and locate the battery compartment.
-
Find the Phillips head screw securing the battery cover in the bottom right hand corner of the device.
-
-
-
Remove the following seven screws that secure the lower case to the DS Lite:
-
Three silver tri-wing screws (5mm long)
-
One black tri-wing screw (4mm)
-
Two gold Phillips screws (4mm)
-
One silver Phillips screw (3mm)
-
Do not remove the silver PH screw (3mm) in the battery compartment yet. It holds the main PCB in place.
-
-
-
-
Flip the unit over so that it is facing right-side up.
-
Use a spudger to pry open the gap between the bottom case and the front panel. Work all the way around the case until the panel is free.
-
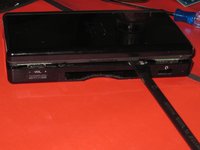
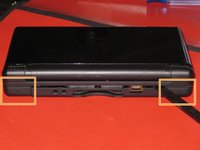
Avoid touching the L and R shoulder buttons, because they easily detach and are difficult to reassemble. Keep the bottom case flat against your workbench to help hold the shoulder buttons in place.
-
-
-
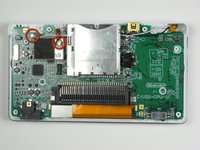
After taking the bottom case off, remove two Phillips #00 screws that secure the logic board to the plastic case.
-
-
Tool used on this step:Tweezers$4.99
-
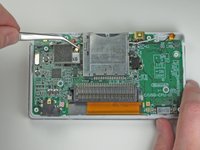
Locate the small ribbon cable that connects the touch screen to the logic board.
-
Using a pair of tweezers, flip the black plastic latch up to release the cable.
-
Gently pull the cable straight out (towards the edge of the case).
-
To reassemble your device, follow these instructions in reverse order.
To reassemble your device, follow these instructions in reverse order.


