
Dremel 7300 MiniMite Cordless Shaft Lock Assembly Replacement
Introduction
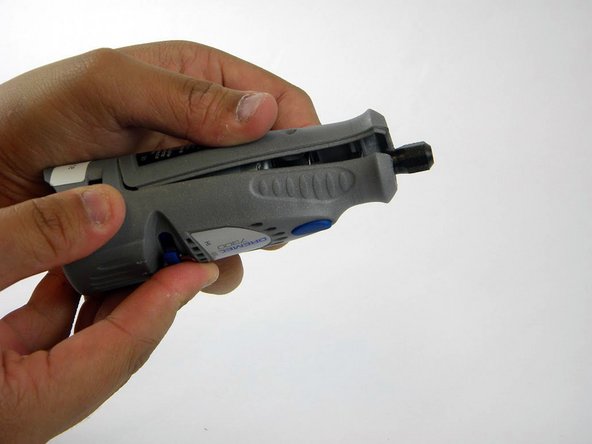
Go to step 1Use this guide to replace a damaged or lost shaft lock assembly in your Dremel 7300 MiniMite Cordless.
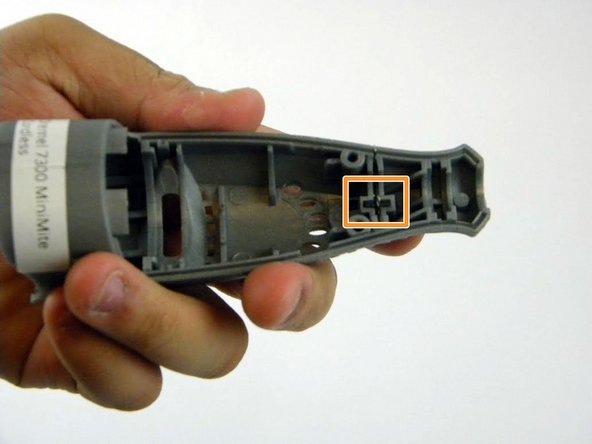
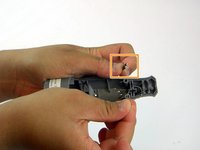
The shaft lock assembly is a locking mechanism that allows the Dremel bit to be replaced. The assembly holds the motor shaft in place when the shaft lock button is pressed, which stops the shaft from spinning and lets the bit be removed by hand. When the shaft lock assembly is damaged (commonly from the Dremel being dropped), the shaft lock button may no longer work properly.
What you need

-
-
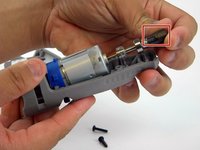
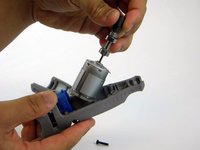
Remove the two screws from the back of the device with the TR10 Torx Security screwdriver.
-
-
-
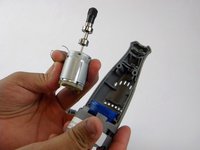
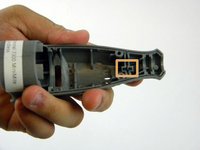
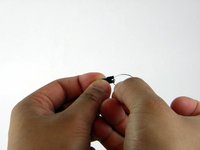
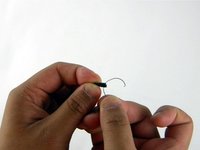
There are two pieces that make up the shaft lock assembly:
-
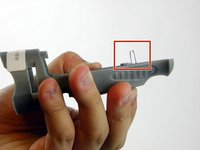
The key.
-
The wire ring.
-


To reassemble your device, follow these instructions in reverse order.
To reassemble your device, follow these instructions in reverse order.
Cancel: I did not complete this guide.
3 other people completed this guide.
Team

USF Tampa, Team 3-4, Sullivan Spring 2016 Member of USF Tampa, Team 3-4, Sullivan Spring 2016
USFT-SULLIVAN-S16S3G4
4 Members
4 Guides authored