Introduction
This guide shows how to replace the casing for the Garmin 910xt GPS.
What you need
-
-
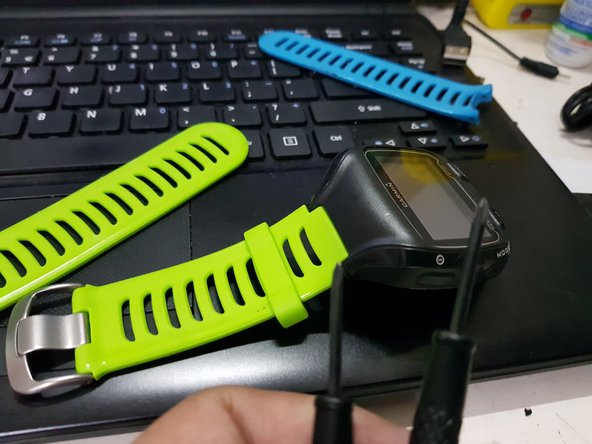
1. Remove the strap first
-
2. Use a T4 or T5 star screw to remove the screws on the old garmin 910 device
-
3. Use a small sharp knife or swiss knife and gently insert on the bottom part as shown and lightly twist to unlock the case. Once unlocked, use your hands to force open the casing to minimize damaging of the rubber part
-
-
-
Tool used on this step:Microfiber Cleaning Cloths$3.99
-
1. Once the casing is opened, gently remove the lock from the flex film of the battery to the mother board.
-
2. Gently remove the LCD and move it to the new housing
-
3. Before locking it all in, use a microfiber cloth and wipe all the dirt on the lcd and the screen
-
-
-
1. Please make sure to check if all buttons are working and not stuck before closing the covers
-
2. Use your T4 or T5 star screw to put back all the screws in place
-
3. Make sure all the components are neatly fixed & tucked in before locking
-
4. Return back the straps
-
-
-
1. Scan through the device to see if there is anything loose
-
2. Check charging also
-
-
-
When all data fields show up, that means GPS is connected and you are good to go!
-


To reassemble your device, follow these instructions in reverse order.
Cancel: I did not complete this guide.
6 other people completed this guide.

9 Guide Comments
The only question I have is about waterproofing after the back cover is screwed down. Is there any cement between the back cover and the case?
voces possuem uma carcaça de garmin para mim vender, doar / sou do Brasil, minhas cachorrinhas como os botões do meu garmin
Lana 313, eu tive um problema com a caixa frontal do 910xt. Comprei essa caixa frontal com a proparts, autorizada da garmin no Brasil. Tudo custou 355 reais ( case frontal + lente + frete ). Você só precisa abrir um chamado na proparts, enviar as fotos e informar que precisa de uma nova caixa frontal (esse eh site deles https://proparts.desk360.com.br/app/auth...).