Introduction
This repair guide was authored by the iFixit staff and hasn’t been endorsed by Google. Learn more about our repair guides here.
Follow this guide to replace a broken or cracked rear cover on your Google Pixel 9 Pro.
You'll need replacement rear cover adhesive to complete this repair.
Note: Any repair can compromise the water resistance of your phone. Retaining water resistance after the repair will depend on how well you reapply the rear cover adhesive.
What you need
-
-
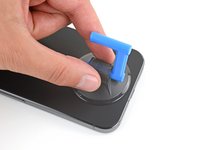
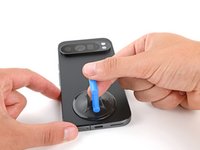
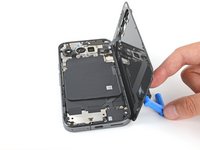
Attach a suction handle to the bottom edge of the rear cover, as close to the edge as possible.
-
-
-
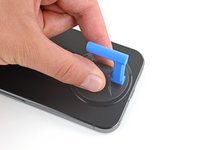
Pull up on the suction handle with strong, steady force to create a small gap under the rear cover.
-
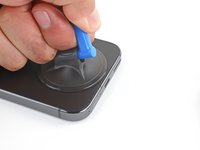
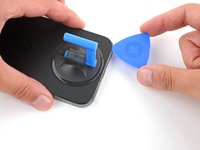
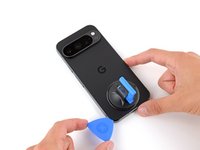
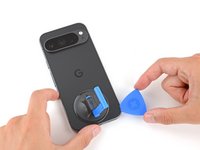
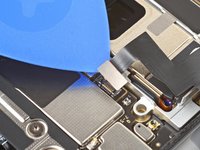
Insert the tip of an opening pick in the gap.
-
-
-
-
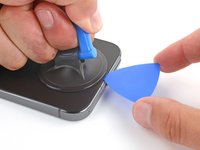
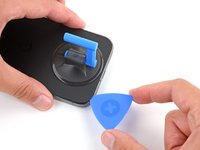
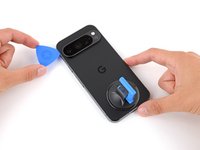
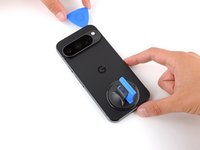
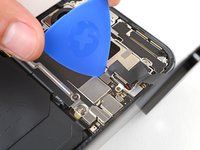
Slide your opening pick along the bottom edge to separate the adhesive securing it.
-
-
-
Use the suction handle to lift the left edge of the rear cover and swing it over the right edge, like opening the cover of a book.
-
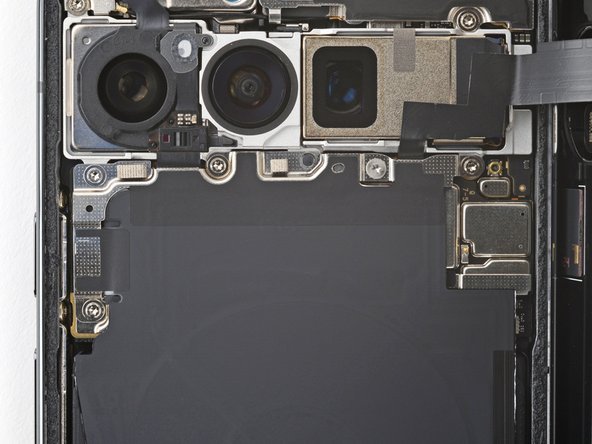
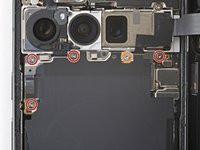
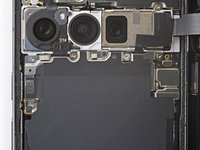
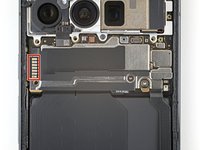
Prop up the rear cover with the suction handle so you can access the ribbon cable near the top right corner.
-
-
Tool used on this step:FixMat$36.95
-
Use a Torx Plus 3IP screwdriver to remove the five screws securing the wireless charging assembly:
-
Four 5.4 mm‑long screws
-
One 1.5 mm‑long screw
-
-
-
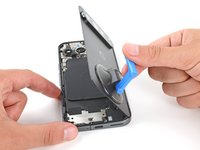
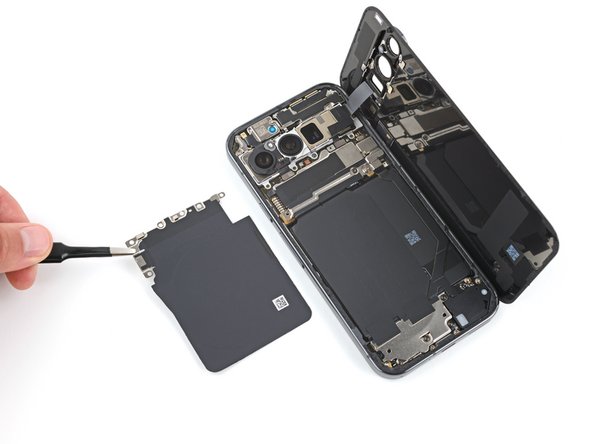
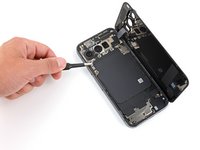
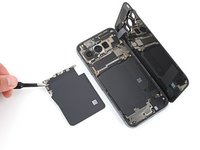
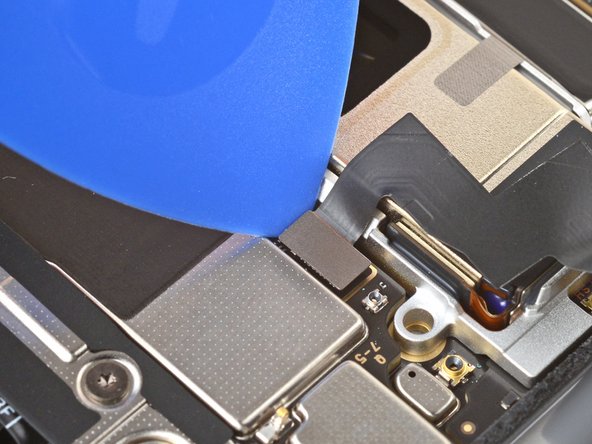
Insert the tip of an opening pick under the left edge of the rear cover press connector and pry straight up to disconnect it.
-


To reassemble your device, follow this guide.
To run a diagnostics test with the built-in Pixel Diagnostic tool, click here.
Take your e-waste to an R2 or e-Stewards certified recycler.
Repair didn’t go as planned? Try some basic troubleshooting, or ask our Answers community for help.
Cancel: I did not complete this guide.
2 other people completed this guide.

