
Gotrax GXL Scooter Battery Pack Replacement
Introduction
Go to step 1This is the simplest and easiest way to remove and install a new battery in your Gotrax GXL Scooter. Only tools required are the 4mm Allen wrench and a set of pliers.
What you need
Parts
Tools


Show more…
-
-
Using the 4mm Allen wrench, remove the two screws and locking hook that are used to secure console to the tiller. Store the screws and hook in a safe location for later use.
-
-
-
If the unit has a brake cable running to the hand brake, you will need to disconnect the line before proceeding. Set the line out of the way once disconnected.
-
-
-
Remove the console/head unit from the scooter by putting one foot on the scooters base and lifting up on the handlebars.
-
-
-
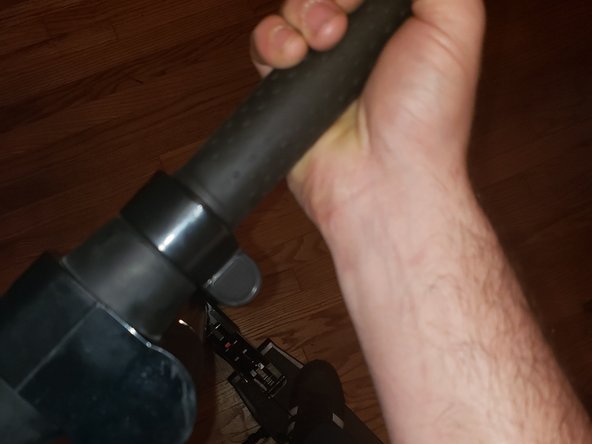
Using caution, grab the top of the battery and begin to lift it out of the tiller. As you can see here I was able to do it with my fingers. If you can not grip the top with your fingers use a pair of pliers to assist you. Set the battery to the side for disposal. (Be sure to follow local laws and regulations when disposing lithium ion batteries)
-
-
-
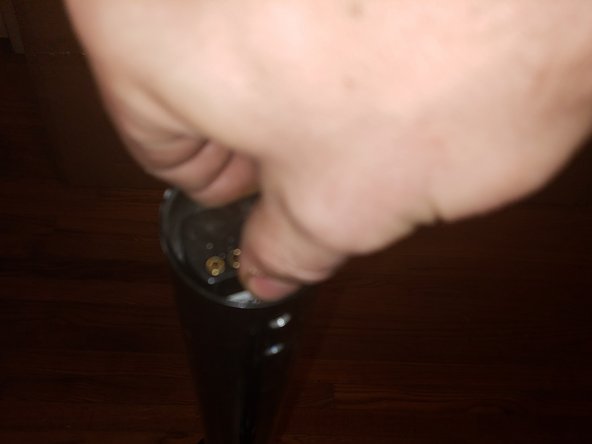
While the battery is out, it is a great time to check the connections at the bottom of the tiller. Look down the tiller and ensure the pins are grouped together tightly and free of arching or debris. (If you see an issue, please stop and consult a technician before proceeding.)
-
-
-
Grab the new battery pack and ensure that your are installing the battery pack correctly. There is a groove at the bottom of the battery that must align with the motor adapter in order to supply power to the motor. Once you ensure the position is correct, gently slide the pack into the tiller.
-
-
-
Reattach the console/head unit by sliding it back into place. Make sure the thread part of the console aligns with the drilled holes for the locking hook and gently press down to ensure the console is secure on the battery.
-
-
-
If the unit has the handbrake, now is the time to reinstall the brake line to the hand brake.
-
-
-
Install the locking hook and the two screws into the head unit. Tighten the screws firmly. Now you are finished and ready to test your work. Power on your scooter and take it for a test drive.
-


If you run into any issues I recommend reaching out the customer service/ technical support for further assistance.
If you run into any issues I recommend reaching out the customer service/ technical support for further assistance.
Cancel: I did not complete this guide.
10 other people completed this guide.
12 Comments
Is it possible to order the Tiller on its own for a gotrax GXL2…..my broke in half and I need a replacement. I cant find anyone who sells them including the gotrax website
i got this if it isn’t too late
M F -
How can I change the Inner tube on the gotrax
Took mine to the local bike shop. It was the front wheel so more difficult, cost £40 for replacement. Now i have error code 30! So frustrating