Introduction
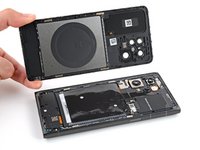
Follow this guide to replace a cracked or damaged back cover on your HMD Skyline smartphone.
The back cover includes the wireless charging coil. If your phone's wireless charging is intermittent or not charging at all, you may need to replace the back cover.
What you need
-
-
Unplug all cables and completely power off your phone.
-
-
-
With the back cover facing up, use a T3 Torx screwdriver to turn the screw in the bottom edge counterclockwise until the back cover pops up.
-
-
-
-
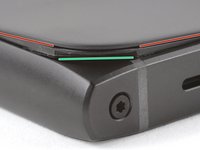
There's a seam just under the back cover panel. Don't insert your tool here.
-
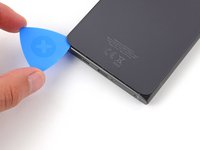
Insert your tool completely under the back cover, so it's between the frame and the underside of the back cover.
-
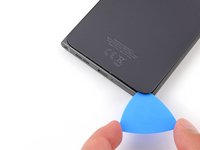
Insert an opening pick under the bottom left corner of the back cover and slide it along the bottom edge to release the clips and separate the adhesive.
-
-
-
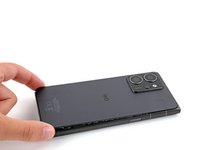
Lift and remove the back cover.
-
Now is a good time to test your phone before sealing it up. Power it on and check that it works. Power it back down before you continue reassembly.
-
Make sure you remove all liners from the underside.
-
Use the flat end of a spudger to press the small cable above the wireless charging coil into place over its alignment posts.
-
Place the back cover onto the frame and firmly squeeze around the perimeter to reengage all the clips.
-
Take your e-waste to an R2 or e-Stewards certified recycler.
Repair didn’t go as planned? Try some basic troubleshooting, or ask our Answers community for help.
Cancel: I did not complete this guide.
2 other people completed this guide.


