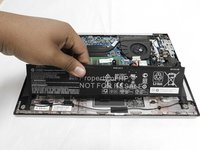
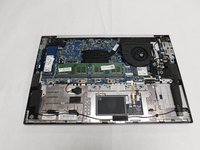
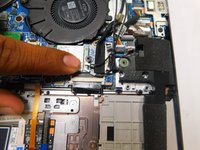
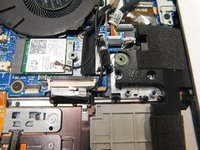
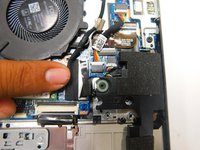
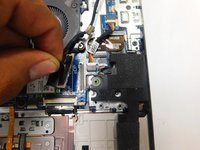
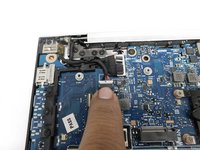
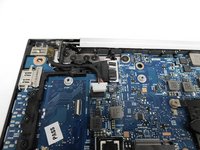
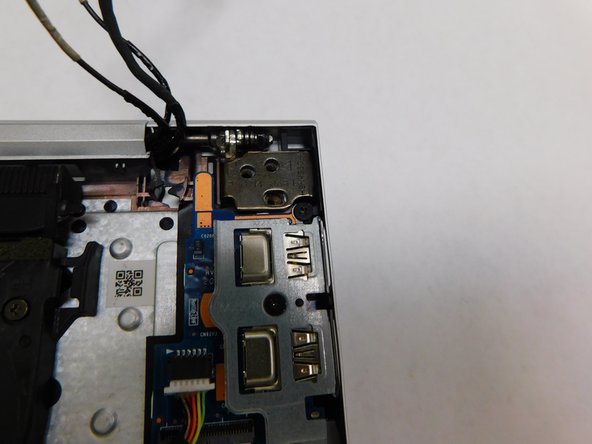
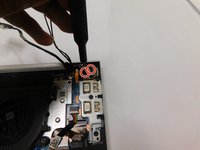
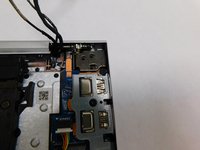
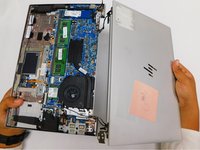
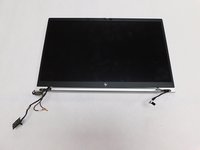
HP EliteBook 840 G7 Display Assembly Replacement

Archived Guide
This guide is retained solely for historical purposes. Use the updated version of the guide to perform your repair.

What you need

  1. HP EliteBook 840 G7 Display Assembly  Replacement, Battery: step 1, image 1 of 1
    • Turn the laptop on its back.

  2. HP EliteBook 840 G7 Display Assembly  Replacement: step 2, image 1 of 1
    • Use the Phillips # 1 screwdriver to remove the five 1.2 mm screws from the back cover of the laptop.

  3. HP EliteBook 840 G7 Display Assembly  Replacement: step 3, image 1 of 1
    • Remove the back cover to expose the hardware.

  4. HP EliteBook 840 G7 Display Assembly  Replacement: step 4, image 1 of 3 HP EliteBook 840 G7 Display Assembly  Replacement: step 4, image 2 of 3 HP EliteBook 840 G7 Display Assembly  Replacement: step 4, image 3 of 3
    • Use your Phillips #1 screwdriver and remove the four 1.2 mm screws that secures the battery into place.

    • Remove the connector that connects the battery to the motherboard.

  5. HP EliteBook 840 G7 Display Assembly  Replacement: step 5, image 1 of 3 HP EliteBook 840 G7 Display Assembly  Replacement: step 5, image 2 of 3 HP EliteBook 840 G7 Display Assembly  Replacement: step 5, image 3 of 3
    • Lift up the battery with you hands or tools.

  6. HP EliteBook 840 G7 Display Assembly  Replacement, Display Assembly: step 6, image 1 of 2 HP EliteBook 840 G7 Display Assembly  Replacement, Display Assembly: step 6, image 2 of 2
    • Pull up to remove the two coaxial Wi-Fi card connectors.

  7. HP EliteBook 840 G7 Display Assembly  Replacement: step 7, image 1 of 2 HP EliteBook 840 G7 Display Assembly  Replacement: step 7, image 2 of 2
    • Pull upwards on the display connector to remove.

  8. HP EliteBook 840 G7 Display Assembly  Replacement: step 8, image 1 of 2 HP EliteBook 840 G7 Display Assembly  Replacement: step 8, image 2 of 2
    • Pull or push to remove the bundled cable connector.

  9. HP EliteBook 840 G7 Display Assembly  Replacement: step 9, image 1 of 2 HP EliteBook 840 G7 Display Assembly  Replacement: step 9, image 2 of 2
    • Pull upwards to remove the webcam connector.

  10. HP EliteBook 840 G7 Display Assembly  Replacement: step 10, image 1 of 1
    • Once you've disconnected all cables from their sockets, gently move them to the top of the laptop.

  11. HP EliteBook 840 G7 Display Assembly  Replacement: step 11, image 1 of 2 HP EliteBook 840 G7 Display Assembly  Replacement: step 11, image 2 of 2
    • Use your Phillips # 1 screwdriver to remove the four 1.2 mm screws.

  12. HP EliteBook 840 G7 Display Assembly  Replacement: step 12, image 1 of 2 HP EliteBook 840 G7 Display Assembly  Replacement: step 12, image 2 of 2
    • Use your Phillips # 1 screwdriver to remove the two 1.2mm screws.

  13. HP EliteBook 840 G7 Display Assembly  Replacement: step 13, image 1 of 3 HP EliteBook 840 G7 Display Assembly  Replacement: step 13, image 2 of 3 HP EliteBook 840 G7 Display Assembly  Replacement: step 13, image 3 of 3
    • Open the laptop to a 90 degree angle.

    • Slide the display hinges away to remove the display assembly.

Finish Line

2 other people completed this guide.

Pedro Ramos Espinoza

Member since: 02/10/22

895 Reputation

4 Guides authored

Team

Gateway, Team 1-1, Pee Spring 2022 Member of Gateway, Team 1-1, Pee Spring 2022

GCC-PEE-S22S1G1

4 Members

15 Guides authored

0 Guide Comments

Add Comment

View Statistics:

Past 24 Hours: 0

Past 7 Days: 1

Past 30 Days: 5

All Time: 4,100