
HP EliteBook 850 G3 Battery Replacement
Introduction
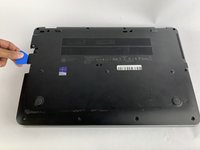
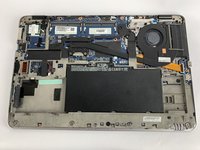
Go to step 1If your HP EliteBook 850 G3 is not holding a charge use this guide to replace the battery. The battery powers the laptop if it is faulty the computer will not keep a charge. If your battery is swollen this is urgent and dangerous. Be sure to rule out a faulty cord and other common issues that could be preventing your battery from charging properly. Before using this guide, feel free to check out the troubleshooting page to see if any issues can be resolved without a replacement.
What you need


-
-
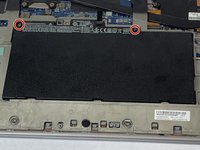
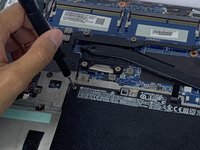
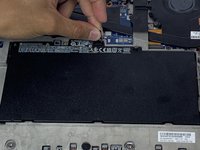
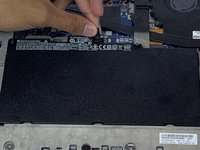
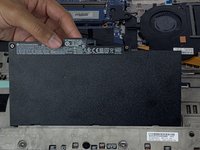
Use the Phillips #0 screwdriver to remove the two battery screws.
-


To reassemble your device, follow these instructions in reverse order.
To reassemble your device, follow these instructions in reverse order.
Cancel: I did not complete this guide.
5 other people completed this guide.
Team

USF Tampa, Team S1-G1, Leahy Fall 2019 Member of USF Tampa, Team S1-G1, Leahy Fall 2019
USFT-LEAHY-F19S1G1
4 Members
6 Guides authored
2 Comments
Thank you very much for this guide.
When charging the charging indicator remain orange for hours and does not change.