HP Officejet J4550 All-in-one Glass Plate Replacement

HP Officejet J4550 All-in-one Glass Plate Replacement

Jiayin Zhu

Jiayin Zhu and 2 other contributors

Last updated on May 4, 2023

20 - 25 minutes
Moderate

Introduction

Go to step 1

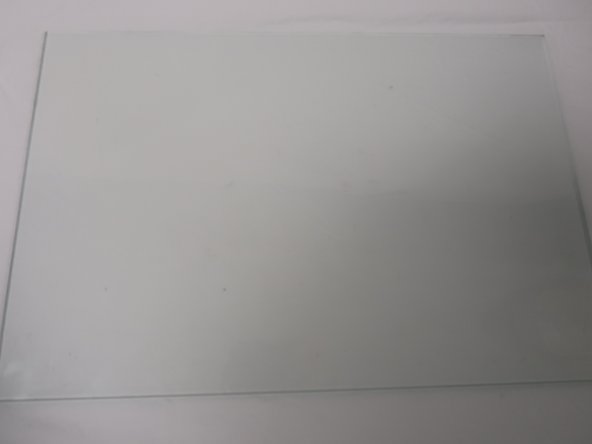
Is the glass plate in your printer broken? Consider using this guide to replace the glass plate in your printer.

What you need

Tools

  1. HP Officejet J4550 All-in-one Glass Plate Replacement, Glass Plate: step 1, image 1 of 2 HP Officejet J4550 All-in-one Glass Plate Replacement, Glass Plate: step 1, image 2 of 2
    • Insert 2 fingers in the dent on the right side of the printer and pull towards the front of the printer.

    • Using fingers to open the cover of the scanner which located on the top of the printer.

  2. HP Officejet J4550 All-in-one Glass Plate Replacement: step 2, image 1 of 3 HP Officejet J4550 All-in-one Glass Plate Replacement: step 2, image 2 of 3 HP Officejet J4550 All-in-one Glass Plate Replacement: step 2, image 3 of 3
    • Remove four 10mm screws on the panel with T8 torx security screwdriver.

    • Remove the cover of the top part.

  3. HP Officejet J4550 All-in-one Glass Plate Replacement: step 3, image 1 of 3 HP Officejet J4550 All-in-one Glass Plate Replacement: step 3, image 2 of 3 HP Officejet J4550 All-in-one Glass Plate Replacement: step 3, image 3 of 3
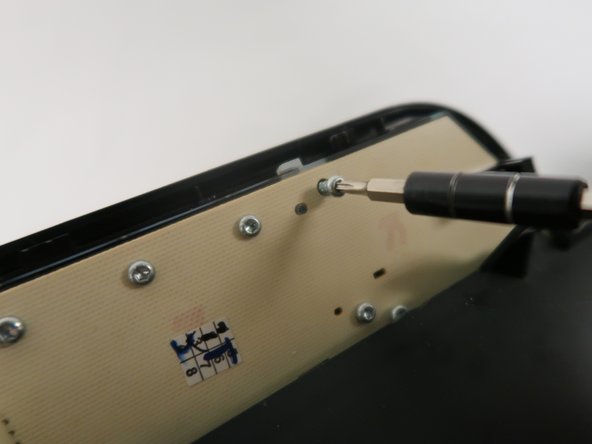
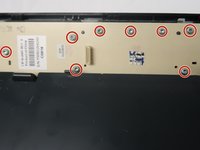
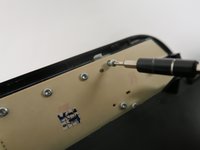
    • Remove eight 10mm screws on the back of the controlling keyboard with T8 torx security screwdriver.

    • Remove the back board of the controlling keyboard.

  4. HP Officejet J4550 All-in-one Glass Plate Replacement: step 4, image 1 of 2 HP Officejet J4550 All-in-one Glass Plate Replacement: step 4, image 2 of 2
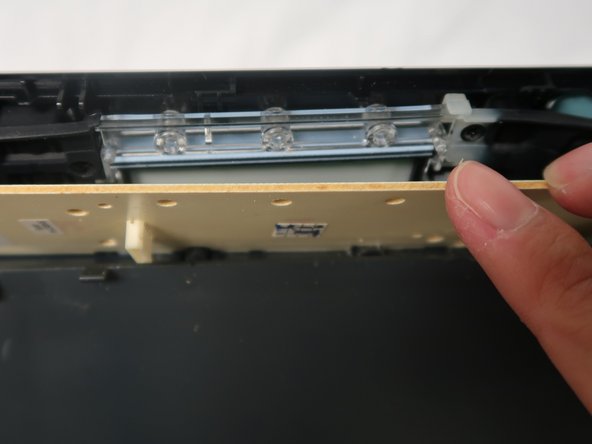
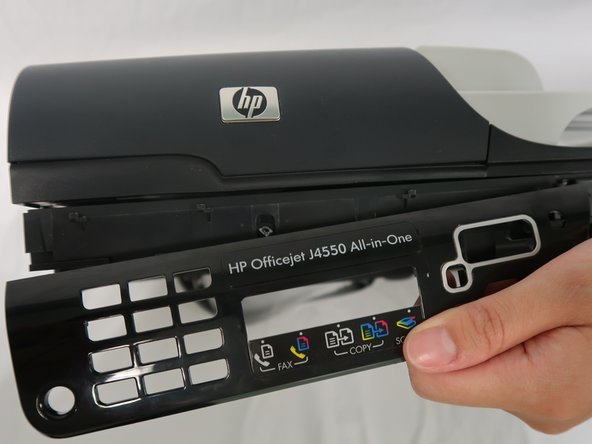
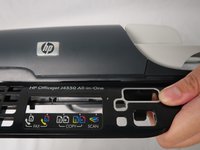
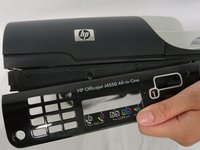
    • Remove the controlling keyboard with hands.

  5. HP Officejet J4550 All-in-one Glass Plate Replacement: step 5, image 1 of 2 HP Officejet J4550 All-in-one Glass Plate Replacement: step 5, image 2 of 2
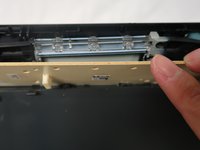
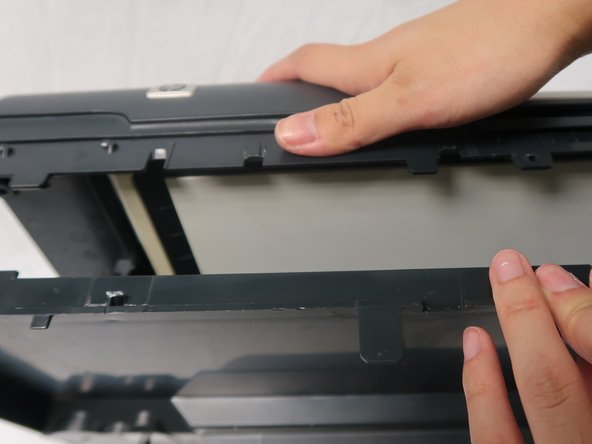
    • Using fingers to open the back cover board of the glass plate.

  6. HP Officejet J4550 All-in-one Glass Plate Replacement: step 6, image 1 of 3 HP Officejet J4550 All-in-one Glass Plate Replacement: step 6, image 2 of 3 HP Officejet J4550 All-in-one Glass Plate Replacement: step 6, image 3 of 3
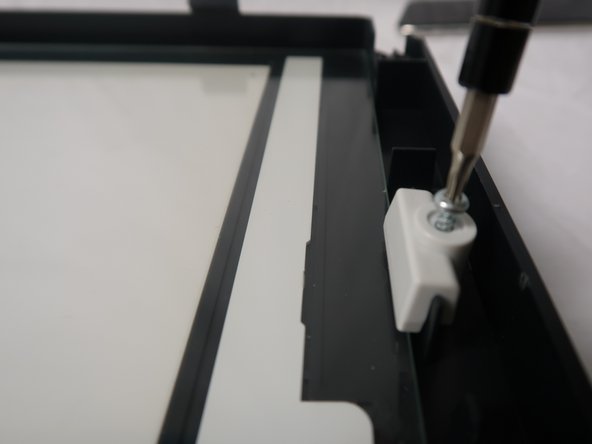
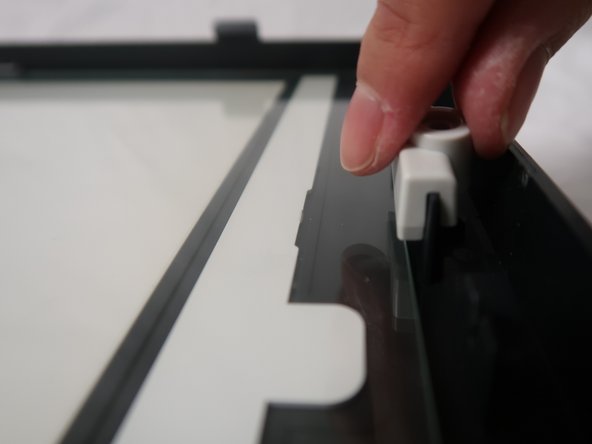
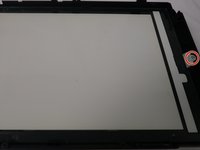
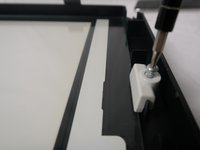
    • Remove the 10mm screw on the right of the board with T8 torx security screwdriver.

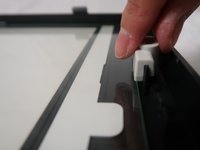
    • Remove the part that is under the 10mm screw.

  7. HP Officejet J4550 All-in-one Glass Plate Replacement: step 7, image 1 of 2 HP Officejet J4550 All-in-one Glass Plate Replacement: step 7, image 2 of 2
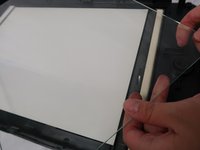
    • Remove the glass plate with hands.

Conclusion

To reassemble your device, follow these instructions in reverse order.

Jiayin Zhu

Member since: 10/21/18

376 Reputation

3 Guides authored

Team

UC Davis, Team S11-G8, Lore Fall 2018 Member of UC Davis, Team S11-G8, Lore Fall 2018

UCD-LORE-F18S11G8

3 Members

8 Guides authored

0 Comments

Add Comment

View Statistics:

Past 24 Hours: 0

Past 7 Days: 1

Past 30 Days: 8

All Time: 207