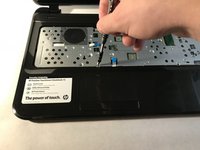
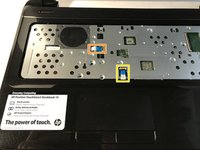
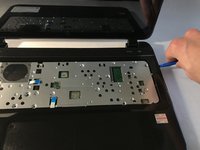
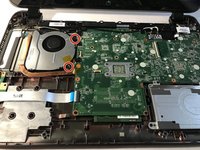
HP Pavilion 15-b109wm Hard Drive Replacement

HP Pavilion 15-b109wm Hard Drive Replacement

Enrico Miozzo

Enrico Miozzo and 5 other contributors

Last updated on November 18, 2022

20 - 30 minutes
Difficult

Introduction

Go to step 1

This replacement guide will show how to replace the hard drive of an HP Pavilion 15-b109wm. This process might be needed in case the laptop has a faulty hard drive. This guide will take between 20-35 minutes, if done correctly. Remember to take your time and do the steps correctly and gently to avoid parts breakage.

For this guide you will need a heavy-duty spudger, a JIS driver set and an iFixtit opening tool. Some parts of this guide require some force to pop open, be careful not to brake or damage any parts when applying force.

What you need

Fix Kits

These kits contain all the parts and tools needed to complete this guide.

Parts

Tools

Show more…

  1. HP Pavilion 15-b109wm Hard Drive Replacement, Battery: step 1, image 1 of 1
    • Power off the device and disconnect from any power source.

  2. HP Pavilion 15-b109wm Hard Drive Replacement: step 2, image 1 of 1
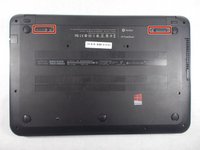
    • Turn the device upside down and ensure the back of the device is facing you.

  3. HP Pavilion 15-b109wm Hard Drive Replacement: step 3, image 1 of 3 HP Pavilion 15-b109wm Hard Drive Replacement: step 3, image 2 of 3 HP Pavilion 15-b109wm Hard Drive Replacement: step 3, image 3 of 3
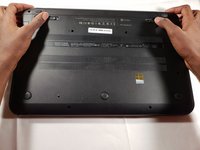
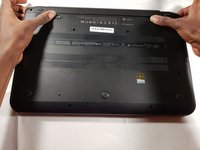
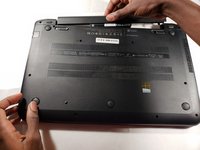
    • Push both buttons towards one another simultaneously. The battery slightly pops out.

  4. HP Pavilion 15-b109wm Hard Drive Replacement: step 4, image 1 of 3 HP Pavilion 15-b109wm Hard Drive Replacement: step 4, image 2 of 3 HP Pavilion 15-b109wm Hard Drive Replacement: step 4, image 3 of 3
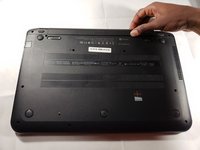
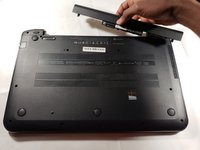
    • Pull out the battery from the device's battery slot.

  5. HP Pavilion 15-b109wm Hard Drive Replacement, Keyboard: step 5, image 1 of 2 HP Pavilion 15-b109wm Hard Drive Replacement, Keyboard: step 5, image 2 of 2
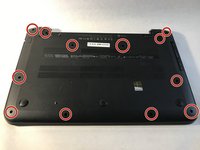
    • Use JIS #1 screwdriver to remove the eleven 6 mm screws.

  6. HP Pavilion 15-b109wm Hard Drive Replacement: step 6, image 1 of 1
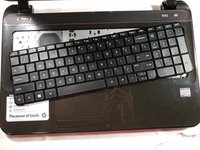
    • Locate the two screw holes that allow access to removing the keyboard.

    • There is a keyboard sign beside both keyboard access holes.

  7. HP Pavilion 15-b109wm Hard Drive Replacement: step 7, image 1 of 1
    Tool used on this step:
    Heavy-Duty Spudger
    $4.99
    • Turn the device onto its side.

    • Using a heavy duty spudger, gently disengage the keyboard.

  8. HP Pavilion 15-b109wm Hard Drive Replacement: step 8, image 1 of 2 HP Pavilion 15-b109wm Hard Drive Replacement: step 8, image 2 of 2
    • Using a plastic opening tool, release the keyboard clips.

  9. HP Pavilion 15-b109wm Hard Drive Replacement: step 9, image 1 of 1
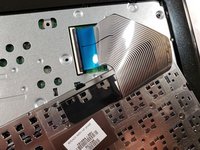
    • Tilt the keyboard to expose the Zero Insertion Force connector to which the keyboard cable is attached.

  10. HP Pavilion 15-b109wm Hard Drive Replacement: step 10, image 1 of 3 HP Pavilion 15-b109wm Hard Drive Replacement: step 10, image 2 of 3 HP Pavilion 15-b109wm Hard Drive Replacement: step 10, image 3 of 3
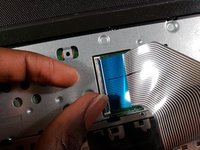
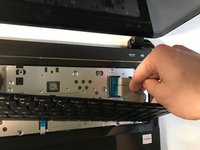
    • Disconnect the keyboard cable from the motherboard by detaching the Zero Insertion Force connector.

    • To detach the connector, release by lifting the black plastic tab up.

  11. HP Pavilion 15-b109wm Hard Drive Replacement, Fan: step 11, image 1 of 3 HP Pavilion 15-b109wm Hard Drive Replacement, Fan: step 11, image 2 of 3 HP Pavilion 15-b109wm Hard Drive Replacement, Fan: step 11, image 3 of 3
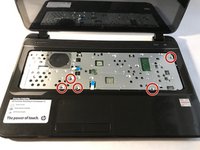
    • Using a JIS #1 screwdriver, remove the five 5mm screws.

    • Detach the power button cable.

    • Detach the touch pad cable.

  12. HP Pavilion 15-b109wm Hard Drive Replacement: step 12, image 1 of 3 HP Pavilion 15-b109wm Hard Drive Replacement: step 12, image 2 of 3 HP Pavilion 15-b109wm Hard Drive Replacement: step 12, image 3 of 3
    • Using a plastic opening tool, pry open the top cover.

    • Unscrew the two 5 mm screws using a JIS #1 screwdriver.

    • Gently, pull to detach the fan cable.

    • Be careful so you do not damage the motherboard.

  13. HP Pavilion 15-b109wm Hard Drive Replacement: step 13, image 1 of 1
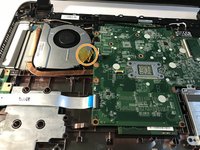
    • Carefully remove the fan from its slot.

  14. HP Pavilion 15-b109wm Hard Drive Replacement, Hard Drive: step 14, image 1 of 3 HP Pavilion 15-b109wm Hard Drive Replacement, Hard Drive: step 14, image 2 of 3 HP Pavilion 15-b109wm Hard Drive Replacement, Hard Drive: step 14, image 3 of 3
    • Disconnect the cables to the motherboard.

  15. HP Pavilion 15-b109wm Hard Drive Replacement: step 15, image 1 of 2 HP Pavilion 15-b109wm Hard Drive Replacement: step 15, image 2 of 2
    • Remove the hard drive.

Conclusion

To reassemble your device, follow the instructions in reverse order.

2 other people completed this guide.

Enrico Miozzo

Member since: 11/07/19

244 Reputation

2 Guides authored

Team

IUPUI, Team S2-G4, Harley Fall 2019 Member of IUPUI, Team S2-G4, Harley Fall 2019

IUPUI-HARLEY-F19S2G4

3 Members

2 Guides authored

0 Comments

Add Comment

View Statistics:

Past 24 Hours: 4

Past 7 Days: 8

Past 30 Days: 16

All Time: 853