Introduction
This guide will show you how to replace the HP Pavilion g7-1368 hard drive. This process should take approximately 10 minutes using only a Phillips #1 screwdriver. Make sure to shut down the device before proceeding with the replacement.
What you need
-
-
Turn the device over so that the lower case is facing up.
-
Slide the battery release latch. The battery will pop up.
-
-
-
-
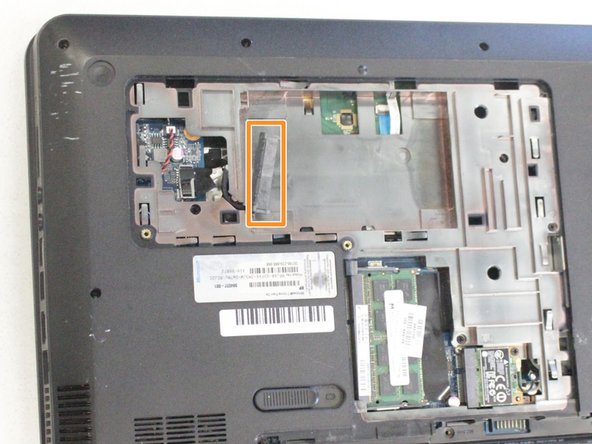
Loosen the two Phillips #1 screws that connect the service panel to the device.
-


To reassemble your device, follow these instructions in reverse order.
To reassemble your device, follow these instructions in reverse order.
Cancel: I did not complete this guide.
One other person completed this guide.
Team

University of Alabama, Team S2-G2, Bedsole Spring 2019 Member of University of Alabama, Team S2-G2, Bedsole Spring 2019
UA-BEDSOLE-S19S2G2
3 Members
3 Guides authored