HP Pavilion x360 14m-cd0003dx Screen Replacement

What you need

  1. HP Pavilion x360 14m-cd0003dx Screen Replacement, Screen: step 1, image 1 of 1
    • Turn off the computer.

    • Disconnect the power cord and any external devices connected to the computer.

    • Make sure the device is completely turned off or else you may risk injury through electric shock.

  2. HP Pavilion x360 14m-cd0003dx Screen Replacement: step 2, image 1 of 1
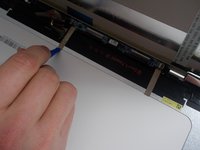
    • Use a plastic opening tool to carefully separate the screen from the plastic frame.

    • Work along the top first, and then down the left and right sides.

  3. HP Pavilion x360 14m-cd0003dx Screen Replacement: step 3, image 1 of 1
    • The screen can then be separated from the frame and laid flat on top of the keyboard.

    • Do not pull and try to remove yet, as the screen is still connected by several cables.

  4. HP Pavilion x360 14m-cd0003dx Screen Replacement: step 4, image 1 of 2 HP Pavilion x360 14m-cd0003dx Screen Replacement: step 4, image 2 of 2
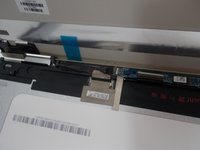
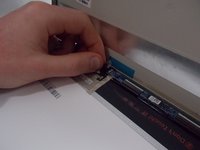
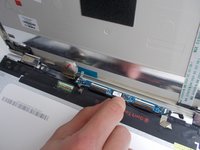
    • The next few steps involve disconnecting the screen from the laptop in several places.

    • The first place is connected to the left side of the thin blue board at the top.

    • Peel back the clear adhesive and remove the pin header from the port on the blue board.

  5. HP Pavilion x360 14m-cd0003dx Screen Replacement: step 5, image 1 of 2 HP Pavilion x360 14m-cd0003dx Screen Replacement: step 5, image 2 of 2
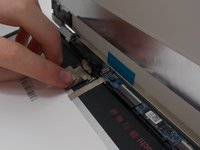
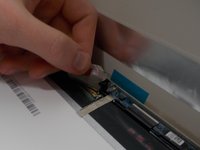
    • The next place is underneath the gray adhesive. Peel back this adhesive to expose the connection underneath.

    • Disconnect the gold pin header from its port.

  6. HP Pavilion x360 14m-cd0003dx Screen Replacement: step 6, image 1 of 1
    • Repeat Step 4 for the connection on the right side.

    • Peel the clear adhesive and remove connection.

  7. HP Pavilion x360 14m-cd0003dx Screen Replacement: step 7, image 1 of 3 HP Pavilion x360 14m-cd0003dx Screen Replacement: step 7, image 2 of 3 HP Pavilion x360 14m-cd0003dx Screen Replacement: step 7, image 3 of 3
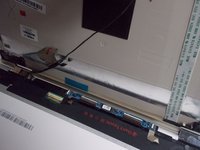
    • Peel the thin gray adhesive strips.

    • Pull out the thin black cable underneath these strips. It is the same black cable that was disconnected in the previous steps.

  8. HP Pavilion x360 14m-cd0003dx Screen Replacement: step 8, image 1 of 1
    • After the cable has been disconnected, the screen can be removed.

Conclusion

To reassemble your device, follow these instructions in reverse order.

One other person completed this guide.

Elijah Jope

Member since: 03/22/22

379 Reputation

3 Guides authored

Team

0 Comments

Add Comment

View Statistics:

Past 24 Hours: 0

Past 7 Days: 6

Past 30 Days: 25

All Time: 647