Introduction
In this guide we will go through various steps in taking apart the HTC phone in order to replace the LCD.
What you need
-
-
Place the prying tool into the notch at the bottom of the case and pull up to remove.
-
-
-
Use the plastic prying tool in the upper left-hand corner notch of the battery to remove.
-
-
-
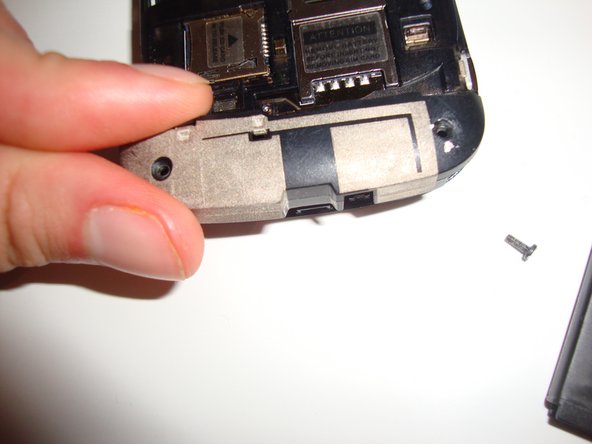
Remove the two T5x5mm Screws with the T5 Torx Screw driver.
-
Remove the one Phillips screw with the Phillips #00 Screwdriver.
-
-
-
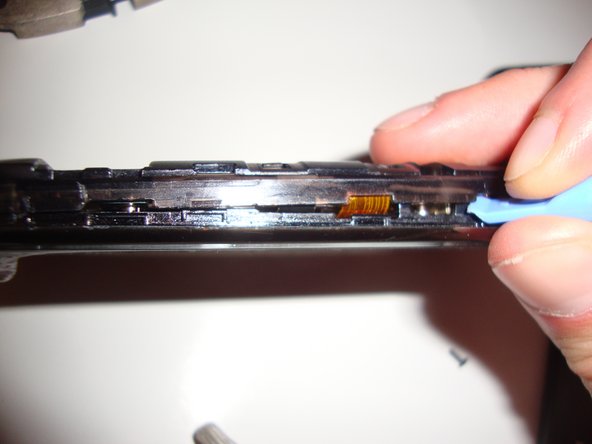
Use the plastic opening tools to remove the back case.
-
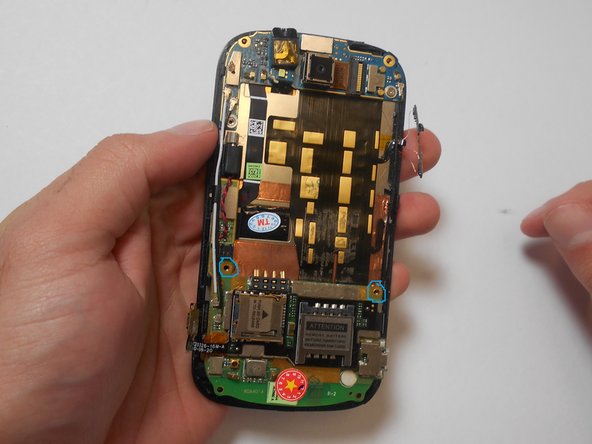
There are four T5x5mm screws. Use the T5 Torx Screwdriver to remove them.
-
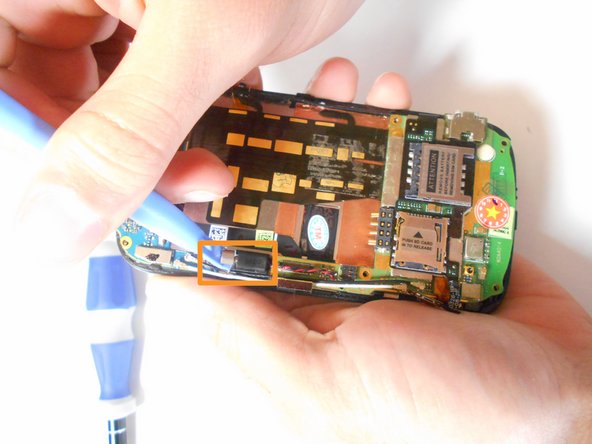
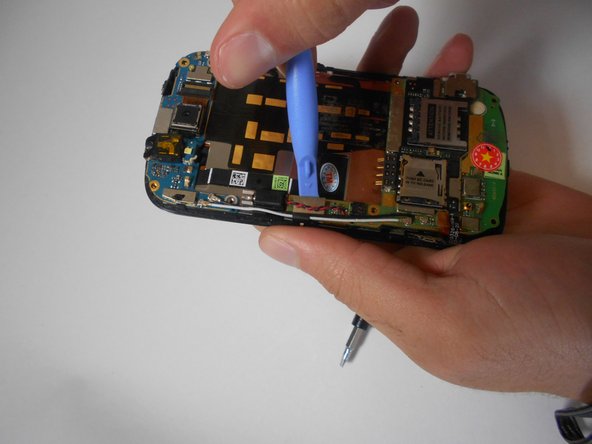
Using the plastic opening tools, remove the Wifi antenna.
-
-
-
-
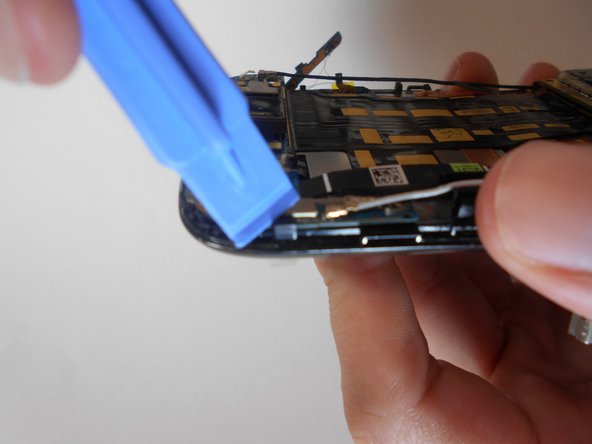
There are three button ribbons on the phone that need to be pulled down off of the case.
-
With the plastic opening tools, pull the button ribbons down away from the frame without completely removing them.
-
-
-
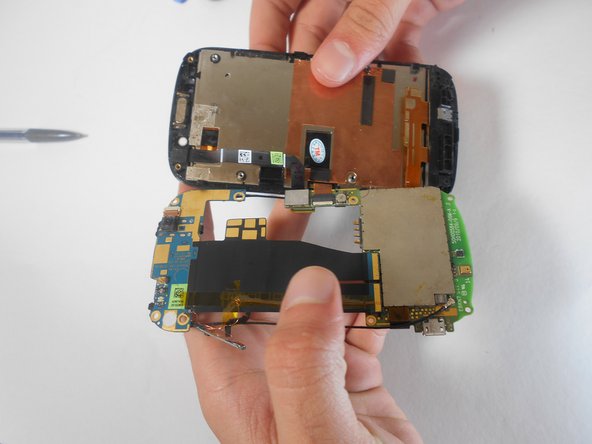
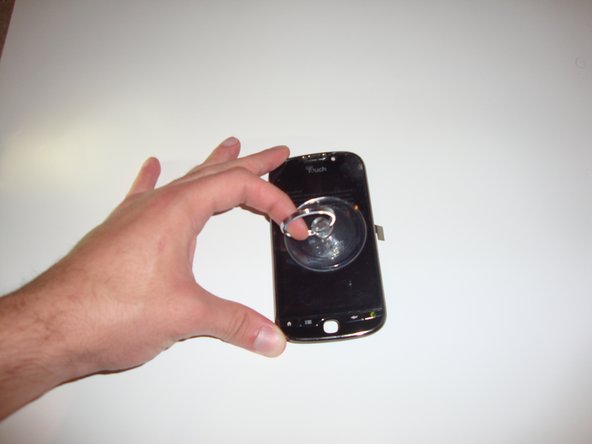
Put the LCD side of the phone facing upward.
-
Use the iOpener to heat and loosen the adhesive up that is holding the digitizer in place.
-
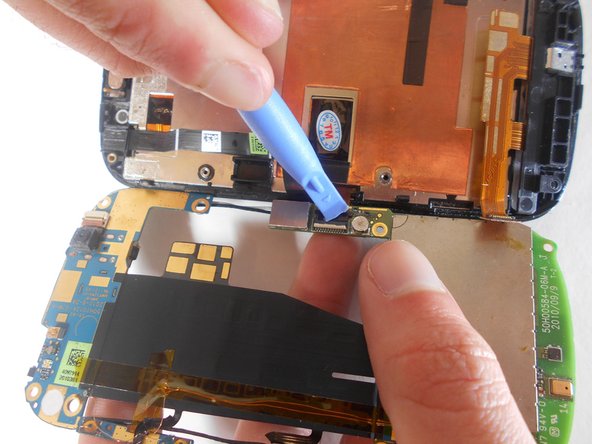
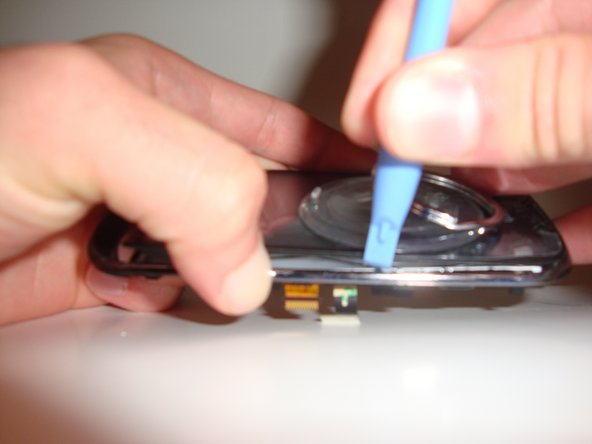
Move the plastic opening tools along the outside edge of the digitizer to loosen it more and remove.
-
-
-
Do not take the digitizer fully off as it is still connected by the ribbon.
-
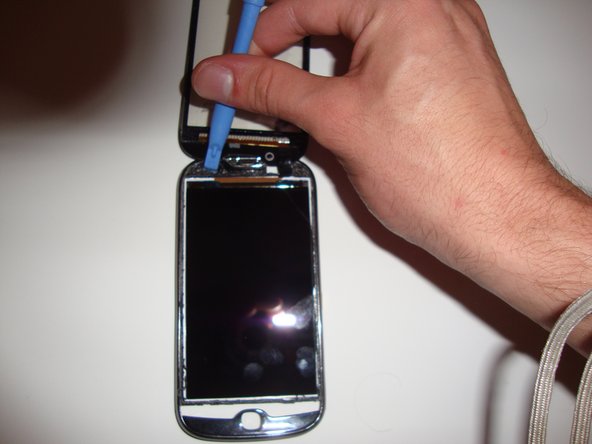
Use the iOpener tool to heat up the LCD adhesive.
-
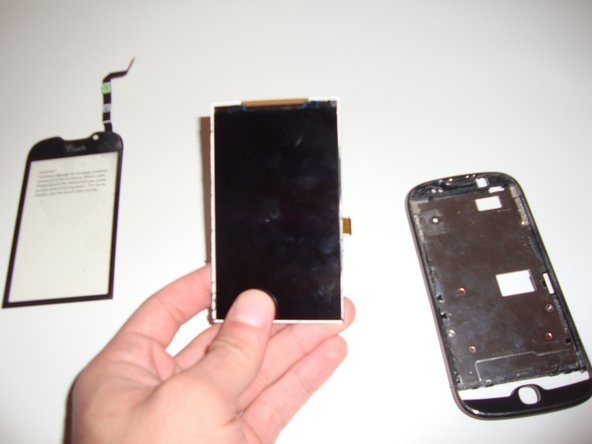
Using the iOpener kit and the plastic opening tools again, remove the LCD. The LCD is now ready to be replaced. Make sure to have more adhesive that usually comes with the replacement to make sure the LCD and digitizer will be secure.
-


To reassemble your device, follow these instructions in reverse order.
To reassemble your device, follow these instructions in reverse order.
Cancel: I did not complete this guide.
2 other people completed this guide.
Team

USF Tampa, Team 16-5, Watkins Spring 2014 Member of USF Tampa, Team 16-5, Watkins Spring 2014
USFT-WATKINS-S14S16G5
2 Members
10 Guides authored