
HTC Vive Cosmos Upper Component Cover Replacement

Introduction
Go to step 1Use this guide to replace the upper component cover in an HTC Vive Cosmos.
Make sure that the Vive Cosmos is powered off and disconnected from power before beginning disassembly.
What you need


-
-
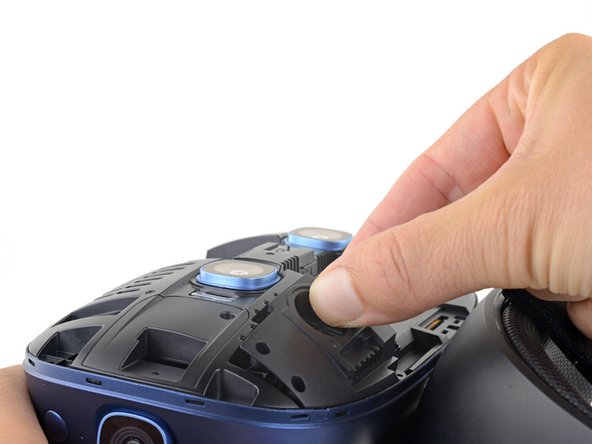
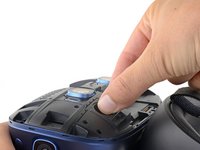
Use your finger to push the sliding faceplate release switch, sitting to the left of the lenses, toward the bottom of the Vive.
-
-
-
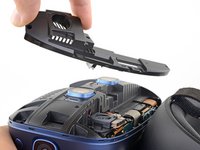
While holding the switch in the bottom position, pull the faceplate straight up and away from the front of the Vive.
-
Remove the faceplate.
-
-
-
Carefully peel the right-side sticker off of the front of the Vive. If possible, keep this sticker intact and reuse it.
-
-
-
Use a T5 Torx driver to unscrew the screws securing the upper component cover:
-
Six 4.1 mm long screws
-
One captive screw
-


Compare your new replacement part to the original part—you may need to transfer remaining components or remove adhesive backings from the new part before installing.
To reassemble your device, follow the above steps in reverse order.
Take your e-waste to an R2 or e-Stewards certified recycler.
Repair didn’t go as planned? Check out our Answers community for troubleshooting help.
