What you need
-
-
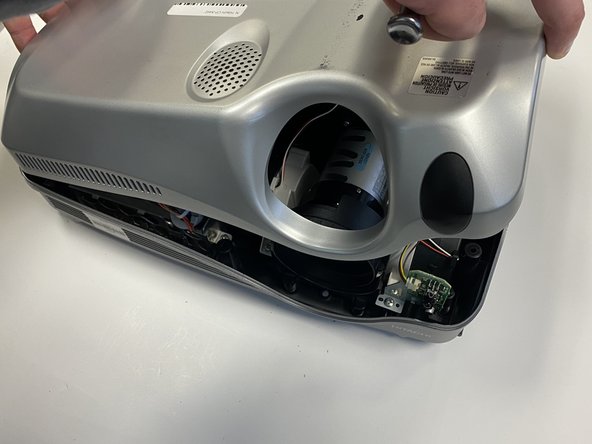
Turn the projector upside down so the bottom is facing up.
-
Remove the 6 black 2 cm screws with a Phillips #1 Screwdriver.
-
-
-
-
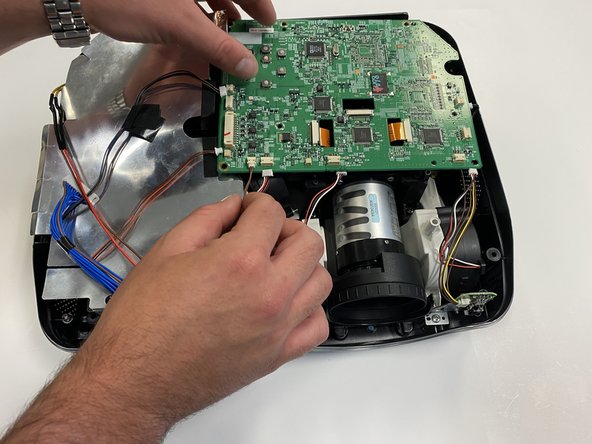
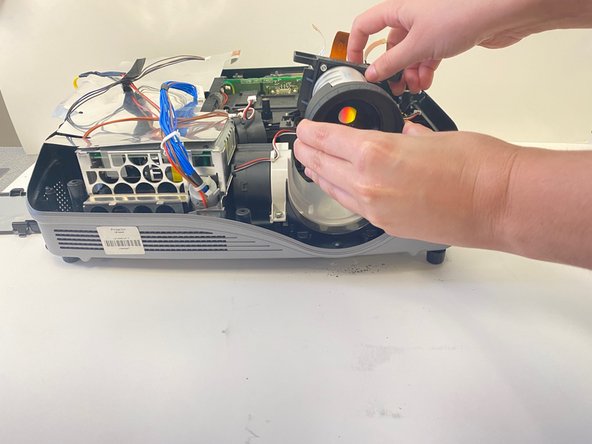
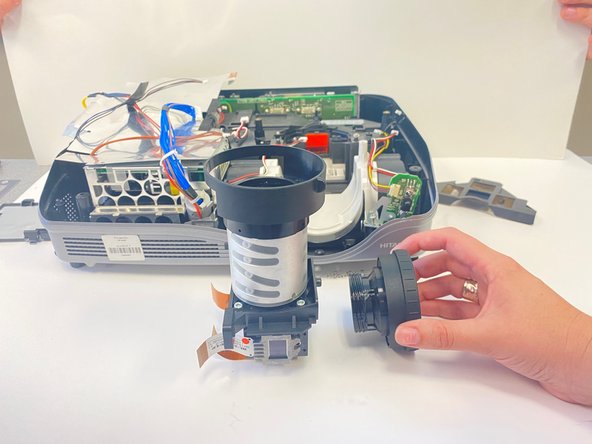
As you look at the the device overhead, you will see three pieces of orange ribbon.
-
Attached to the orange ribbon will be a stabilizer over the lamp.
-
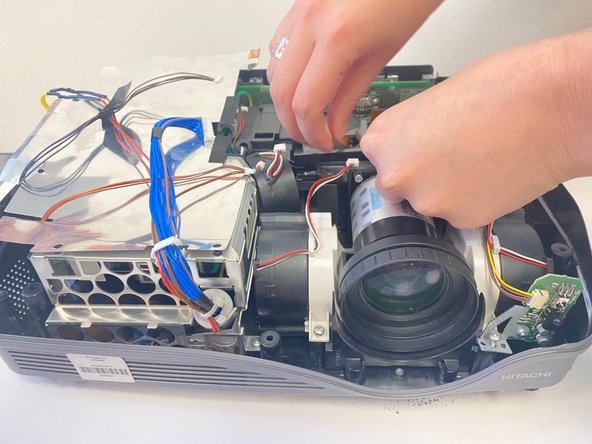
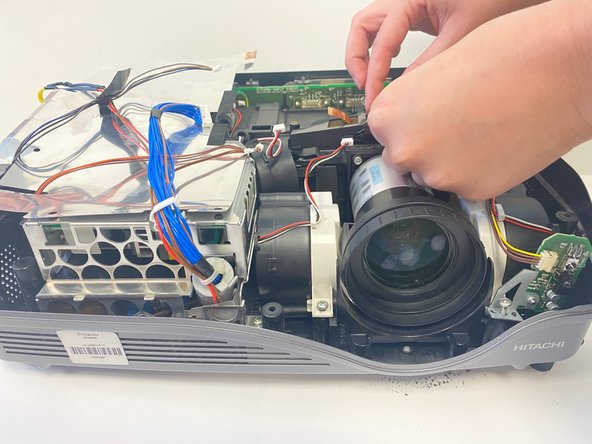
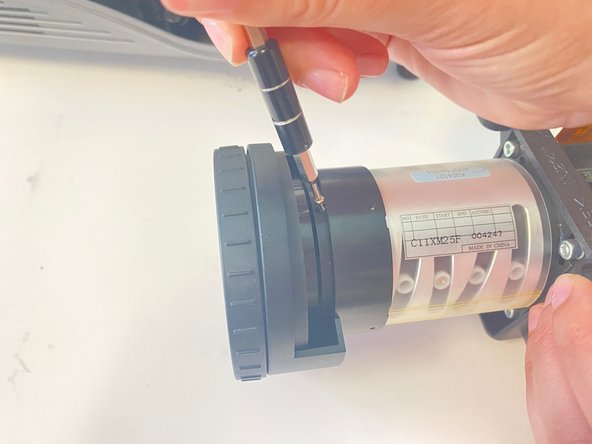
On each side, unscrew the two 1 cm screws with a Phillips #0 Screwdriver.
-
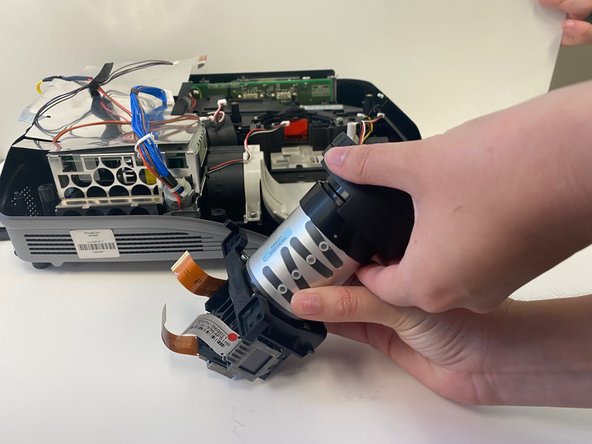
Then remove the piece holding the orange ribbons, called the stabilizer from this point on.
-


To reassemble your device, follow these instructions in reverse order.
To reassemble your device, follow these instructions in reverse order.

Team

University of Alabama, Team 2-2, Bedsole Spring 2022 Member of University of Alabama, Team 2-2, Bedsole Spring 2022
UA-BEDSOLE-S22S2G2
4 Members
6 Guides authored