Shut off the hot and cold water valves underneath the sink by twisting them clockwise until they are tight.
The appearance of these valves will differ from sink to sink, but most operate the same.
To test that the water has been completely shut off, try turning on the faucet like you would normally. If no water comes out, you're in luck!
When reopening the valves after the repair, leave the faucet in its on position. This will prevent pressurized air from building up in the faucet cartridge.
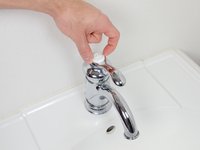
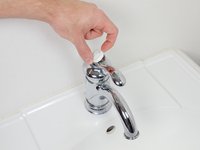
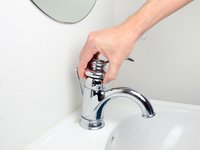
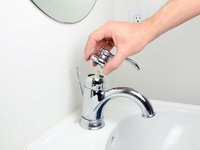
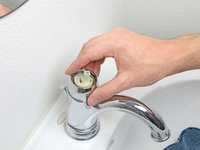
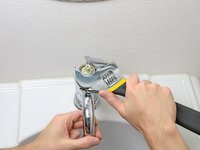
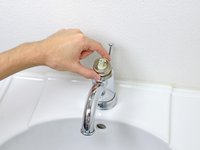
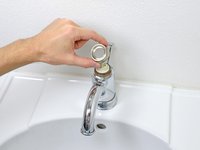
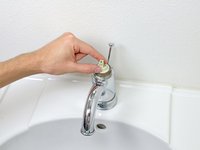
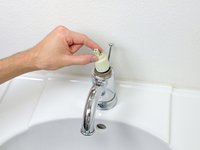
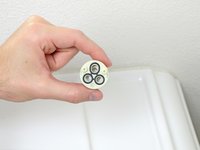
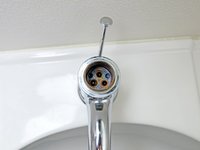
Remove the temperature limit stop from the top of the cartridge.
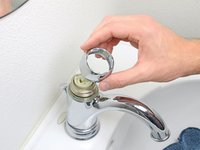
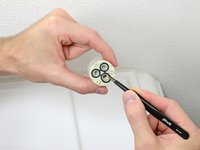
When removing the temperature limit stop and indexer, take note of their position. The limit stop and indexer determine the maximum temperature that water can reach when coming out of the faucet.
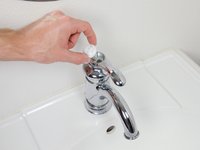
Even if you mark the position of the indexer and stop, you may still need to reset the temperature limit after addressing the leak. Follow the instructions for your specific faucet if they are available.
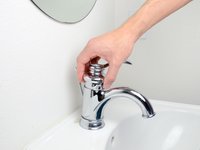
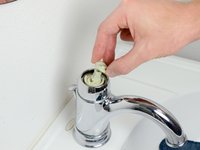
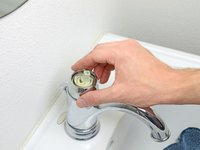
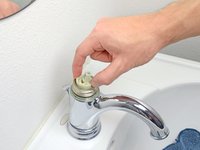
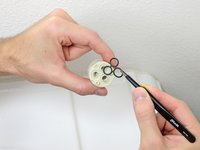
If the leak has been coming only from the end of the faucet, replace the cartridge.
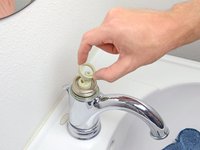
If the faucet has been leaking from the base or from the faucet handle, replace the o-rings.
When installing new o-rings, be sure to properly seat them into the grooves on the underside of the cartridge. A misaligned o-ring can easily cause a new leak.