Introduction
Nothing beats a good night's sleep when you are camping, but what happens if your mat starts to leak? Not to worry, we will walk you through the steps to fix it. This solution can even be applied when you are still outdoors!
What you need
-
-
Lay the mat on a flat and clean space.
-
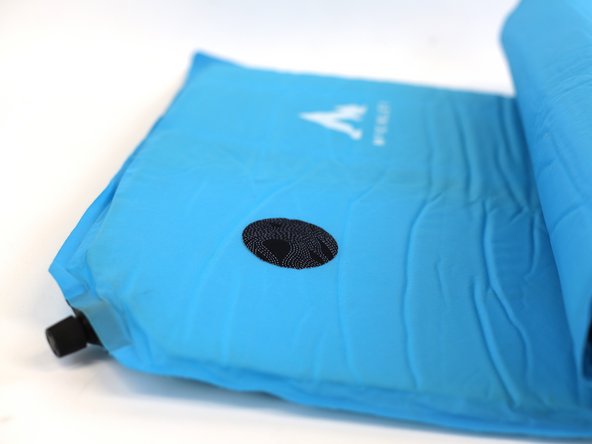
Locate the leak that needs to be fixed (red circle).
-
-
-
Choose the right size for the patch.
-
Tip: Ensure that the patch it is large enough to cover the hole. As an approximate guide, the patch should be 10mm wider than the hole on all sides.
-
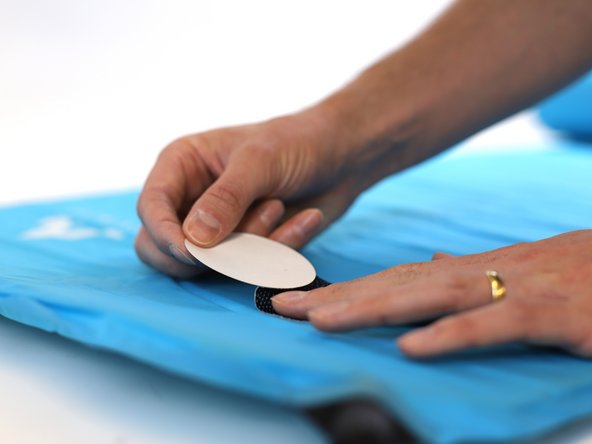
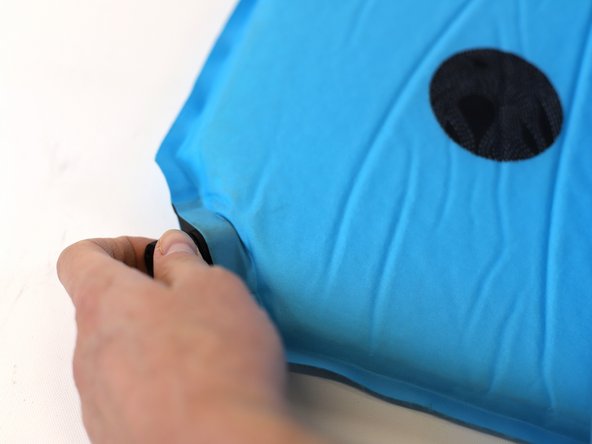
Start to peel away on the corner of the patch to be prepared for the next step.
-
-
-
-
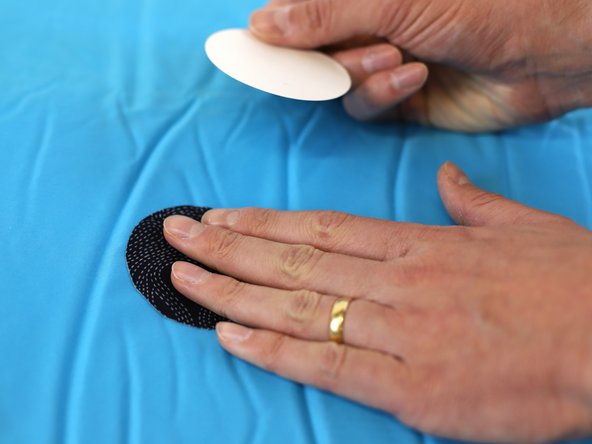
Flatten the area around the hole to make it smooth as possible.
-
Place the first side of the patch onto the mat and apply pressure with a slow and careful movement.
-
Peel off the backing paper at the same time as pressing the patch onto the product. This is very similar to applying a first-aid plaster.
-
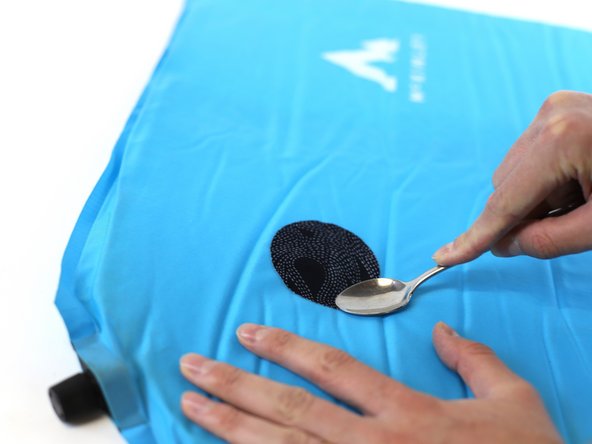
Tip: When the patch is fully applied, smooth out any wrinkles or bubbles with the back of a spoon.
-
-
-
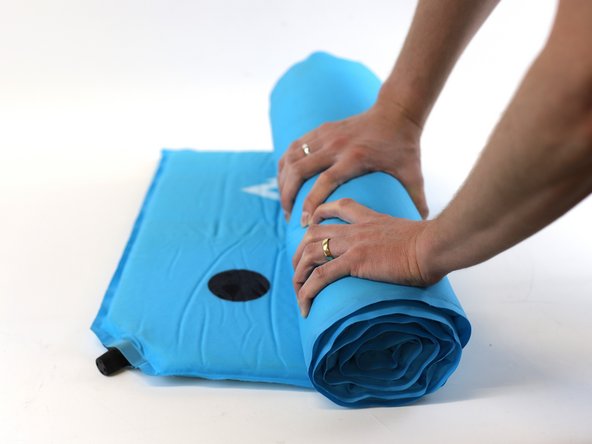
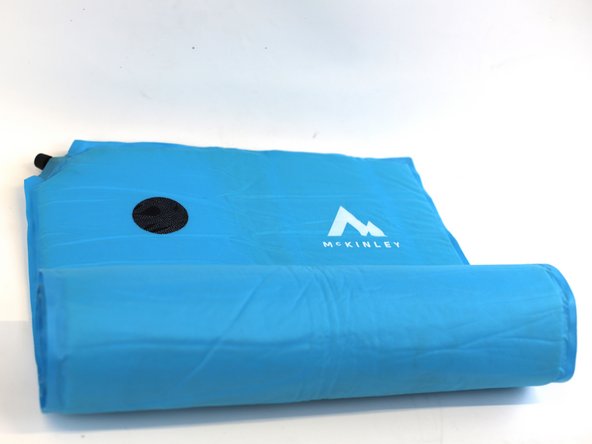
Roll the air mat tightly and then release the valve.
-
Note: To verify that the repair is working correctly, you should check that the mat stays firm when you start to roll it in and hear the air come in as soon as you release the valve.
-
-
-
🛠️🏆👏 Congratulations! The repair is complete, and you're ready to go!
-


In need of another repair? Don't worry! Check out our other guides to find quick solutions for your favourite clothing, footwear and equipment!
In need of another repair? Don't worry! Check out our other guides to find quick solutions for your favourite clothing, footwear and equipment!

Team
