
Huawei Honor 8 Battery Disconnect

25 - 35 minutes
Moderate
Prerequisite Only
This guide is only intended to be used as a prerequisite for other guides. It's incomplete by itself.
Introduction
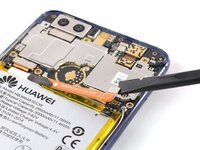
Go to step 1prereq battery disconnect


-
-
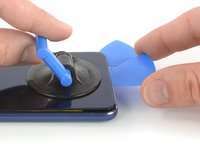
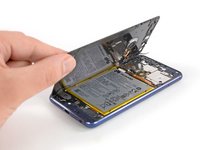
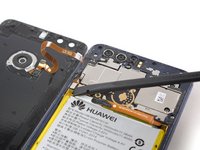
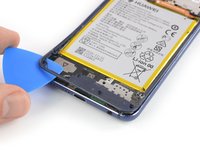
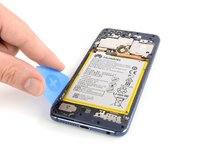
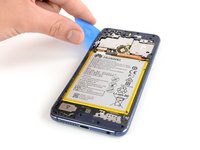
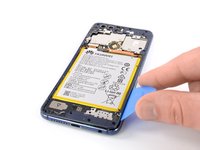
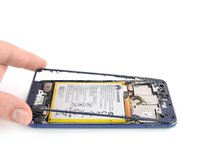
Before you begin, switch off your phone.
-
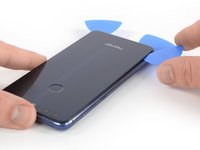
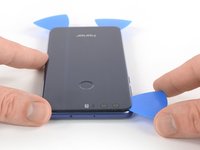
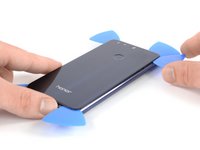
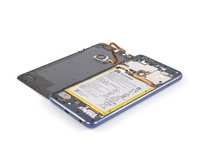
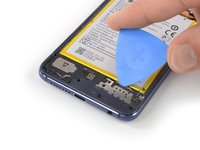
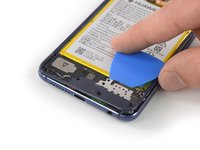
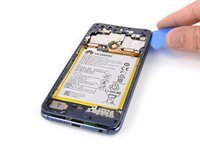
Apply a heated iOpener to the back of the phone to loosen the adhesive beneath the rear glass. Apply the iOpener for at least two minutes.
-
-
-
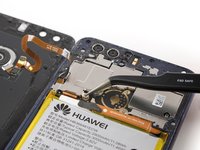
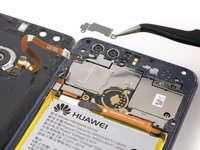
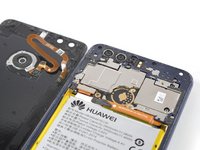
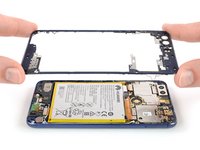
Remove these Phillips #00 screws securing the midframe bezel:
-
Eight screws with 3.5 mm length
-
Eight screws with 2.9 mm length
-
Some screws might be covered with a tamper proof sticker.
-


Almost done!
To reassemble your device, follow these instructions in reverse order.
Repair didn’t go as planned? Try some basic troubleshooting, or ask our Answers community for help.
Conclusion
To reassemble your device, follow these instructions in reverse order.
Repair didn’t go as planned? Try some basic troubleshooting, or ask our Answers community for help.

