
Huawei Honor 9 Rear Camera Replacement

Introduction
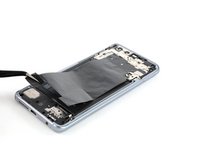
Go to step 1Use this guide to remove the rear camera in the Huawei Honor 9.
You’ll need replacement adhesive to reattach components when reassembling the device.


-
-
Switch off your phone.
-
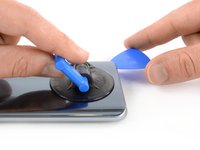
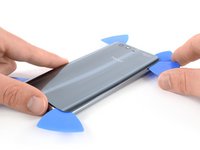
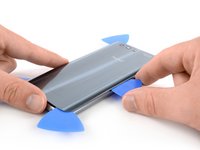
Heat an iOpener and apply it to the back of the phone for around two minutes. This will help soften the adhesive securing the rear glass.
-
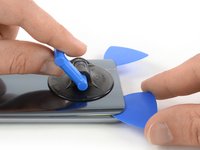
You might need to reheat and reapply the iOpener several times during the rear glass removal.
-
-
Tool used on this step:Tesa 61395 Tape$5.99
-
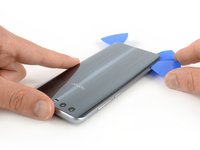
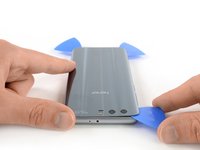
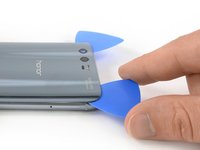
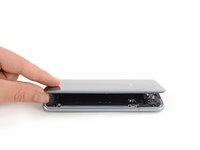
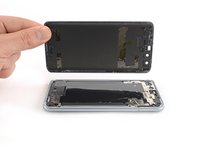
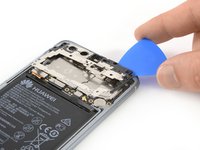
Carefully lift the rear glass and remove it.
-
Secure the new rear glass with pre-cut adhesive or double-sided adhesive tape.
-
After installing the rear glass, apply strong, steady pressure to your phone for several minutes to help the adhesive form a good bond, such as by placing it under a stack of heavy books.
-
-
-
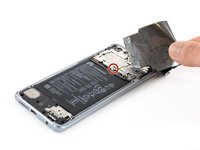
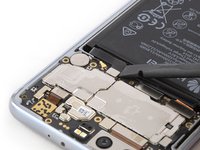
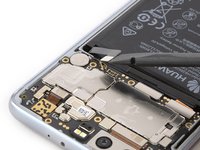
Remove the three Phillips #00 screws (3.45 mm length).
-
Remove the five Phillips #00 screws (2.9 mm length).
-
-
-
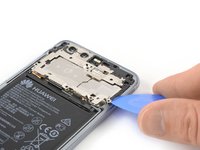
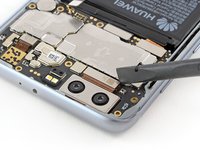
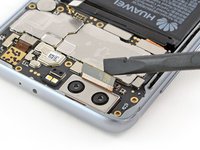
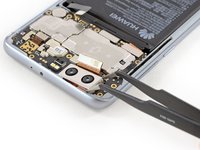
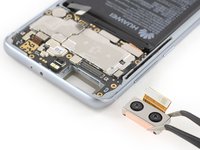
Use a spudger to pry up and disconnect the rear facing camera flex cable.
-


To reassemble your device, follow these instructions in reverse order.
Take your e-waste to an R2 or e-Stewards certified recycler.
Repair didn’t go as planned? Check out our Answers community for troubleshooting help.
To reassemble your device, follow these instructions in reverse order.
Take your e-waste to an R2 or e-Stewards certified recycler.
Repair didn’t go as planned? Check out our Answers community for troubleshooting help.

