
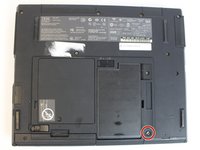
IBM ThinkPad 600E Hard Drive Disk Replacement
Introduction
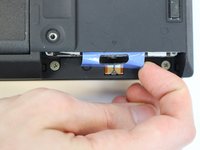
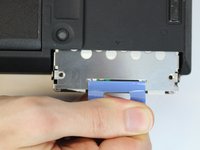
Go to step 1This guide will show you how to replace your hard drive disk. Several reasons why you would want to replace your hard drive is because you want to increase your memory or it is faulty or broken.
What you need
Fix Kits
These kits contain all the parts and tools needed to complete this guide.


Parts


Tools


Show more…


To reassemble your device, follow these instructions in reverse order.
To reassemble your device, follow these instructions in reverse order.
Cancel: I did not complete this guide.
4 other people completed this guide.
Team

USF Tampa, Team 1-4, Nance Fall 2016 Member of USF Tampa, Team 1-4, Nance Fall 2016
USFT-NANCE-F16S1G4
4 Members
12 Guides authored