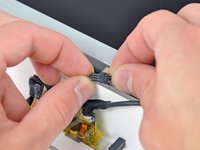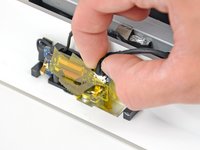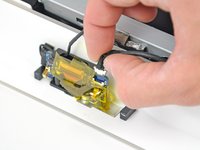
Installing iMac Intel 24" EMC 2111 Dual Hard Drive
Introduction
Go to step 1There are many benefits to adding a second hard drive to your iMac such as improved speeds, greater storage space, and less heartache when installing new software. Use this guide to install one using our optical bay hard drive enclosure.
What you need
Parts
Tools
Show more…
-
-
Loosen the two Phillips screws securing the access door to your iMac.
-
Remove the access door.
-
-
-
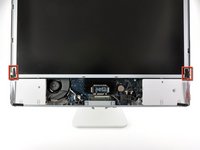
Remove the following screws along the lower edge of your iMac:
-
Three 6 mm T8 Torx screws
-
One 8 mm T8 Torx screw
-
-
-
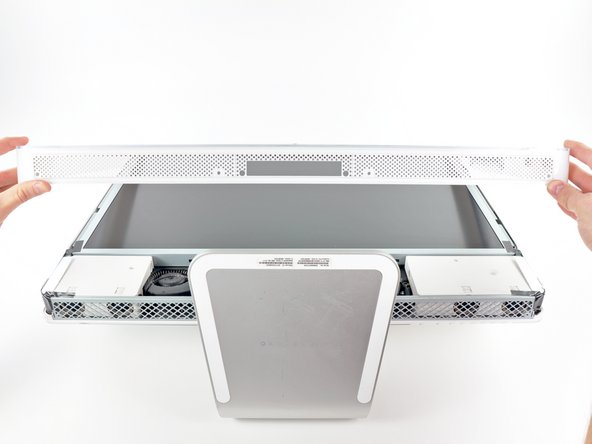
To lift the front bezel off the iMac, simultaneously:
-
Use your thumbs to press in the RAM arms and hold the iMac down.
-
Use your index fingers to pull the small bridge of material on the front bezel toward yourself.
-
Pull the front bezel up with your index fingers.
-
Once the small bridge of material has cleared the RAM arms, lift the front bezel by its lower edge just enough to clear the bottom edge of the rear case.
-
-
-
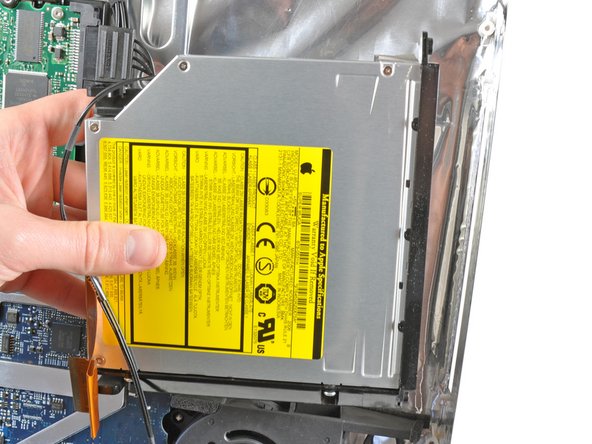
Remove the two T6 Torx screws securing the optical drive cable to the optical drive.
-
-
-
Use the flat end of a spudger to remove the pieces of EMI foam from the underside of the optical drive.
-
-
-
Remove the three 3.0 mm Phillips screws from the optical bay enclosure.
-
-
-
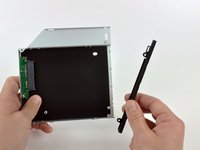
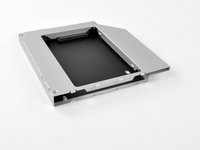
Remove the plastic positioner from the optical bay hard drive enclosure by pressing in on one of the clips on either side and lifting it up and out of the enclosure.
-
-
-
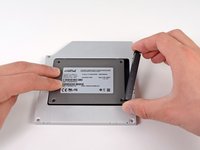
Make sure that the hard drive connectors are facing down before placing it into the enclosure.
-
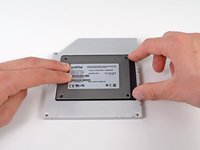
Gently place the hard drive into the enclosure's hard drive slot.
-
While firmly holding the enclosure in place with one hand, use your other hand to press the hard drive into the enclosure connectors.
-
To reassemble your device, follow these instructions in reverse order.
To reassemble your device, follow these instructions in reverse order.
Cancel: I did not complete this guide.
10 other people completed this guide.


