What you need
-
-
The battery holder for the electric start, which activates when we press the rectangular button, is located in the lower left corner of the unit.
-
ATTENTION: To create this document I have removed the cover so as to be able to take pictures easily and with more detail.
-
If you're only going to replace the battery, it is not necessary to remove the cover. There is access from the lower left part of the heater.
-
As a security measure, we are going to close off the gas supply line to the heater.
-
How to remove the cover, in case its needed, is explained in steps 3 though 8 of this document https://es.ifixit.com/Gu%C3%ADa/Calentad...
-
-
-
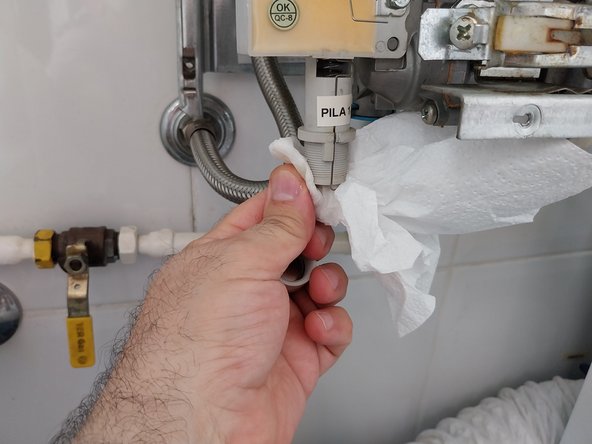
Whether you removed the cover or not, you will see in the lower left part that the battery start module is visible with its battery holder at the bottom.
-
NOTE: You will not see the label PILA on your heater, I added that with my DYMO labeler.
-
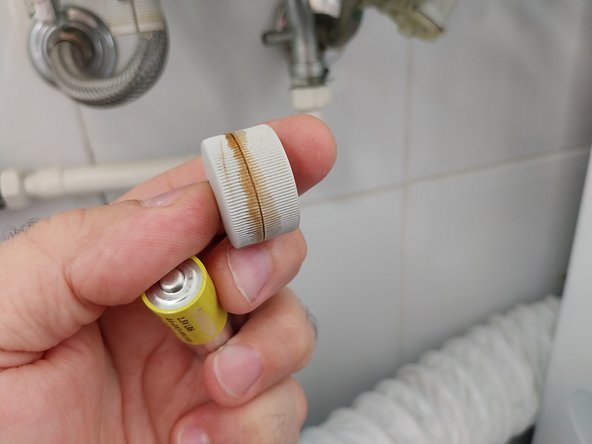
To access the battery you need to unscrew the cover on a clock wise rotation.
-
-
-
-
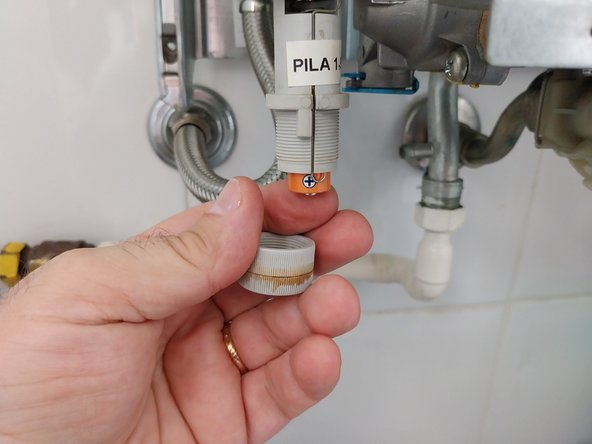
This cap, due to changes in temperature, the heat generated by the heater itself and the pressure of the battery and the spring, usually breaks after a few years of use, there is no replacement, the entire assembly is replaced, this one in Photo 1 , it has been repaired for years.
-
I have dedicated the document https://es.ifixit.com/Gu%C3%ADa/intro/16... to repairing the plug in case it breaks when dismantling it.
-
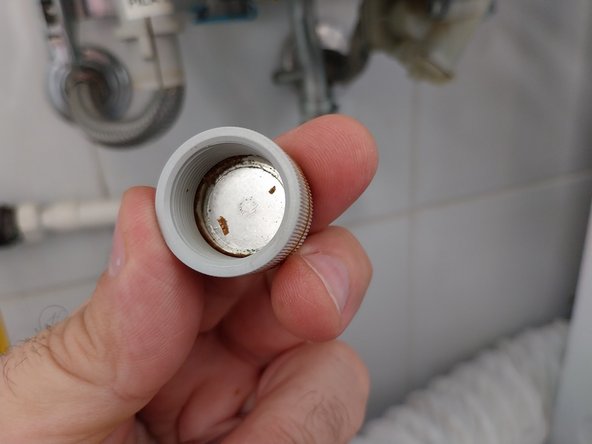
If this is not the case, we continue with changing the battery, we check the cap to make sure it does not contain traces of dirt or sulfate inside, which we must clean. (Step 4)
-
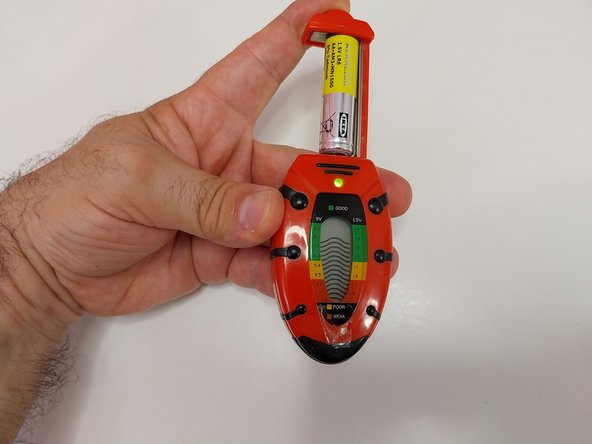
HOW OFTEN SHOULD THE BATTERY BE CHANGED? The battery is of good quality, it does not wear out, it all depends on how many times we have turned on the heater, as you can see in photo 3, it has perfect capacity.
-
I have a habit and recommend: CHANGE IT EVERY 3 years, maximum 4 years, not because the battery wears out, but because it is in an area with temperature changes and can leak, damaging the battery holder, so since its price, REPLACE IT EVERY 3 YEARS and you will avoid problems.
-
-
-
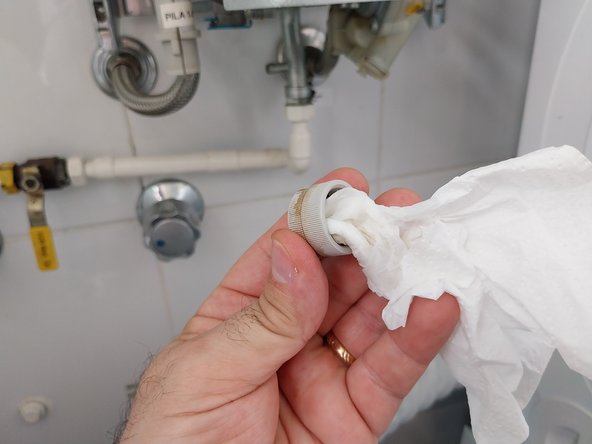
Cap cleaning: Using a rag or a paper towel, dampen it with isopropyl alcohol and rub it against the metal cover at the bottom of the cap.
-
Clean the base of the batter bracket and the little lateral contact wire.
-
If you can see sulfur residues, inspect the interior of the battery bracket with a flashlight in case it also needs to be cleaned out.
-
-
-
As a replacement, use a high quality alkaline battery. DO NOT INSTALL LOW QUALITY BATTERIES AS THEY WILL LEAK IN ROUGHLY A YEAR.
-
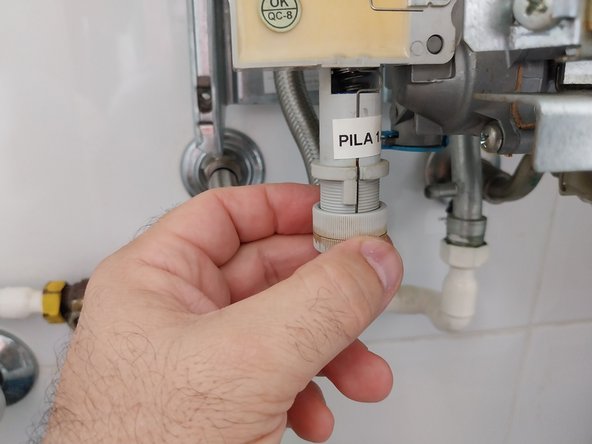
Insert the battery, and gently twist the cap while supporting it.
-
Be careful, do not over-tighten the cap since it can break. Leave about one entire rotation of leeway.
-
-
-
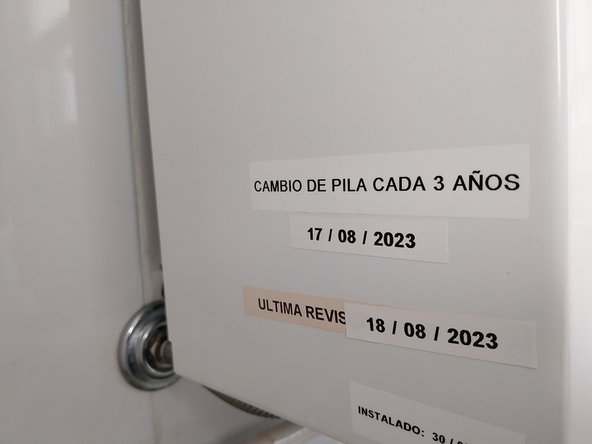
As a little improvement, if you leave the date of battery change written down somewhere on the heater you will always have an easy reminder. I have a habit of placing a DYMO strip with the date on the left side.
-
Now you only need to turn the key if you have closed it in the beginning and press the power button. Listen for sparks.
-


To reassemble your device, follow these instructions in the reverse order.
To reassemble your device, follow these instructions in the reverse order.
Cancel: I did not complete this guide.
One other person completed this guide.
Special thanks to these translators:
100%


These translators are helping us fix the world! Want to contribute?
Start translating ›

Team
