Introduction
Pre-req only guide showing the removal of the upper & lower antenna shields and the disconnection of the battery.
What you need
-
-
For reference, the backside of the panel is shown in the first photo. Note the clearance between the edge of the panel and the fragile ribbon cable beside the fingerprint sensor.
-
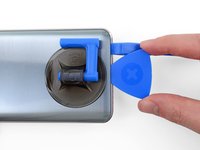
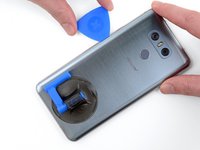
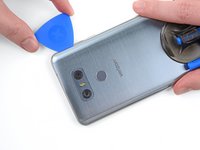
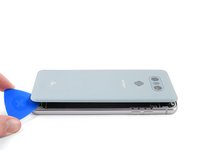
Be careful as you slice and pry to the left side of the fingerprint sensor, as seen from the outside of the phone in the third photo.
-
-
-
Use a hairdryer, a heat gun, or prepare an iOpener and apply it to the lower edge of the G6 for about a minute to soften up the adhesive underneath the rear glass panel.
-
-
-
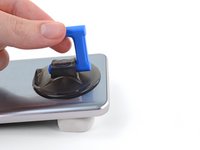
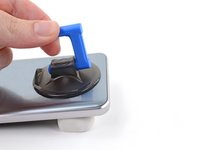
If you don't have a small object for propping, you can (carefully) perform this step at the edge of a desk or table to achieve the same angle of entry.
-
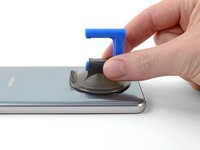
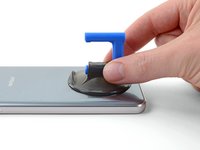
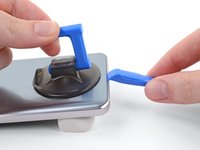
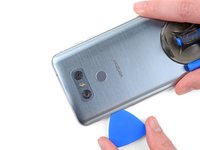
Lift the rear panel's bottom edge with your suction cup, opening a slight gap between the panel and the frame.
-
Once you've created a gap, press the flat end of an opening tool into the gap.
-
-
-
-
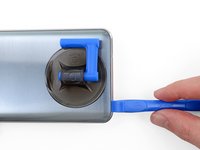
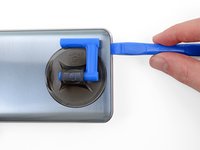
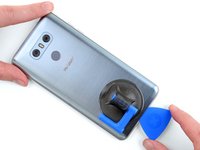
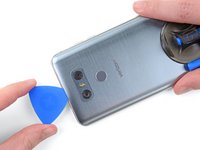
Additionally, you can use multiple opening picks for this process, leaving one in place on each side after you finish slicing to prevent the adhesive from re-adhering as it cools.
-
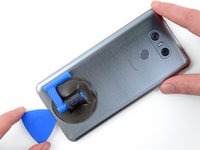
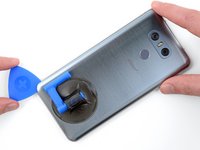
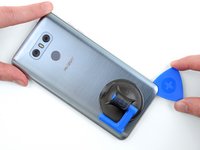
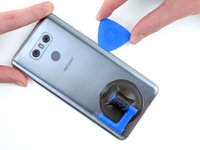
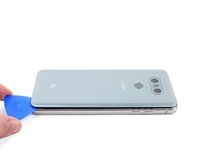
Slide the opening pick along the left edge of the phone to slice through the adhesive securing the rear panel.
-
-
Tool used on this step:Tweezers$4.99
-
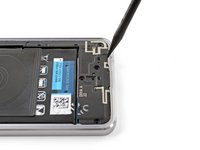
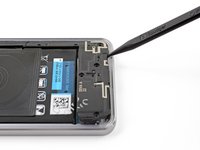
Use tweezers to peel away any remaining adhesive from both the rear panel and the phone's chassis.
-
Clean the adhesion areas with high concentration isopropyl alcohol (at least 90%) and a lint-free cloth. Swipe in one direction only, not back and forth. This will help prep the surface for the new adhesive.
-
Peel away the replacement adhesive's liner, align it with the back of the phone, and press it into place.
-
Remove any remaining liners, and replace the rear glass panel.
-
After installing the rear panel, apply strong, steady pressure to your phone for several minutes to help the adhesive form a good bond, such as by placing it under a stack of heavy books.
-
-
-
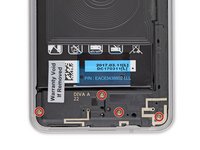
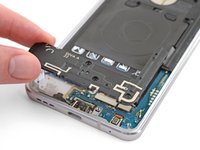
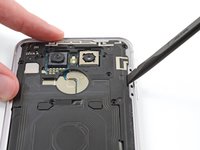
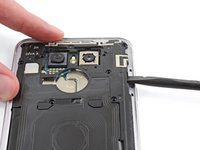
Remove the four Phillips screws holding down the lower antenna shield.
-


To reassemble your device, follow these instructions in reverse order.
