
LG V50 ThinQ Screen Replacement
Introduction
Go to step 1A phone's touchscreen is susceptible to many different forms of damage or wear, including the screen being cracked, a delayed response to user input, dead pixels, etc.
Some issues involved with the touchscreen can potentially be resolved through simple troubleshooting. Before you use this guide, visit the LG V50 ThinQ troubleshooting page to make sure there are no other ways to repair the touchscreen other than to replace it.
Make sure that the device is turned off before you begin to use this guide.
What you need


-
-
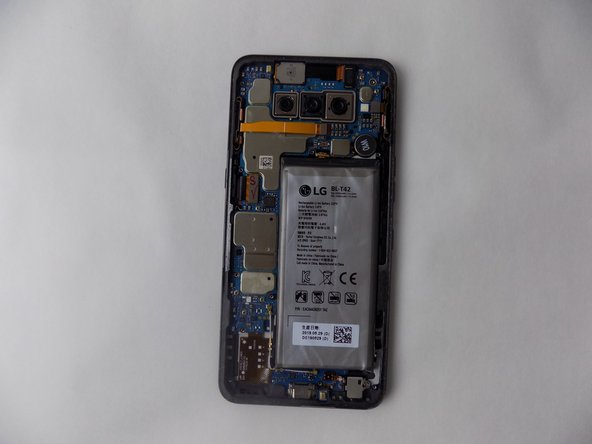
Flip the phone over, making sure that the back of the phone is facing up.
-
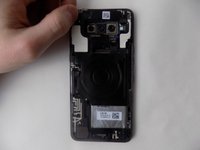
With an opening pick, run the tool along the edge of the back cover of the phone and carefully pry it open.
-
-
-
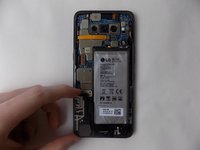
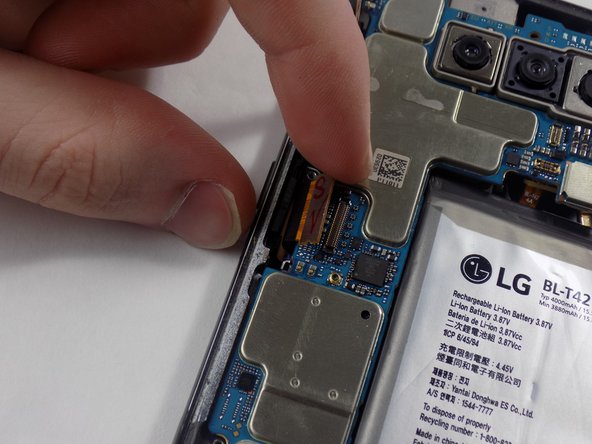
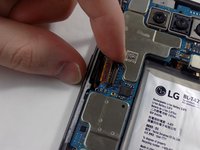
With an opening pick (or a similar tool that isn't sharp), run the tool along the edge between the screen and the base of the phone.
-
After the screen is removed from the device, use a 1mm double-sided adhesive along the edges of the phone.
-
Carefully put the replacement screen into place.
-


To reassemble your device, follow these instructions in reverse order.
To reassemble your device, follow these instructions in reverse order.
Cancel: I did not complete this guide.
One other person completed this guide.
Team

UMass Dartmouth, Team 2-3, Gulbrandsen Fall 2023 Member of UMass Dartmouth, Team 2-3, Gulbrandsen Fall 2023
UMASSD-GULBRANDSEN-F23S2G3
4 Members
5 Guides authored