Introduction
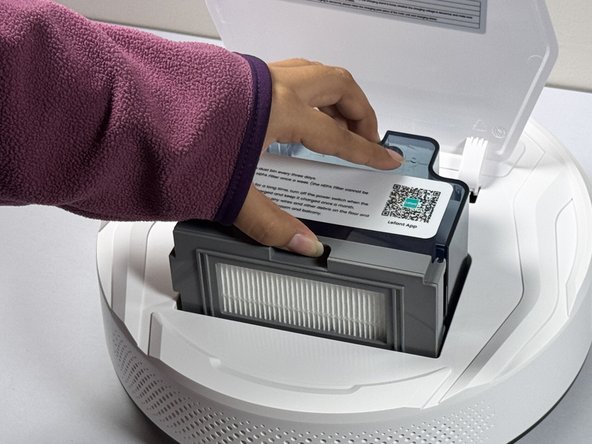
Robotic vacuum batteries generally last 2-3 years, depending on usage. Over time, you may notice that the battery holds less charge, requires more frequent recharging, or a decrease in cleaning performance. Use this guide to help replace your battery and restore your Lefant M210 robot vacuum to like-new performance.
Before you begin this repair, turn off the vacuum.
What you need
-
-
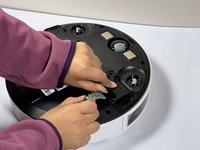
Turn off the Lefant M210 and disconnect it from the charging dock.
-
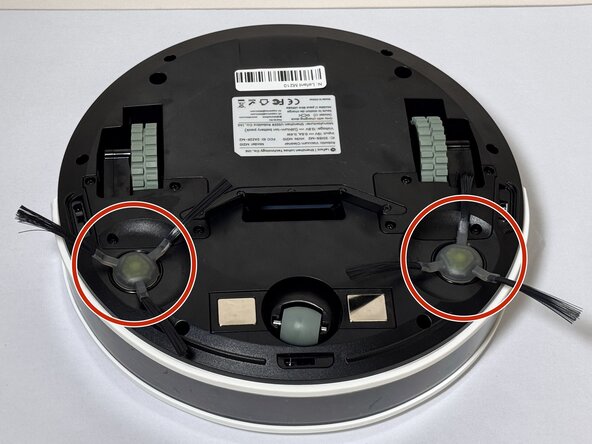
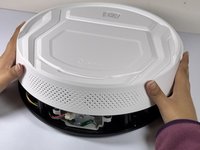
Flip the unit over so the bottom faces upward.
-
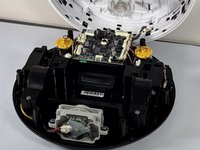
Locate the circular brush assemblies on the left and right sides of the underside.
-
-
-
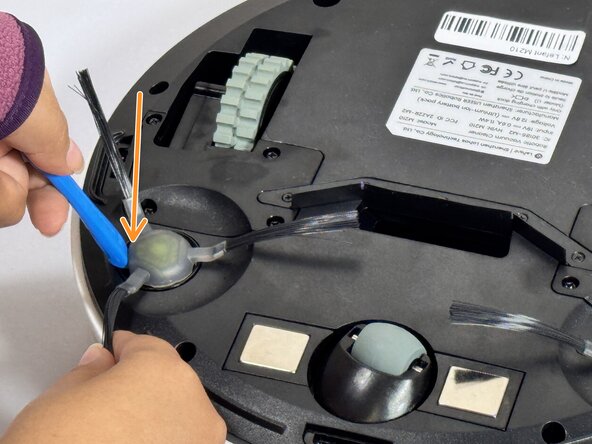
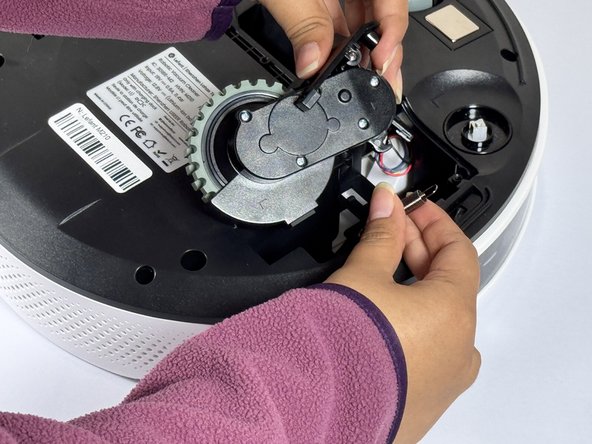
Position the new brush assembly above the square mounting peg.
-
Align the square cavity on the bottom of the brush with the corresponding square peg in the vacuum housing.
-
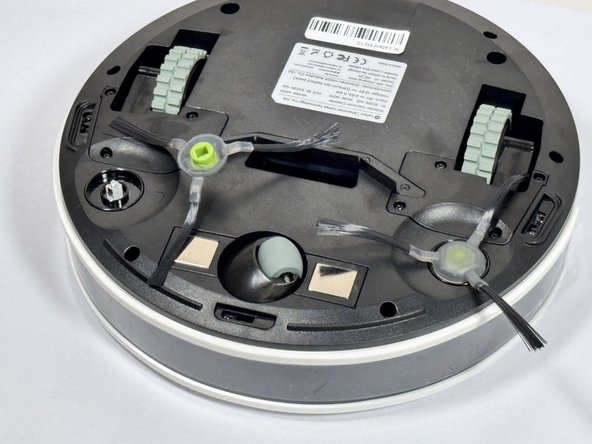
Press down firmly on the brush assembly until you hear or feel it click into place.
-
Gently tug on the brush to verify it is securely seated.
-
-
-
-
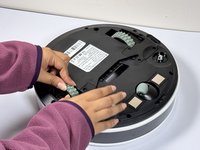
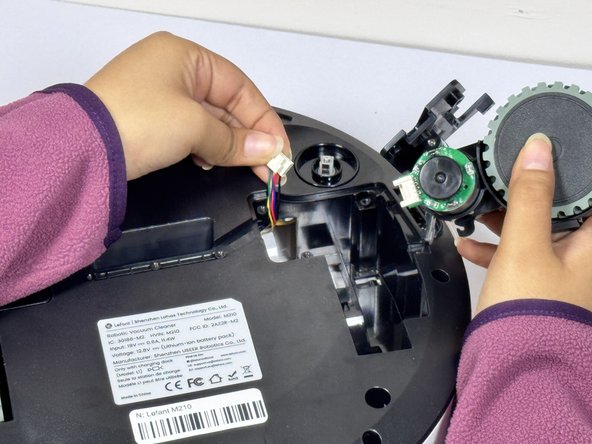
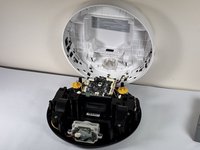
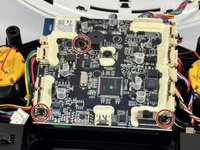
Use a Phillips #1 screwdriver to remove the six screws around the bottom edge of the device.
-


To reassemble your device, follow these instructions in reverse order.
Cancel: I did not complete this guide.
4 other people completed this guide.

Team

CSU Los Angeles, Team 2-4, Kershman Fall 2024 Member of CSU Los Angeles, Team 2-4, Kershman Fall 2024
CSULA-KERSHMAN-F24S2G4
4 Members
8 Guides authored
4 Guide Comments
Great guide! Any knowledge on how or why mine beeps twice even when it is on the ground?
Thank you for the helpful guide, however, after replacing my battery, it definitely has a much shorter lifespan, and it is unable to find the charger before it dies.
I thought it was because I needed a new battery. My stops about 1min after start. When I put it back to the charger it indicates battery charged by showing the blue light. Still after 1 min of operation it dies. That's the reason why i want to replace the battery. Is that what yours is doing too even after replacing the battery?
Thanks for the guide.
As for those that stumble upon this, mind that ******if you only want to access the battery, steps 10 to 16 are the only on you need.