
Lenovo IdeaPad 330S-14IKB RAM Replacement
Introduction
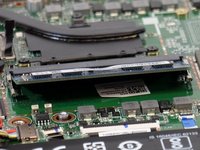
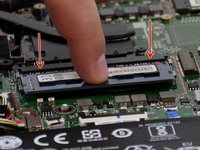
Go to step 1RAM is a part that does not typically fail, however it is not invulnerable. If your Lenovo Ideapad 330S-14IKB begins to show signs of failing RAM such as random freezes, blue screens, randomly rebooting, and files becoming corrupted, it could mean it is time to replace it.


-
-
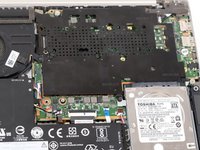
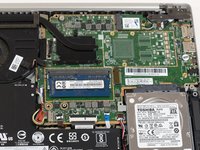
Begin by placing your laptop upside down so that you can see the labels on the back.
-


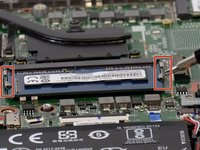
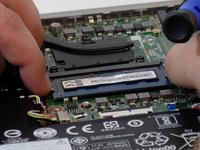


To reassemble your device, follow steps 6-1 in reverse order.
To reassemble your device, follow steps 6-1 in reverse order.
Cancel: I did not complete this guide.
3 other people completed this guide.
Team

Linn Benton Community College, Team 1-3, Karnes Fall 2023 Member of Linn Benton Community College, Team 1-3, Karnes Fall 2023
LBCC-KARNES-F23S1G3
5 Members
4 Guides authored