
Lenovo Ideapad 320-17IKB Speakers Replacement
Introduction
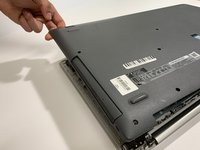
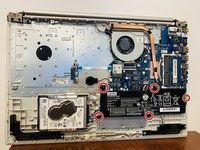
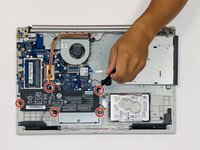
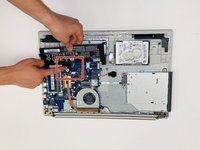
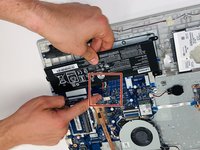
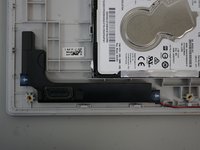
Go to step 1This guide demonstrates how to replace the speakers of your Lenovo Ideapad 320-17IKB. The speakers are responsible for the output of external audio from the system. Whether your laptop is suffering from fuzzy sound, low volume, or just simply malfunctioning, use this guide to conduct a complete replacement of both speakers.
Before you begin this repair, turn off your laptop and unplug it from the charger.
What you need
Fix Kit
This kit contains all the parts and tools needed to complete this guide.

Parts


Tools


Show more…
-
-
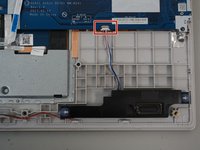
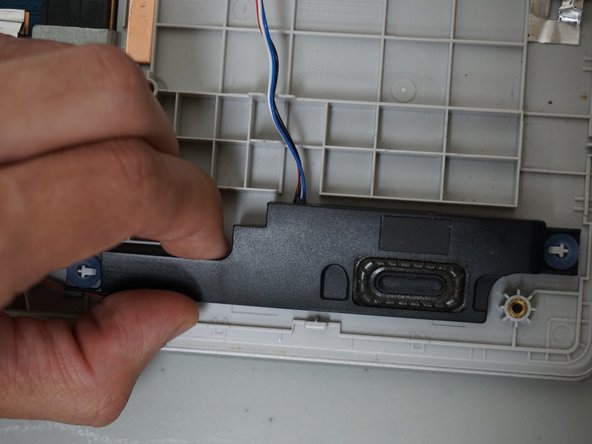
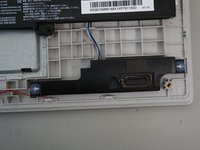
Gently pinch the white tab and pull the speaker cable out of its socket.
-
If you can't get the speaker cable out by hand, use the point of a spudger to push on alternating sides of the connector to "walk" it out of its socket.
-


To reassemble your device, follow these instructions in reverse order. Take your e-waste to an R2 or e-Stewards certified recycler.
To reassemble your device, follow these instructions in reverse order. Take your e-waste to an R2 or e-Stewards certified recycler.
Team

University of North Texas, Team 1-3, Coppersmith Spring 2024 Member of University of North Texas, Team 1-3, Coppersmith Spring 2024
UNT-COPPERSMITH-S24S1G3
4 Members
4 Guides authored