
Lenovo Legion Y520-15IKBN Touchpad Button Board Replacement
Introduction
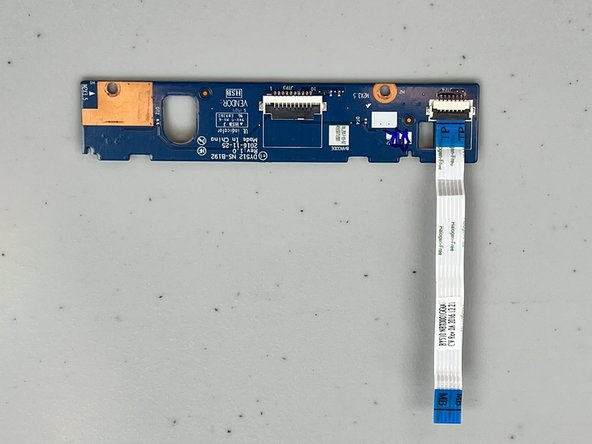
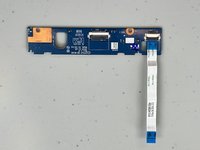
Go to step 1This guide is for the Lenovo Legion Y520-15IKBN Touchpad Button Board replacement. The Touchpad button board allows the mouse pointer to travel around the screen via touch. It may need to be replaced if your laptop cursor no longer detects movement from your finger or the right and left click button does not fully press down.
Before you begin this repair, turn off your laptop and unplug it from the charging adapter. It is also a idea to remove or disconnect the battery from the motherboard to reduce the chance of damage to your device. Additionally, take anti-static precautions such as using an anti-static wristband and mat to prevent damage to electronic component
What you need
Fix Kit
This kit contains all the parts and tools needed to complete this guide.

Parts

Tools


Show more…
-
-
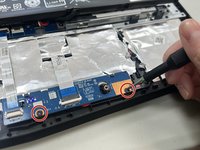
Remove the thirteen 6.5 mm screws from the base plate using a Phillips #00 screwdriver.
-
-
-
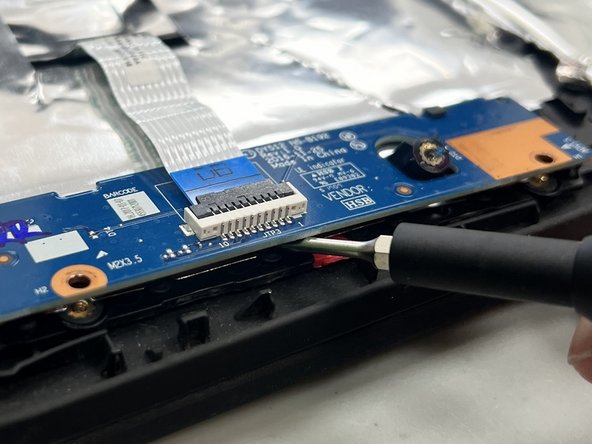
Use a spudger or a clean fingernail to flip up the locking flap on the two ZIF connectors securing the touchpad button board to the motherboard and touchpad.
-
Once the flaps are in the unlocked position, use tweezers or your fingers to gently pull the cables out of their sockets using the blue pull tabs.
-


To reassemble your device, follow these instructions in reverse order. Take your e-waste to an R2 or e-Stewards certified recycler.
To reassemble your device, follow these instructions in reverse order. Take your e-waste to an R2 or e-Stewards certified recycler.
Cancel: I did not complete this guide.
One other person completed this guide.
Team

University of North Texas, Team 1-6, Coppersmith Spring 2024 Member of University of North Texas, Team 1-6, Coppersmith Spring 2024
UNT-COPPERSMITH-S24S1G6
4 Members
3 Guides authored