Introduction
The RAM is responsible for temporarily holding data, so if your Lenovo ThinkPad L390 is repeatedly crashing, having slower performance than normal, randomly restarts, and current applications keep crashing, then it might be time for you to replace the RAM.
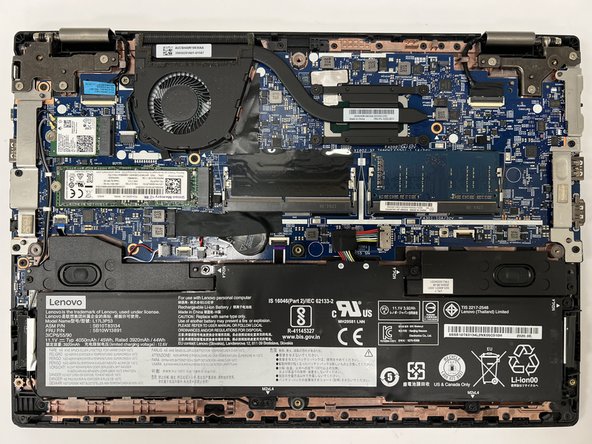
This guide outlines the procedure for safely replacing the RAM in your Lenovo ThinkPad L390 if it is faulty, broken, or in need of an upgrade.
The RAM can be accessed by removing the bottom cover of the laptop and unclipping the RAM. The new RAM can then be installed in the same location and then secured.
Note:
- Before beginning this guide, make sure to power off your laptop completely and disconnect from any external power source.
- Some parts are small and can be easily lost, so place them in a safe place.
- Before replacing the RAM, you should remove the battery first.
What you need
-
-
Power off your laptop and disconnect the charger and any peripheries before beginning disassembly.
-
Unscrew the nine 5 mm Phillips #00 screws that secure the lower case.
-
-
-
-
Use your fingernails or two opening tools to gently "walk" the battery connector directly out of its socket.
-
-
-
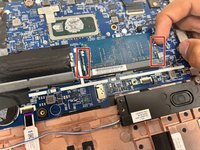
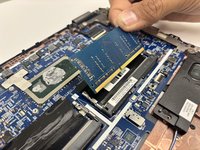
Two clips secure the RAM module in place, one on each side. Using your fingers, spread the clips away from the RAM module.
-
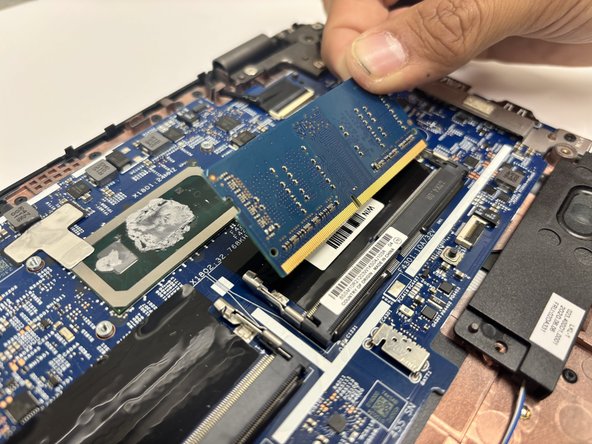
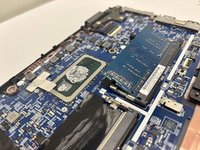
Slide the RAM module straight out to remove it.
-


To reassemble your device, follow these instructions in reverse order.
To reassemble your device, follow these instructions in reverse order.
Cancel: I did not complete this guide.
3 other people completed this guide.

Team

University of North Texas, Team 5-4, Kilpatrick Fall 2024 Member of University of North Texas, Team 5-4, Kilpatrick Fall 2024
UNT-KILPATRICK-F24S5G4
4 Members
5 Guides authored