
Lenovo ThinkPad P50s Fan Assembly Replacement

Introduction
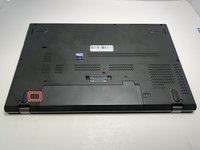
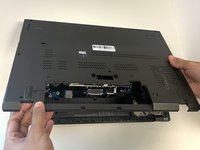
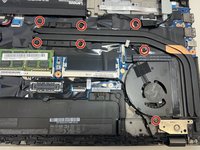
Go to step 1Take a look at the overheating troubleshooting guide and see if you can resolve your issue before proceeding. If none of the solutions worked, this guide will show you how to remove and replace the fan of your Lenovo ThinkPad P50s Laptop. The fan is responsible for keeping the laptop at a reasonable temperature, and ensuring your laptop doesn't overheat and damage other components, like the motherboard, CPU, etc.
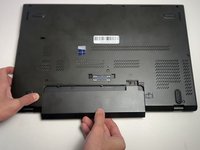
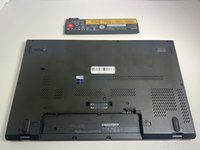
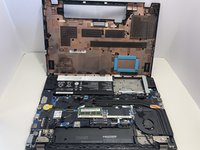
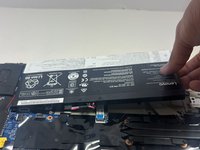
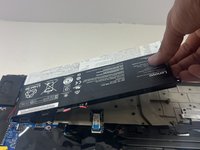
Before you begin this guide, you should disable the built-in battery. Here is a link with instructions on how to do so on page 123. Make sure your laptop is off and unplugged from the AC charger.
When replacing the fan, you may need to reapply thermal paste. Refer to the How to Apply Thermal Paste guide for detailed instructions.


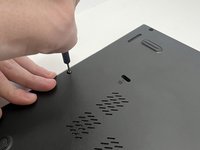
-
-
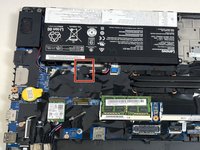
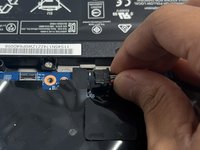
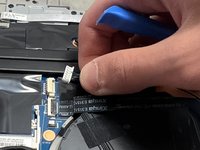
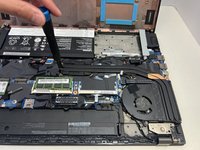
With your fingers or a spudger, disconnect the battery cable from the motherboard.
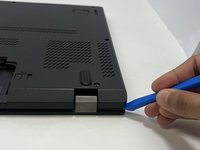
-
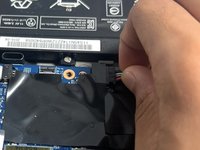
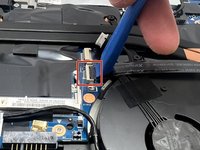
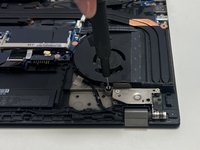
Use the point of a spudger to push on alternating sides of the connector to "walk" it out of its socket.
-
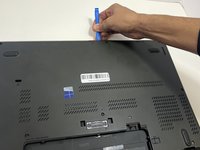
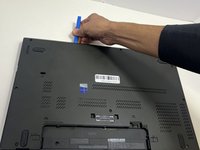
-
-
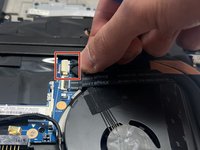
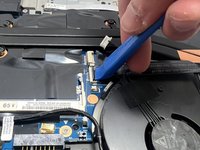
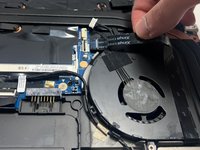
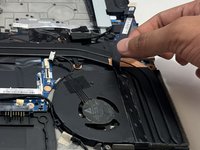
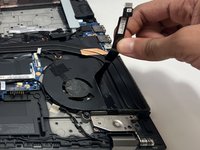
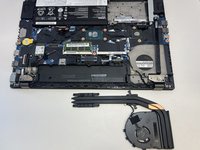
Use the point of a spudger to push on alternating sides of the fan connector to "walk" it out of its socket.
-


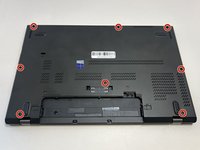


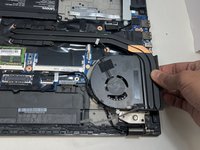
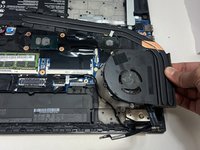
To reassemble your device, follow these instructions in reverse order. Take your e-waste to an R2 or e-Stewards certified recycler.
To reassemble your device, follow these instructions in reverse order. Take your e-waste to an R2 or e-Stewards certified recycler.

Team

Austin Community College, Team 8-3, Watkins Fall 2024 Member of Austin Community College, Team 8-3, Watkins Fall 2024
AUSTINCC-WATKINS-F24S8G3
4 Members
7 Guides authored