
Lenovo ThinkPad X1 Yoga 2nd Generation Pen Charging Port Replacement

Introduction
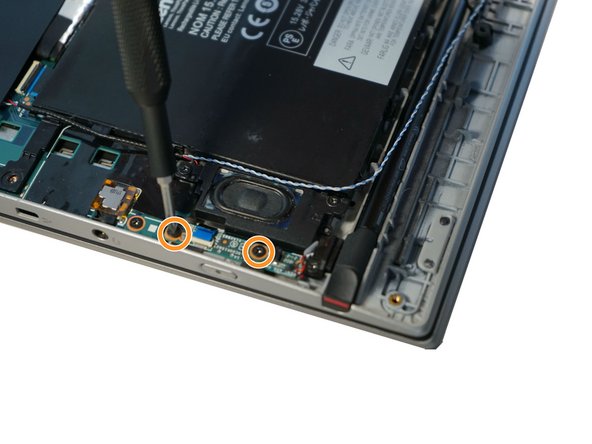
Go to step 1Before using this guide, check if your pen is inserted in the charging slot correctly or if it is chipped or damaged near the charging connector. You may also follow the guide through Step 3 to ensure that the charging wire has not been disconnected from the port on the circuit board. If it is, reconnect the wire and test the charging port.
If you have determined that the charging port is damaged or no longer charges the pen, replace the charging port with this guide. Use care when handling the ribbon cable to avoid damage to internal components.
What you need


-
-
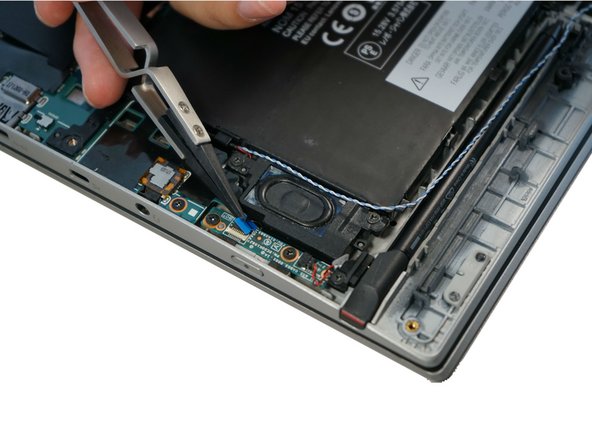
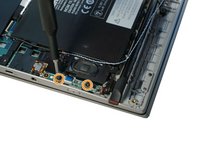
Remove the pen from its slot on the side of the laptop before removing the pen charging port.
-
-
Tool used on this step:Tweezers$3.99
-
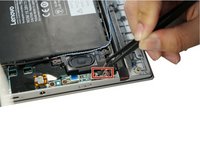
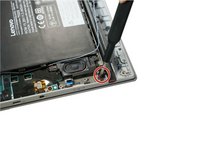
Lift the tab with a spudger to expose the ribbon cable.
-
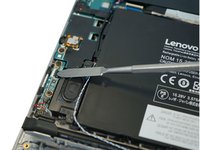
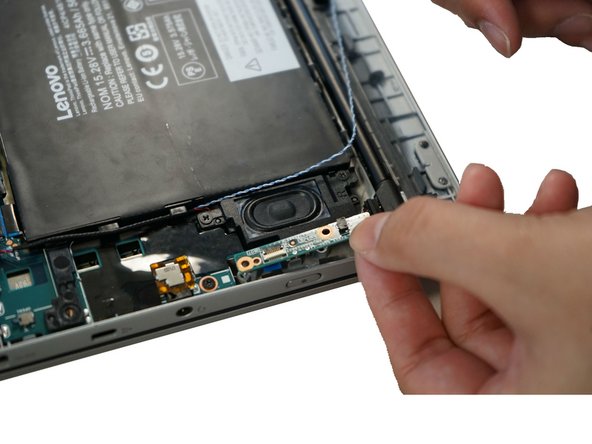
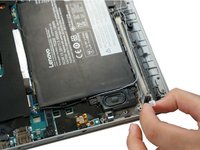
Carefully pull out the ribbon cable using Pro/ESD/angled tweezers.
-


To reassemble your device, follow these instructions in reverse order.
To reassemble your device, follow these instructions in reverse order.

Team

Cal Poly, Team S22-G3, Regan Winter 2020 Member of Cal Poly, Team S22-G3, Regan Winter 2020
CPSU-REGAN-W20S22G3
5 Members
7 Guides authored