Lenovo ThinkPad X280 Display Assembly

Lenovo ThinkPad X280 Display Assembly

Hannah Bryn Cullen

Hannah Bryn Cullen and 6 other contributors

Last updated on May 7, 2024

30 - 50 minutes
Moderate
Action Shots
Better Introduction

Introduction

Go to step 1

This replacement will take approximately 20 minutes to take out the screen and put the other screen in.
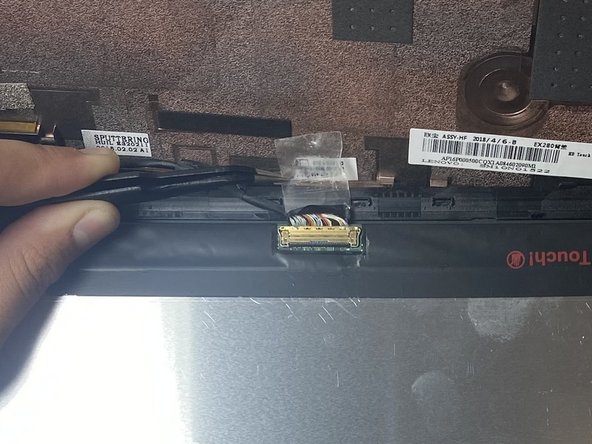
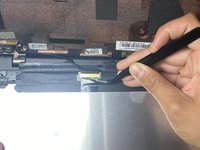
  1. Lenovo ThinkPad X280 Display Assembly, Display Assembly: step 1, image 1 of 1
    • Lay the computer flat on the back of the screen.

  2. Lenovo ThinkPad X280 Display Assembly: step 2, image 1 of 1
    • Use the metal spudger to pry the screen away from the assembly.

  3. Lenovo ThinkPad X280 Display Assembly: step 3, image 1 of 1
    • The screen will fold down over the keyboard, exposing the connections.

  4. Lenovo ThinkPad X280 Display Assembly: step 4, image 1 of 2 Lenovo ThinkPad X280 Display Assembly: step 4, image 2 of 2
    Tool used on this step:
    Tweezers
    $4.99
    • Use tweezers to gently remove the tape that secures the connector.

    • Lift the bracket on the bottom of the connector, and gently remove the bundled cable.

  5. Lenovo ThinkPad X280 Display Assembly: step 5, image 1 of 1
    • Remove the screen.

Conclusion

To reassemble your device, follow these instructions in reverse order.

One other person completed this guide.

One Comment

Anyone tried modding the screen with a 13.3" screen? I heard the screen part number is N133HCE-GP1, but you need to cut the bezels, and rewire the camera module and stuff.

Azrael - Reply

Add Comment

View Statistics:

Past 24 Hours: 3

Past 7 Days: 6

Past 30 Days: 57

All Time: 1,866