Introduction
If your Logitech K345 keyboard's on/off switch is no longer functioning properly—whether it's stuck, unresponsive, or malfunctioning—this guide will walk you through the process of replacing it.
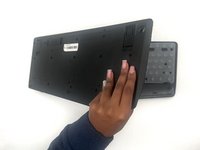
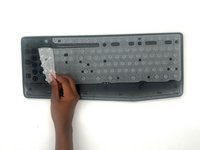
Before starting, make sure to power off your keyboard and disconnect it from any power source during the repair.
What you need
-
-
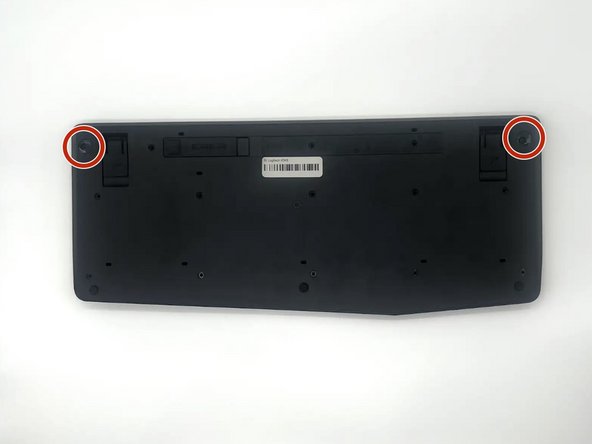
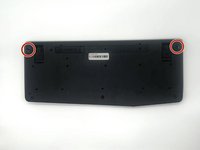
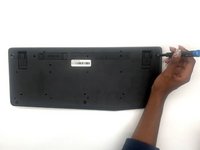
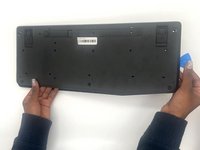
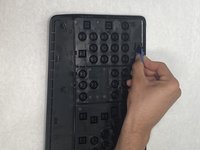
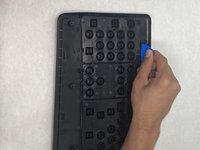
Remove the thirteen 5.3 mm screws from the back of the keyboard using a Phillips #0 screwdriver.
-
-


To reassemble your device, follow these instructions in reverse order. Take your e-waste to an R2 or e-Stewards certified recycler.
Cancel: I did not complete this guide.
One other person completed this guide.

Team

University of North Texas, Team 4-1, Harold Fall 2024 Member of University of North Texas, Team 4-1, Harold Fall 2024
UNT-HAROLD-F24S4G1
3 Members
5 Guides authored