Introduction
Use this guide to replace the heat sink or the thermal paste.
Be sure to apply a new layer of thermal paste before reinstalling your heat sink.
What you need
-
Tool used on this step:P5 Pentalobe Screwdriver Retina MacBook Pro and Air$5.99
-
Use a P5 Pentalobe driver to remove ten screws securing the lower case, of the following lengths:
-
Two 9 mm screws
-
Eight 2.6 mm screws
-
-
-
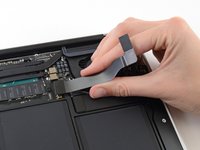
Grab the clear plastic pull tab attached to the battery connector and pull it parallel to the board toward the front edge of the Air.
-
-
-
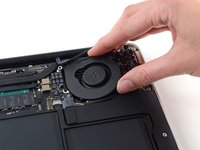
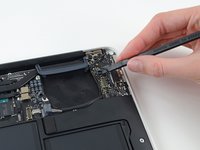
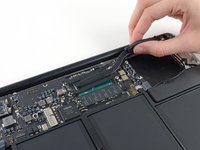
Use the flat end of a spudger to pry the I/O board cable connector up out of its socket on the I/O board.
-
-
-
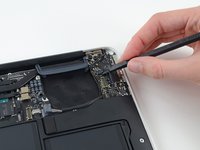
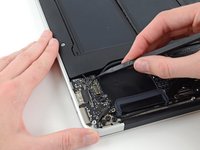
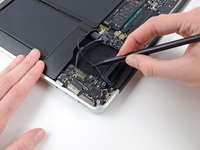
Use the tip of a spudger to carefully flip up the retaining flap on the fan cable ZIF socket.
-
-
-
-
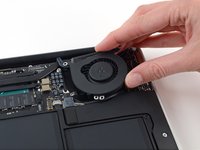
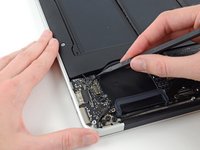
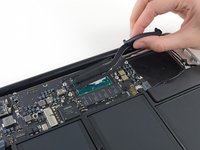
Disconnect the I/O board by pulling its power cable away from its socket on the logic board.
-
-
-
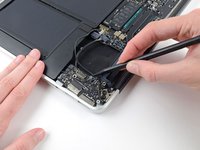
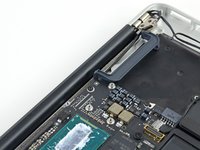
Remove the two 4.9 mm T8 Torx screws securing the antenna cable retainer on the left display hinge to the upper case.
-


To reassemble your device, follow these instructions in reverse order.
To reassemble your device, follow these instructions in reverse order.
Cancel: I did not complete this guide.
13 other people completed this guide.


One Comment
Ho fatto tutto il procedimento con il fiato sospeso e alla fine ero convinto di aver rotto qualcosa ma non era vero. Tutto è andato bene la laptop non è esplosa. Io dovevo solo rimuovere il heatsink per sostituire la pasta termica, Dio mio quante viti da smontare, pensavo di arrivare direttamente e scoperchiare la CPU. Grazie.